July 14 - 18 2017
Build Time Today: 8 hours
Total Build Time: 331 hours
Back after a good break! I got back from my trip and started work on a few pending items:
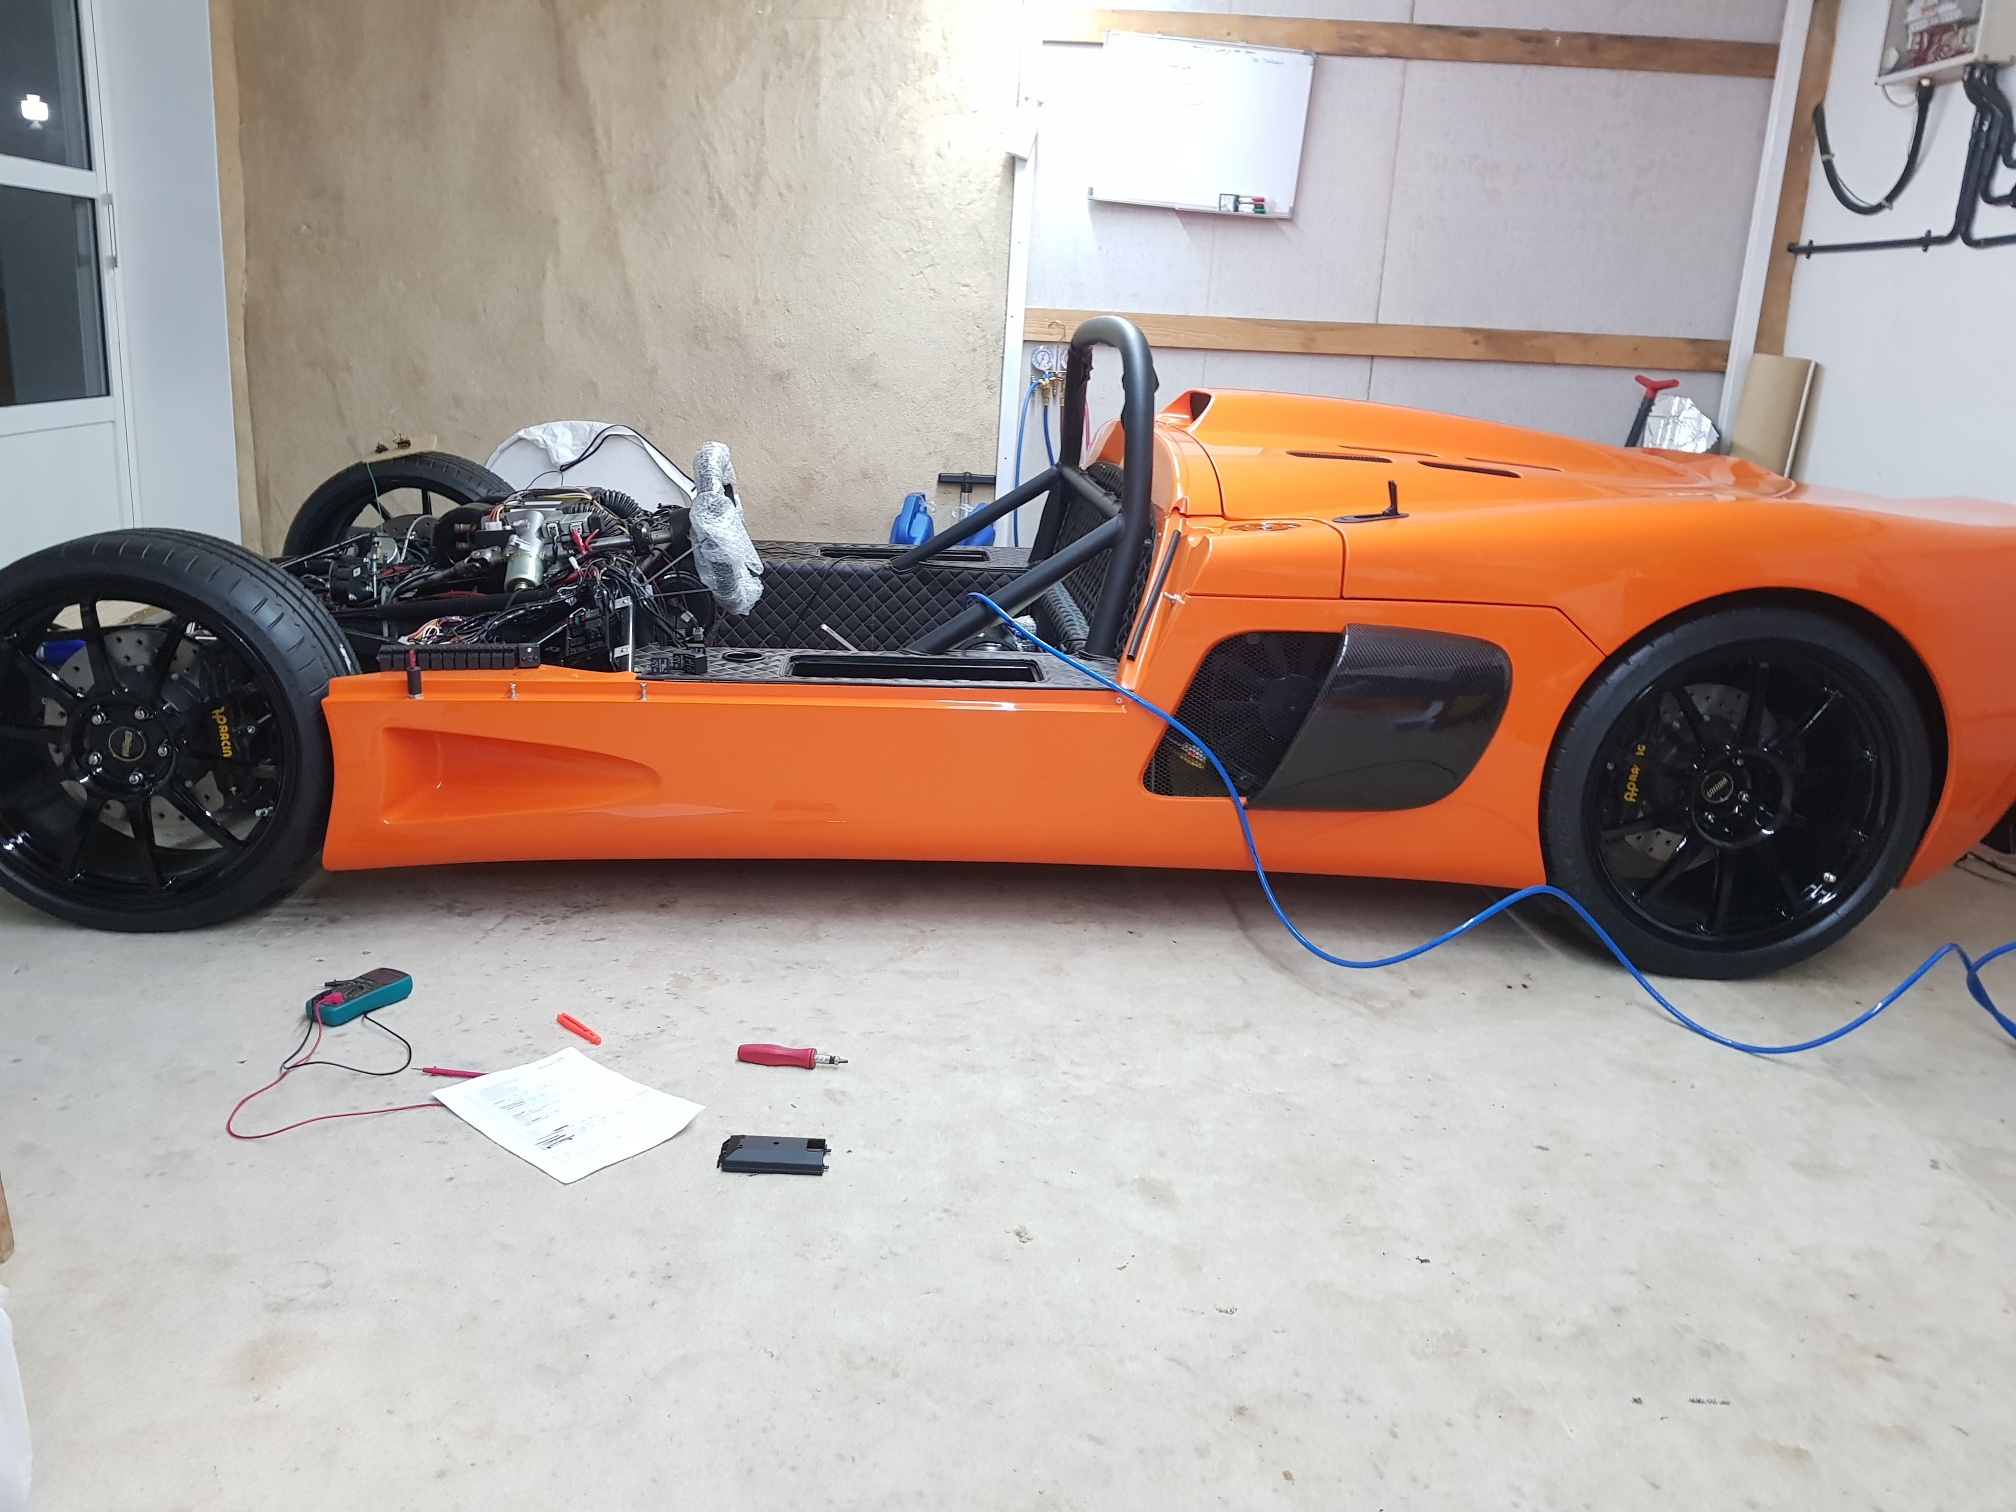
First was testing the fuel system - using a new pressure gauge I picked up during my trip.. the pressure gauge was installed, and the wiring for the LP and HP pump had to be re-installed (I am only using temp wiring, actual wiring will be part of engine loom)... The laptop was connected to the FOD and the LP and HP pumps turned on... the new pressure gauge and the FOD display the same pressure now, so clearly my old gauge was at fault... using the new gauge, I set the regulator to 58psi... I then set the FOD to 58psi also, and the pump continued to run at full speed... I then dropped the FOD to 45psi and the pump stopped! Pressure slowly fell and once it hit 44.5, pump restarted for a few seconds to go back up to 46 and stopped... so my FOD works!! I will do the final regulator and FOD settings once the engine is in!
Second was to test the AC system - using the new AC manifold! The vaccum pump was run for an hour to evacuate the system, and the pressure tested over night - the system does not have any leaks as the vaccum only dropped from 28 to 26 overnight - which is probably not a leak but just the manifold valves...
Then I started work on getting the rear canopy aligned... Since I have modified the chassis a little at the back, I wanted to be sure the canopy was perfectly aligned before installing the engine/box... so the canopy was put back on the chassis using the factory pre-fit setting, but there seems to be some movement of the chassis (about 1mm) since the canopy is not even on both sides... I loosened the rose joints in the chassis and set about aligning the rear canopy as per the factory manual instructions... It took some time, but I was able to get the canopy aligned and then tightened the bolts away... I also installed the Aerocatch striker pins, and adjusted them so the canopy fits and locks perfectly...
Since the 'car' is currently on the ground, I also decided to test the VRH with the body on and see how much lift I get... The front lifted 45mm and rear 40mm! This mod has worked out a treat!
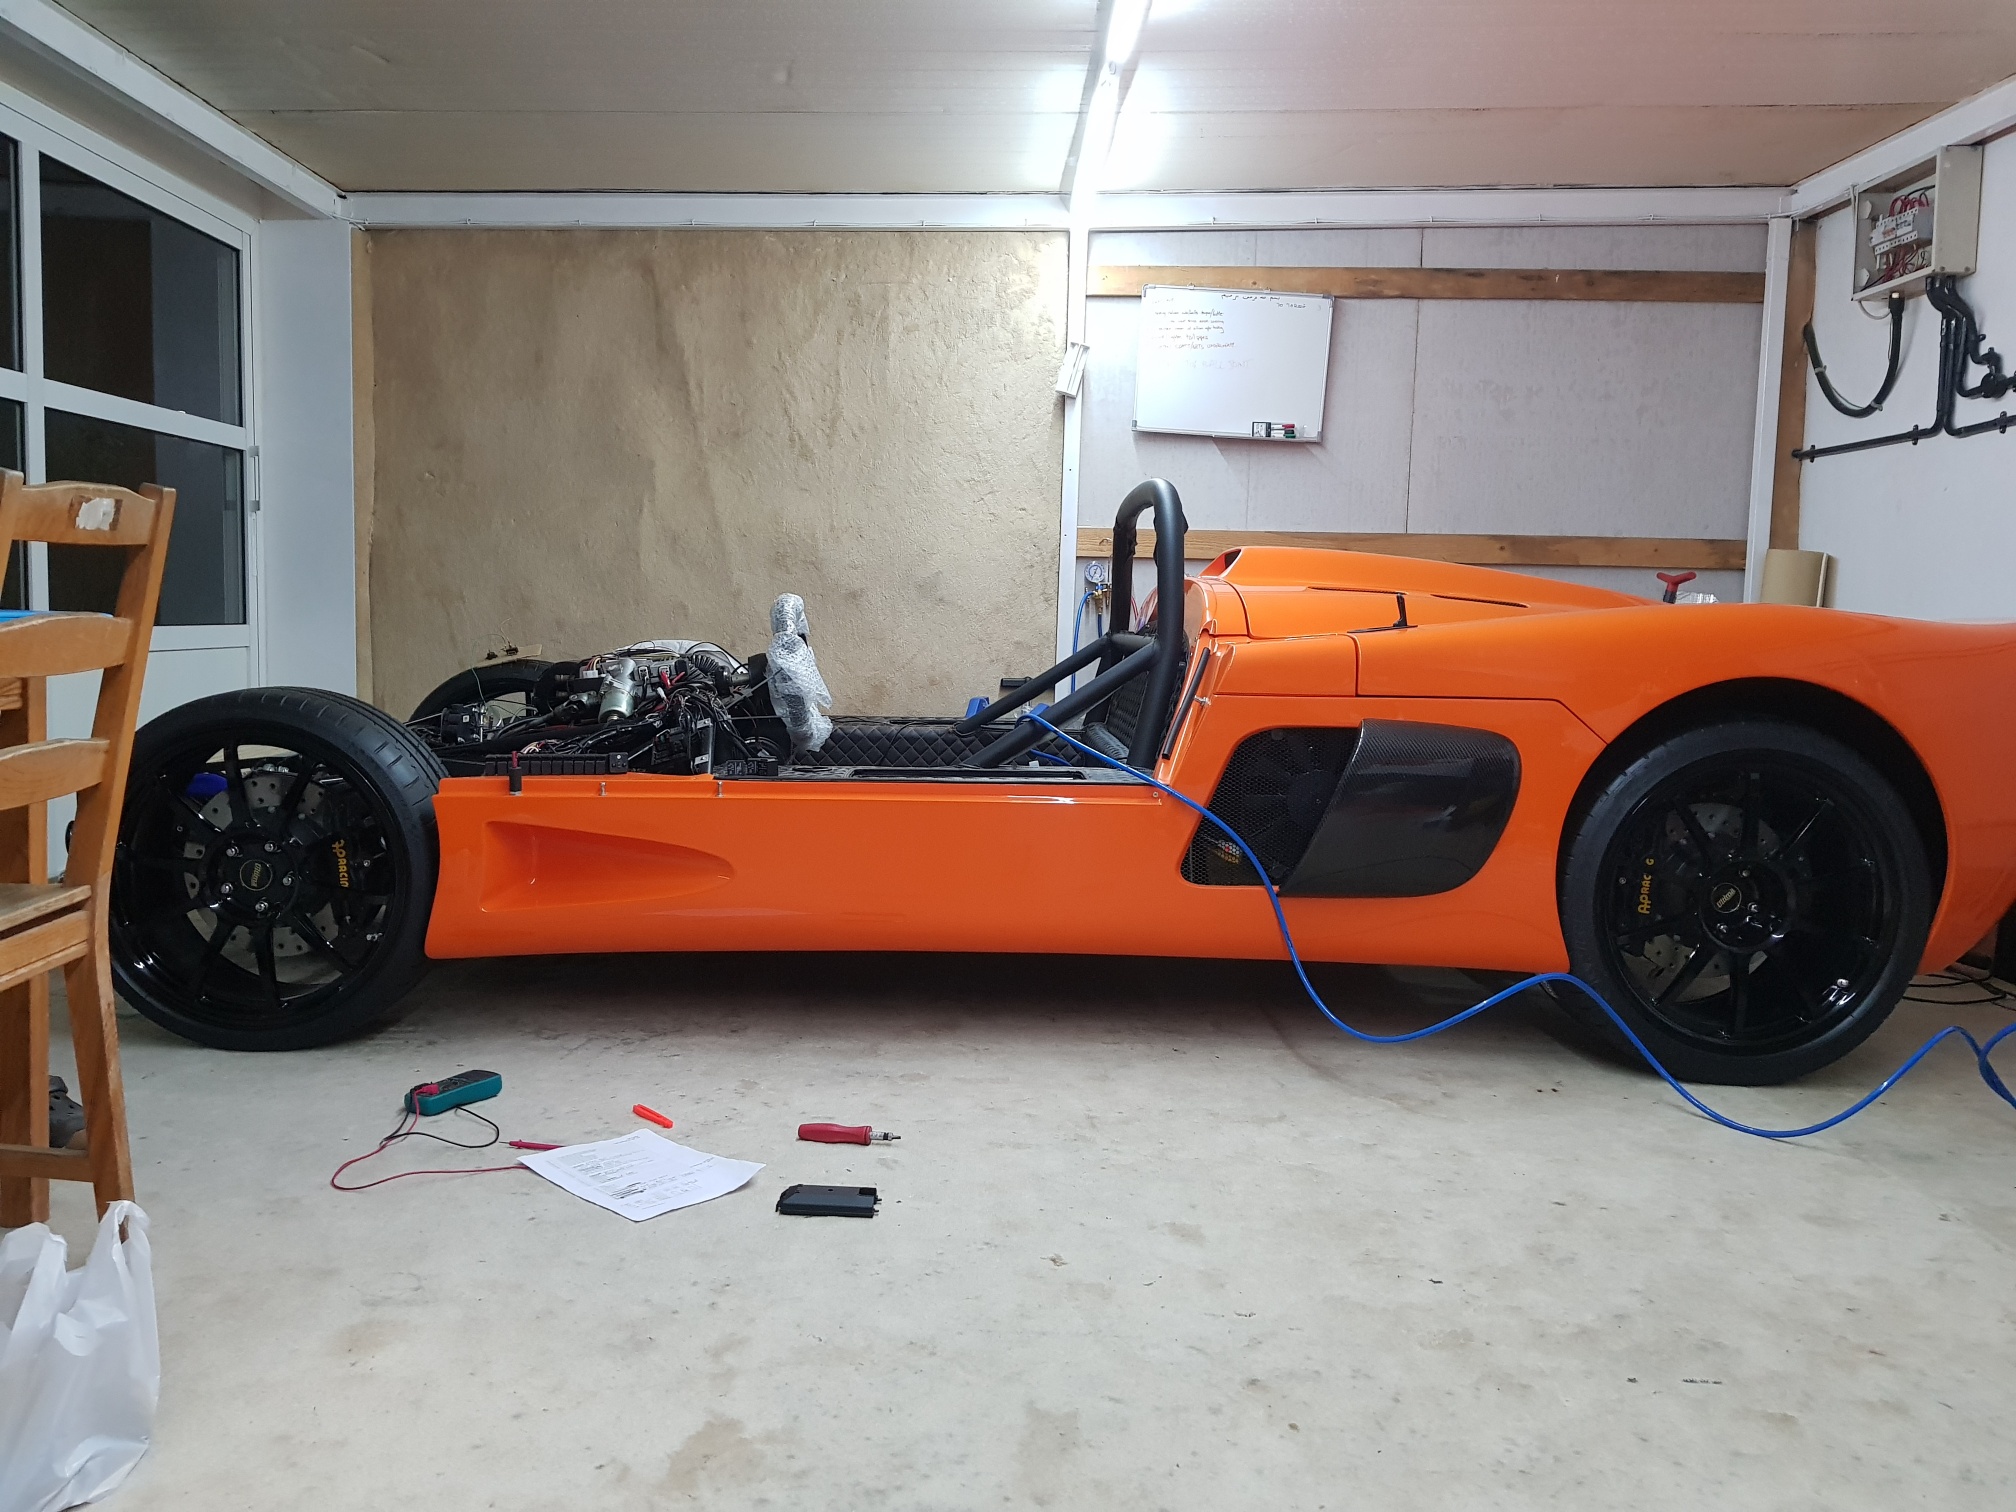
Finally, I lifted the car onto jack stands and removed the wheels
July 19-22 2017
Build Time Today: 9 hours
Total Build Time: 340 hours
I will now focus on the dash/doors...
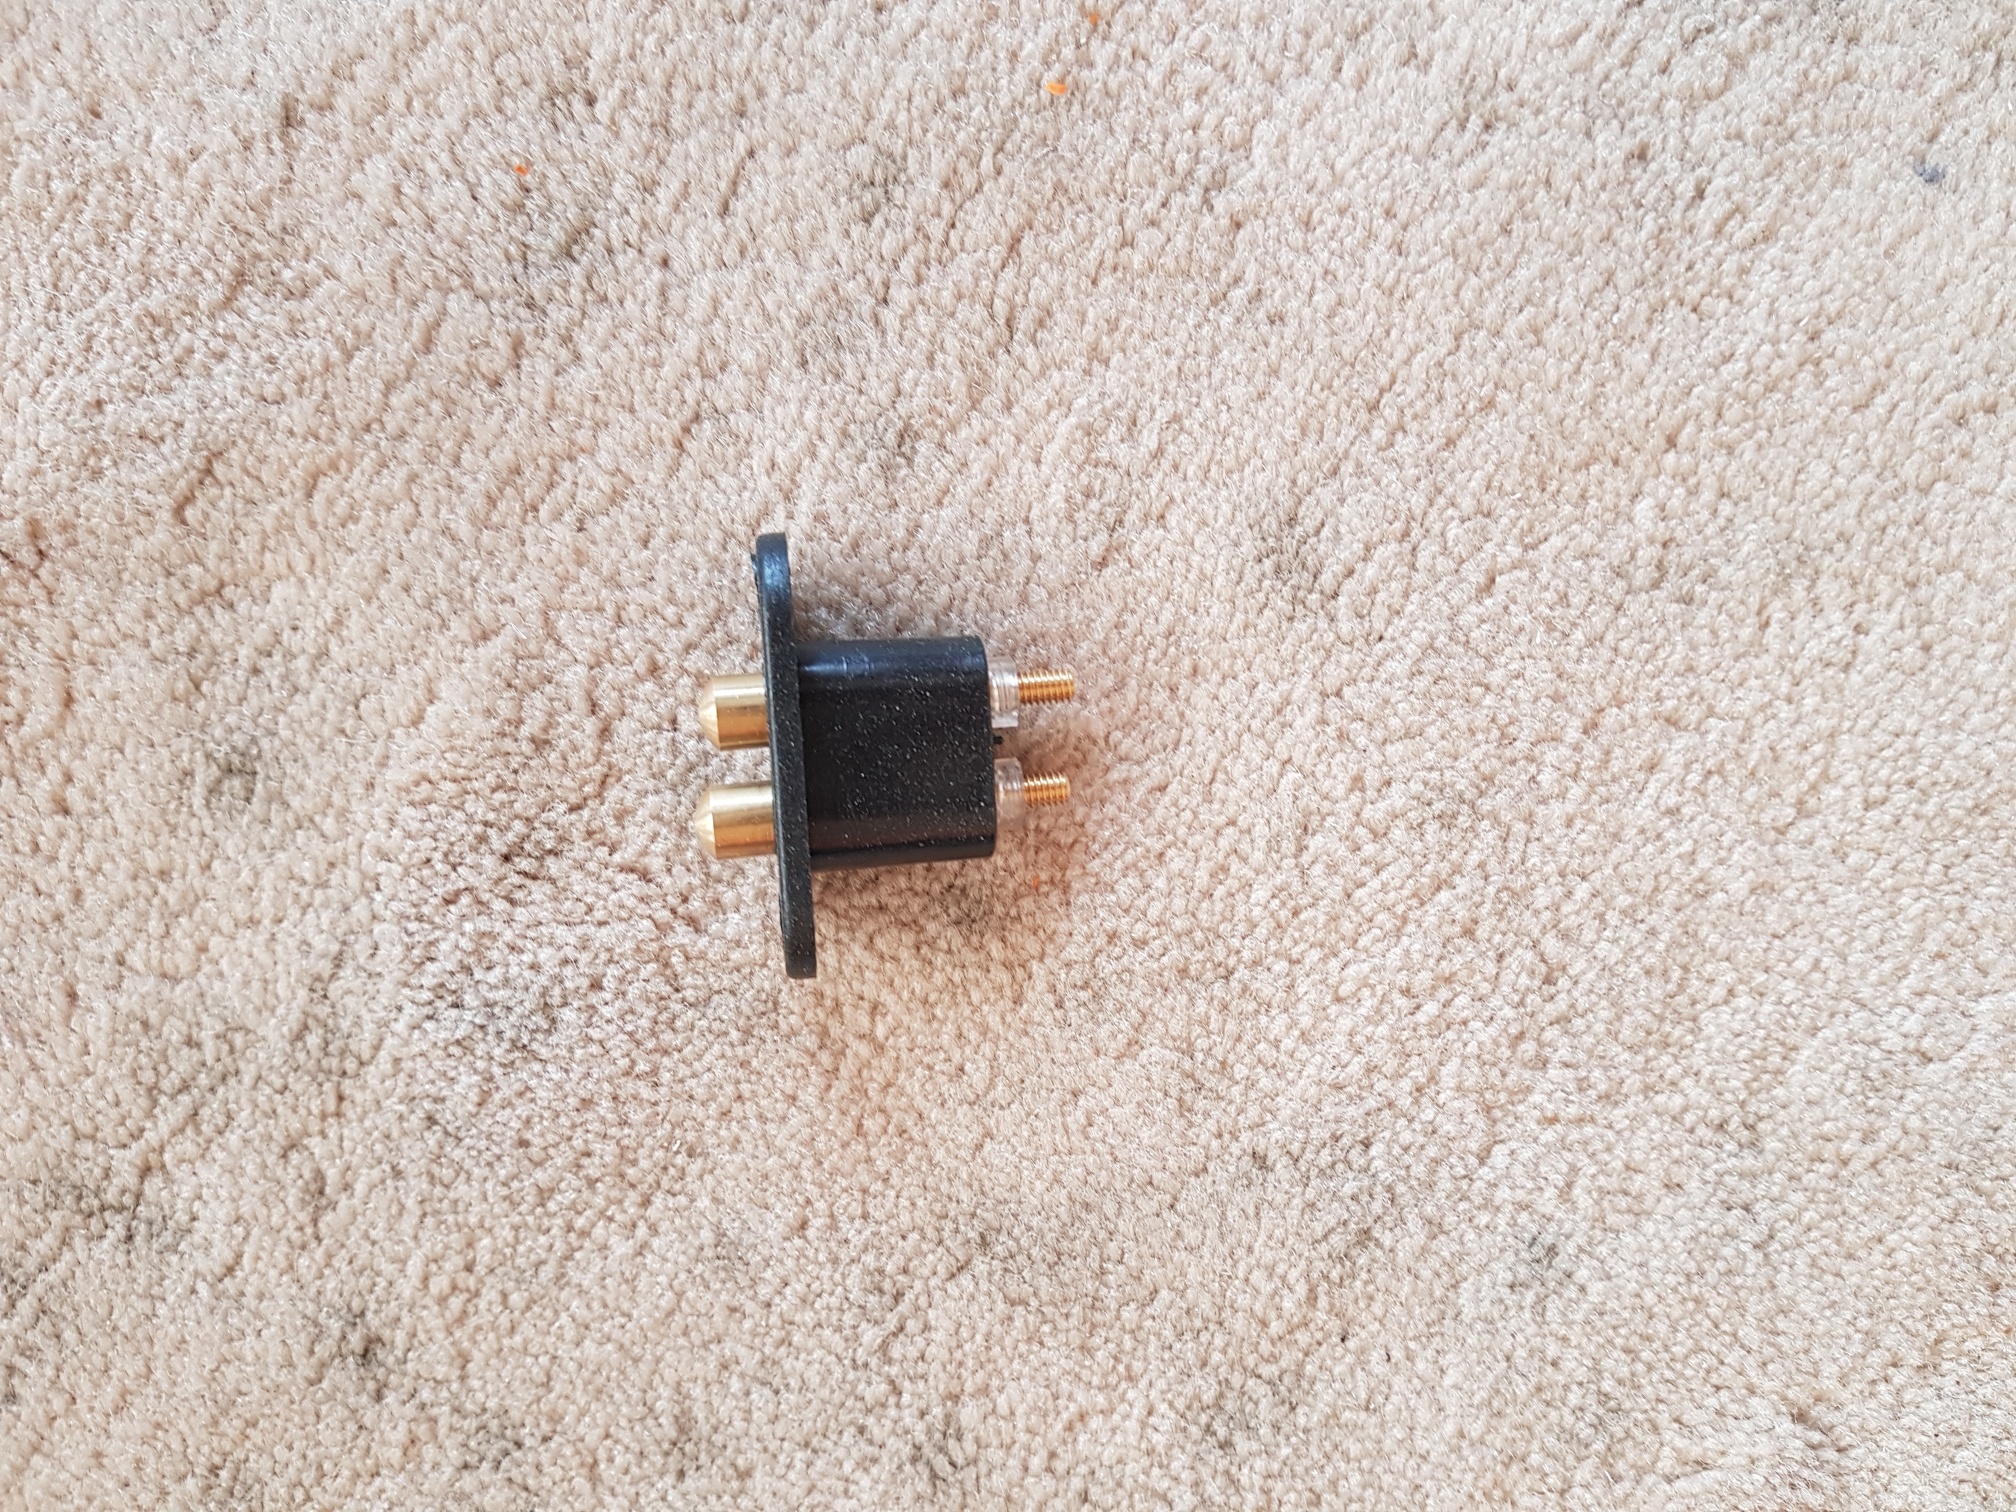
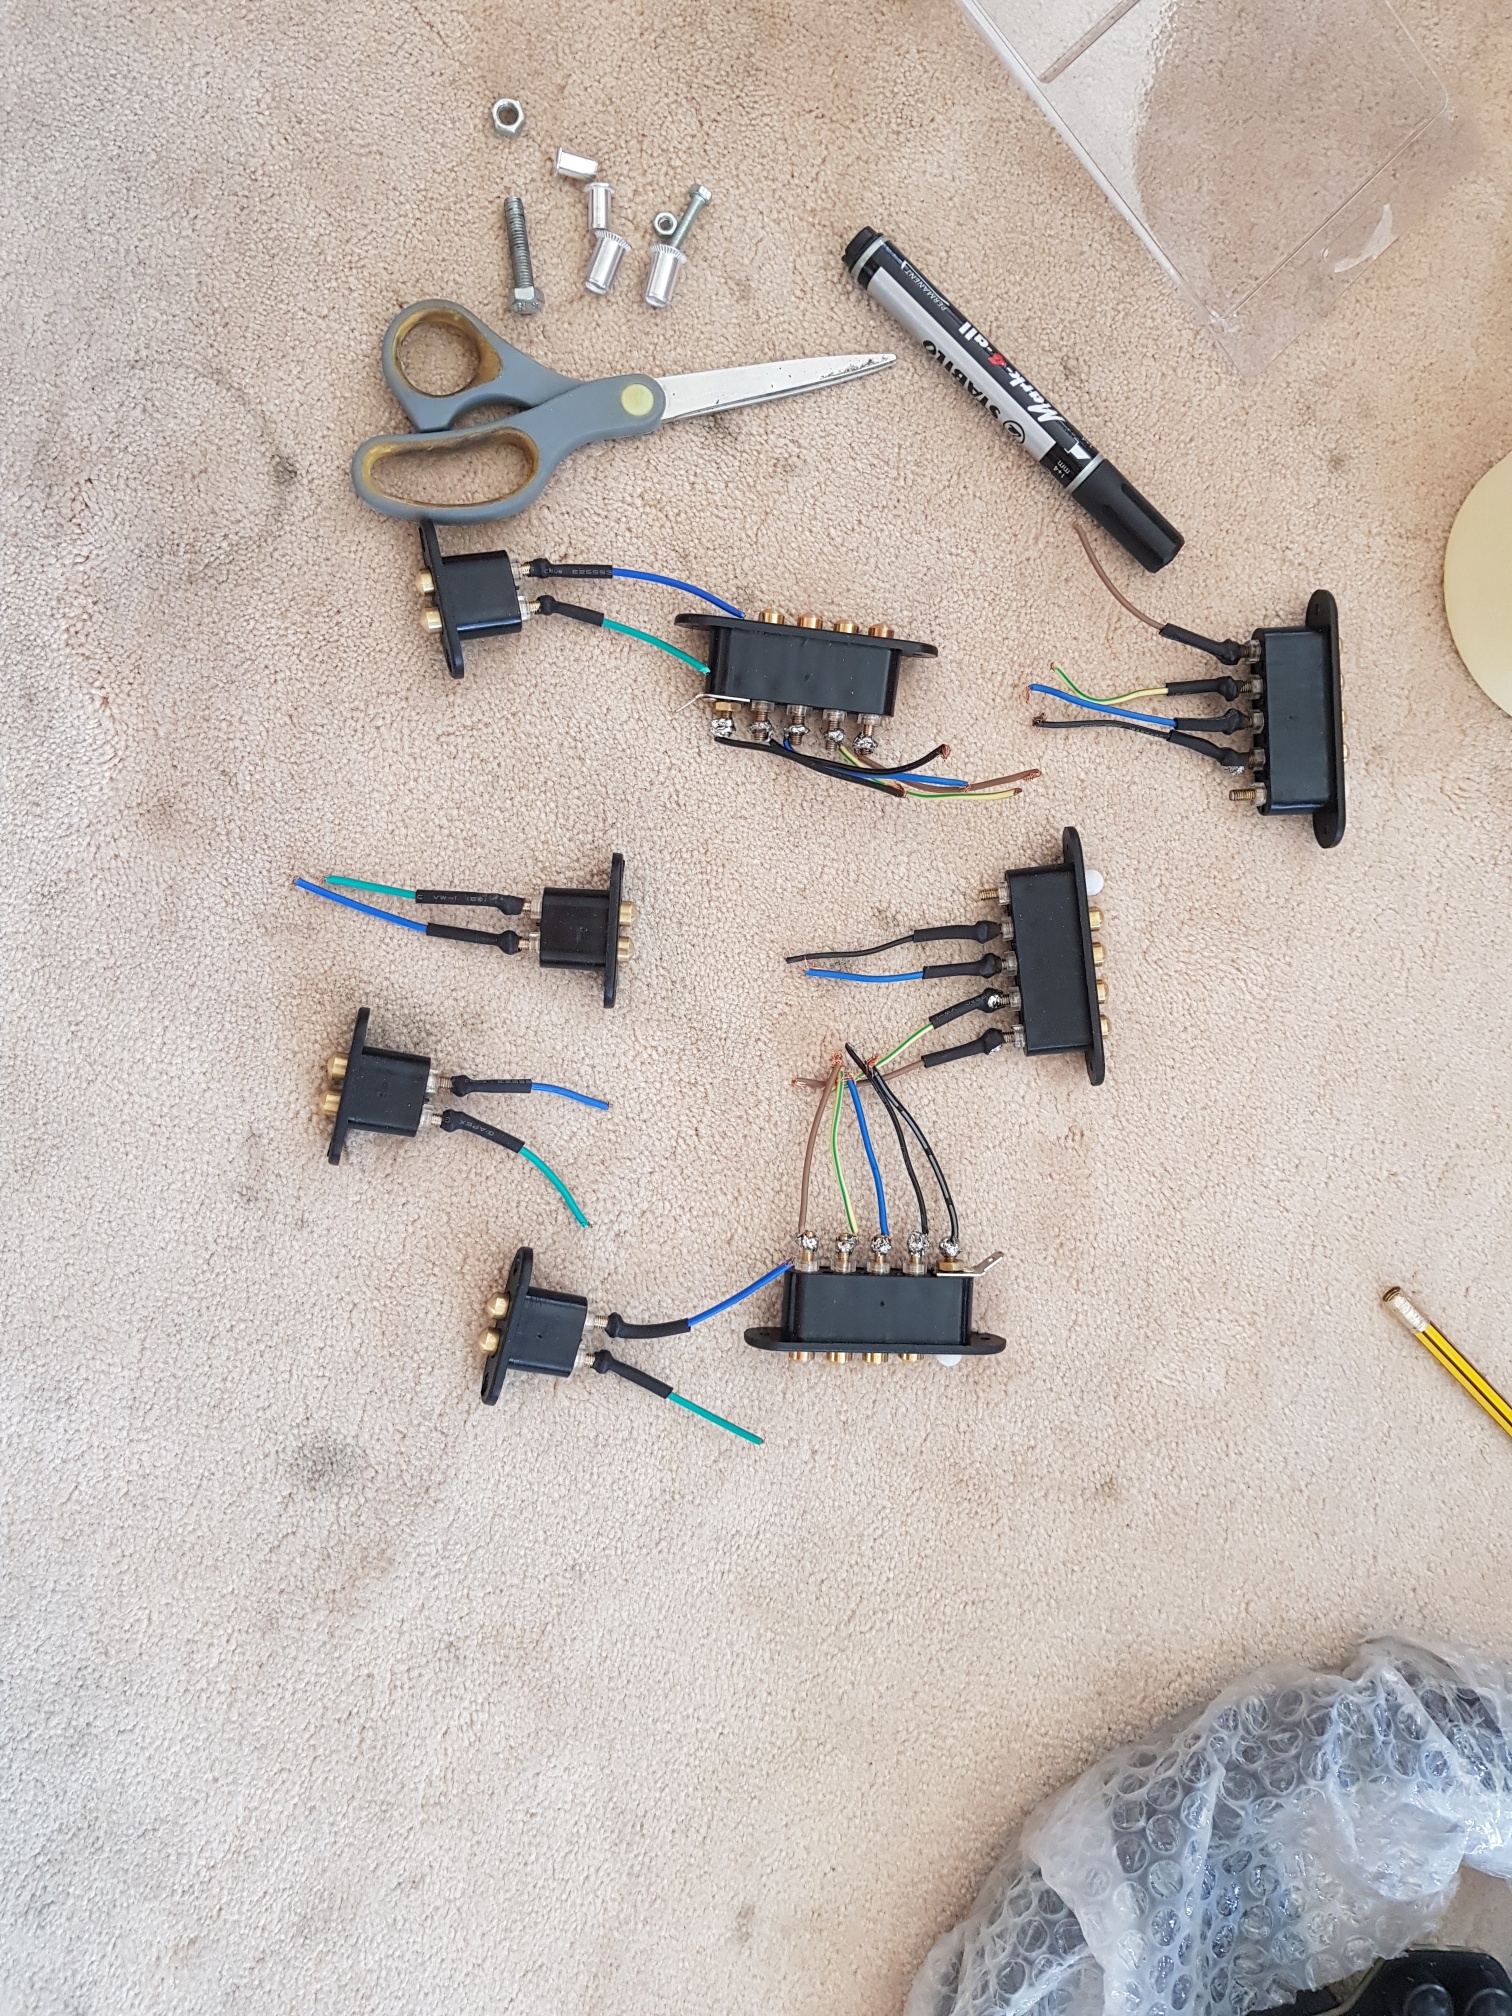
First job was to get my door mods ready - I picked up some JambTac door connectors which will allow me to not have any wires running between the door and body.. these JambTac work as connectors which are installed in the body and door, and provide a connection when the door is closed... First, I prepped the JambTac by soldering wires to each connector to aid in easy connections...
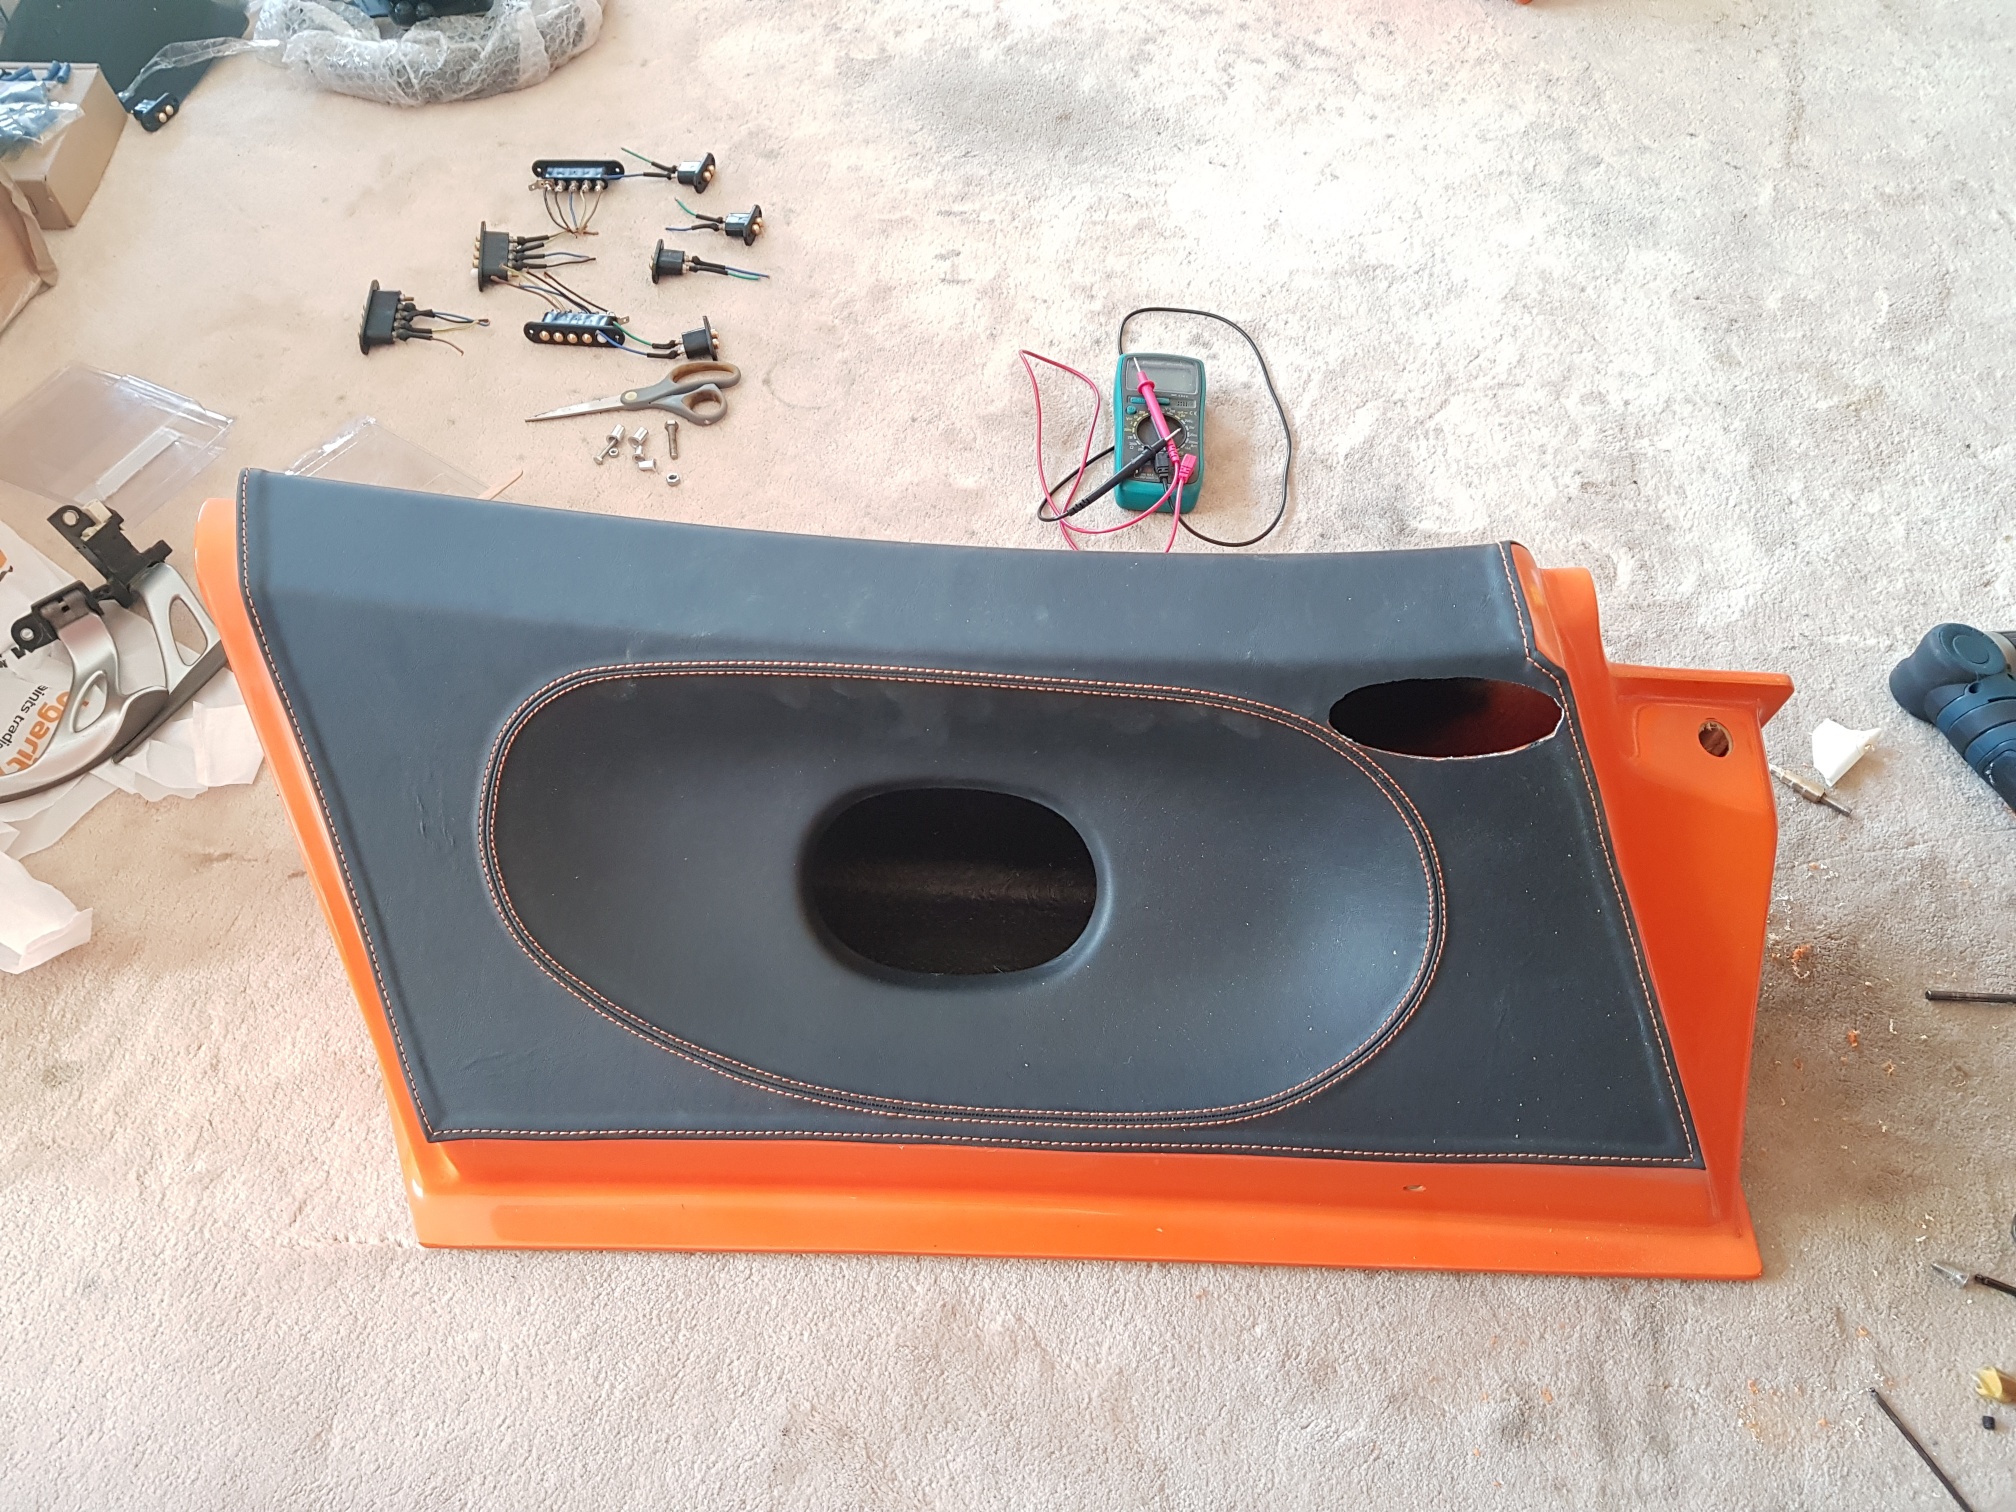
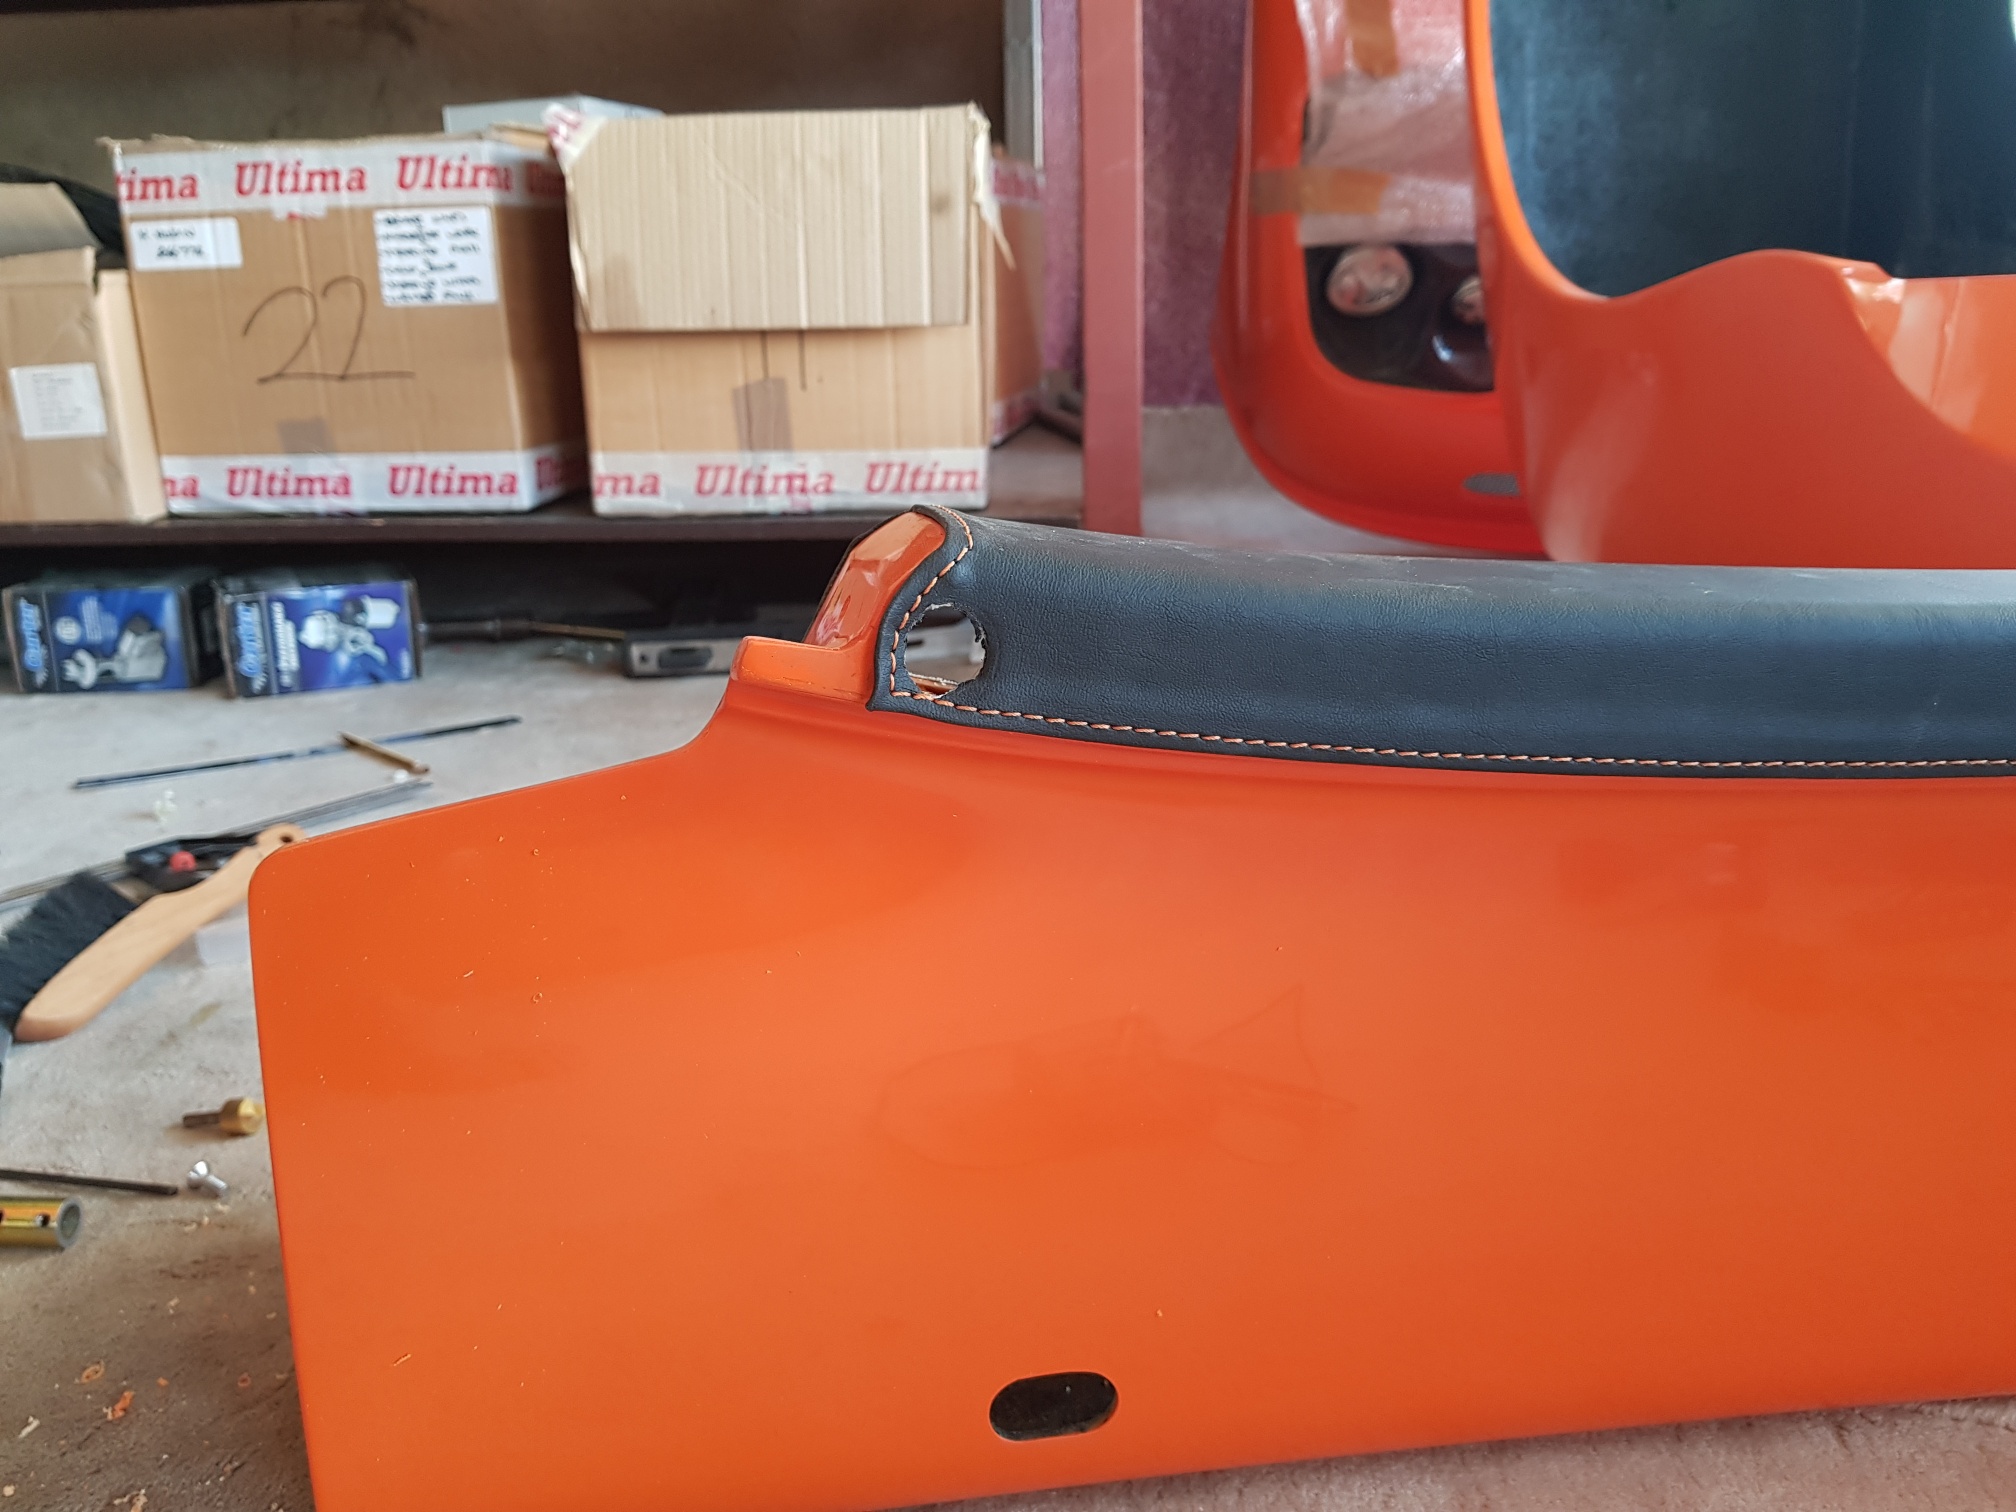
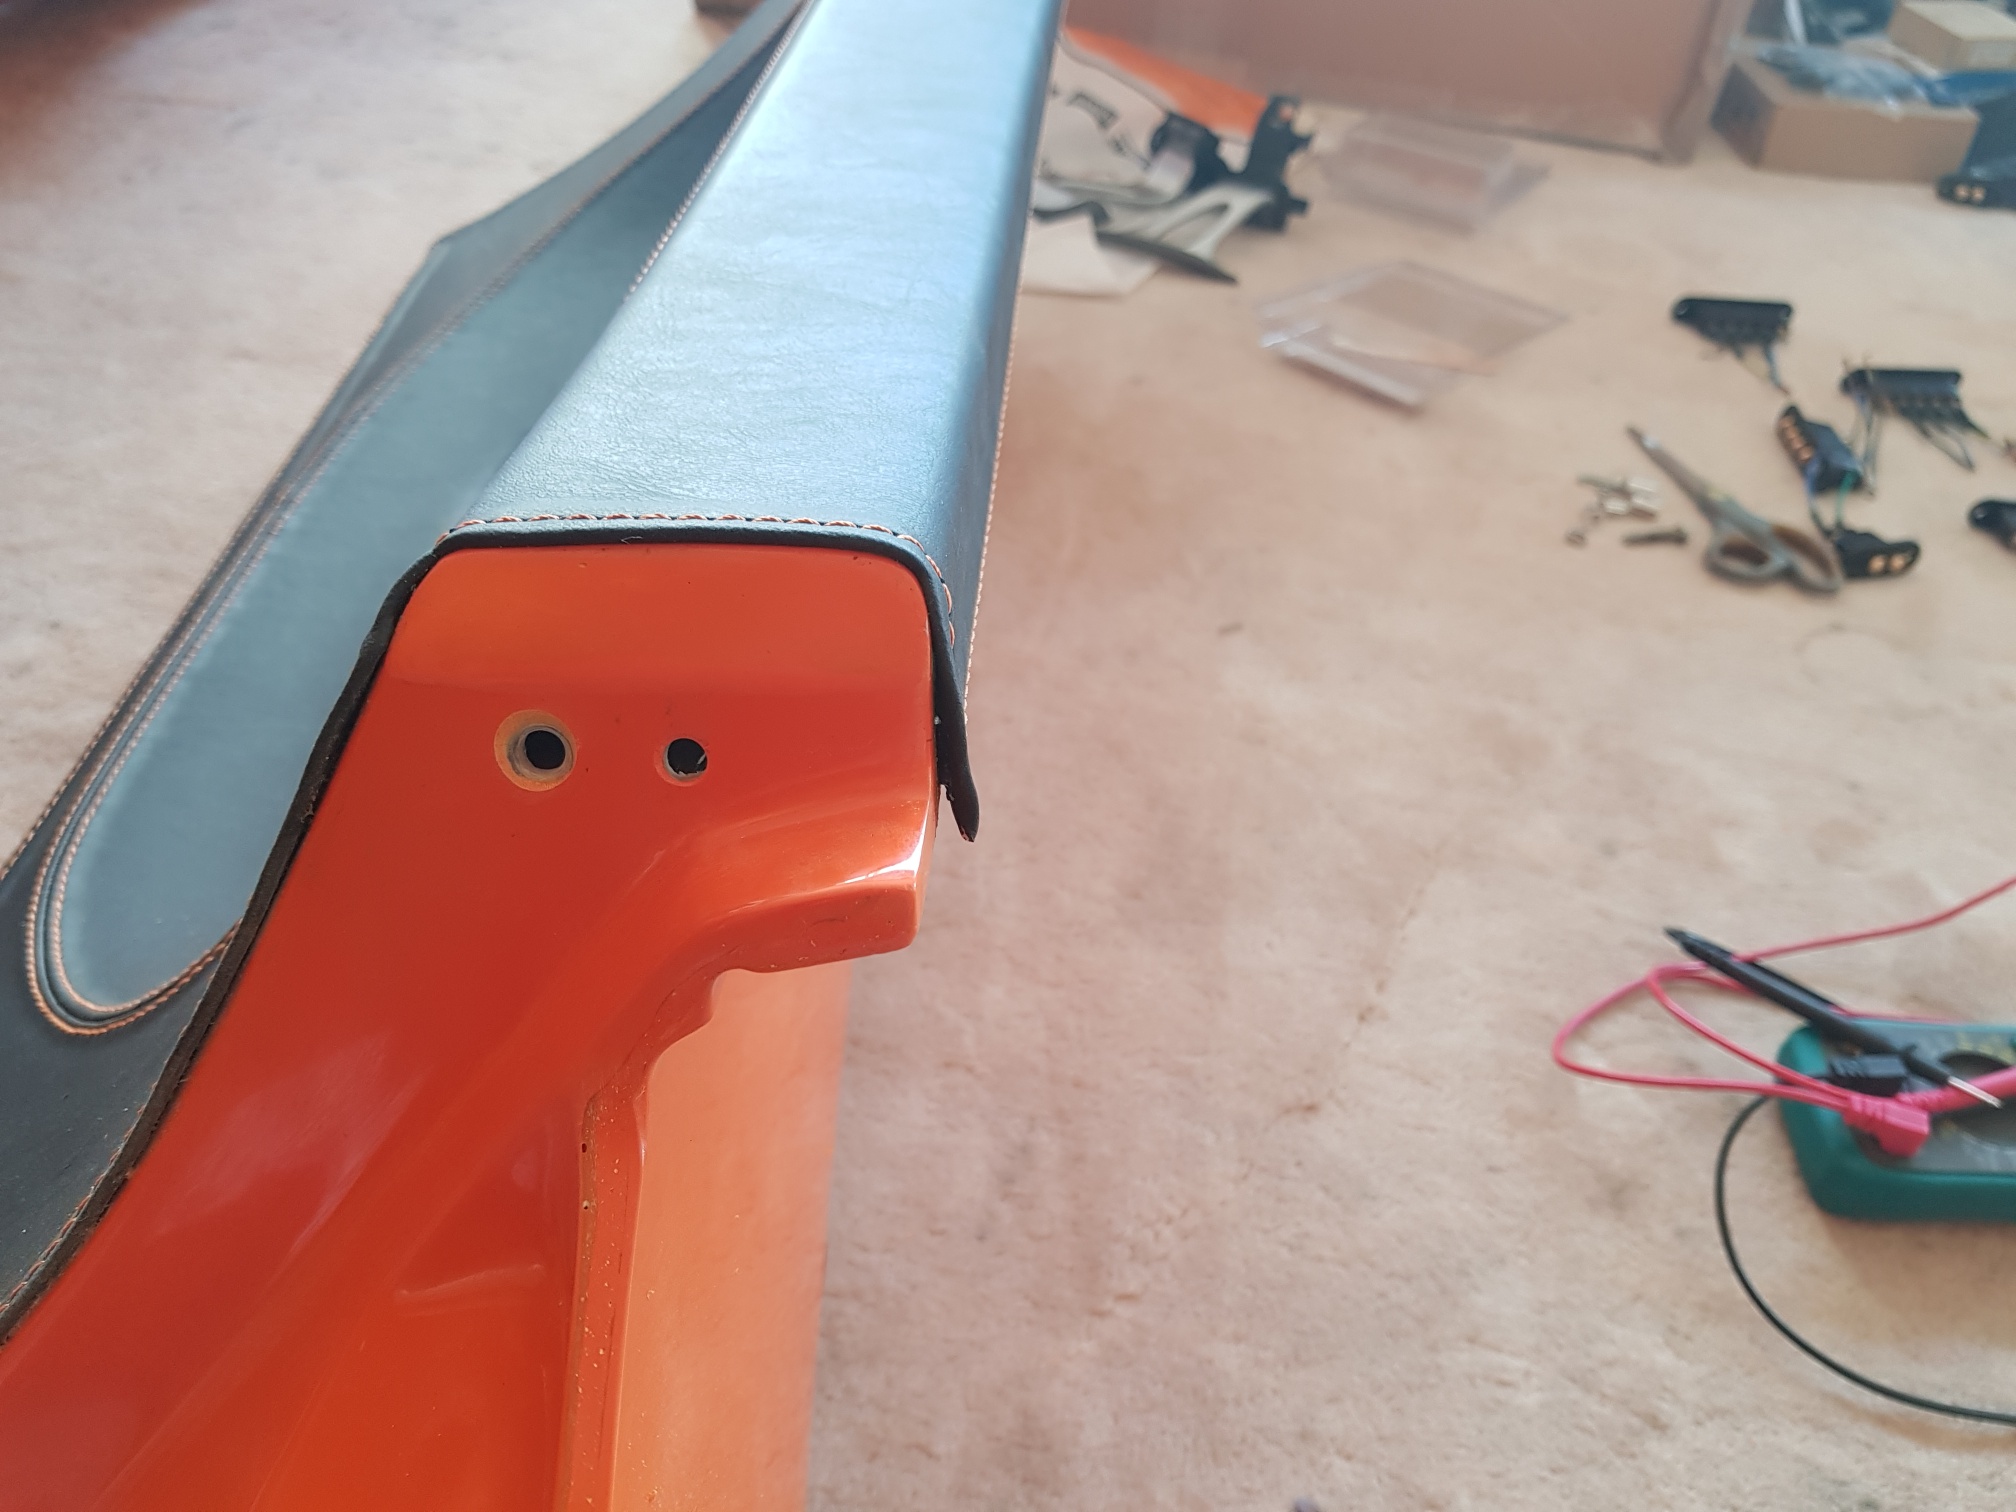
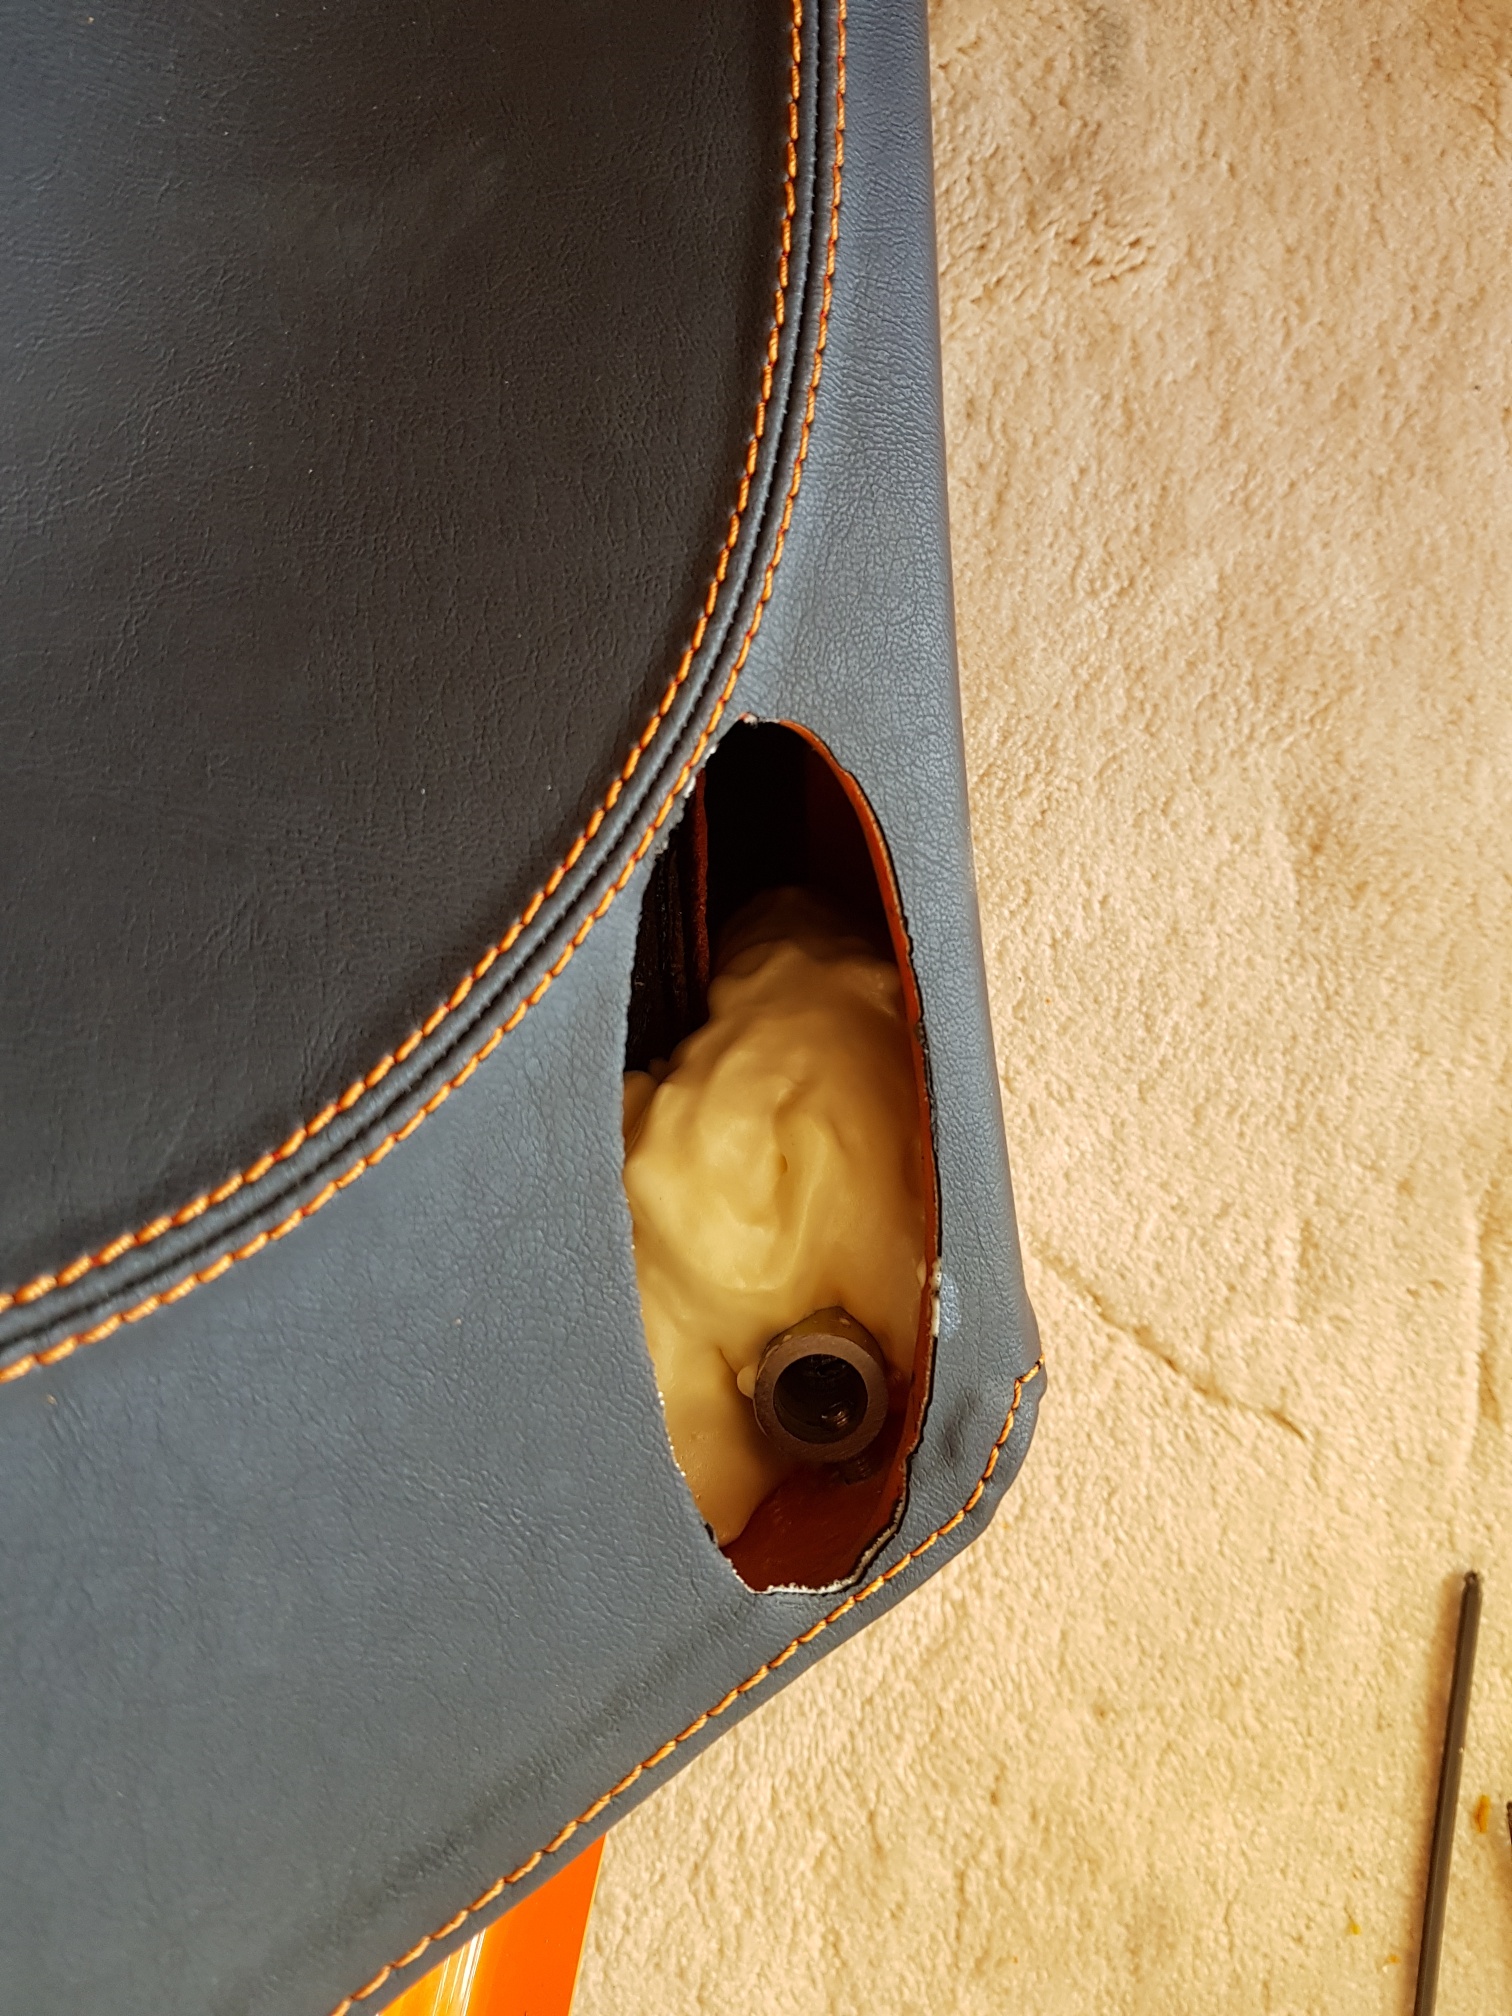
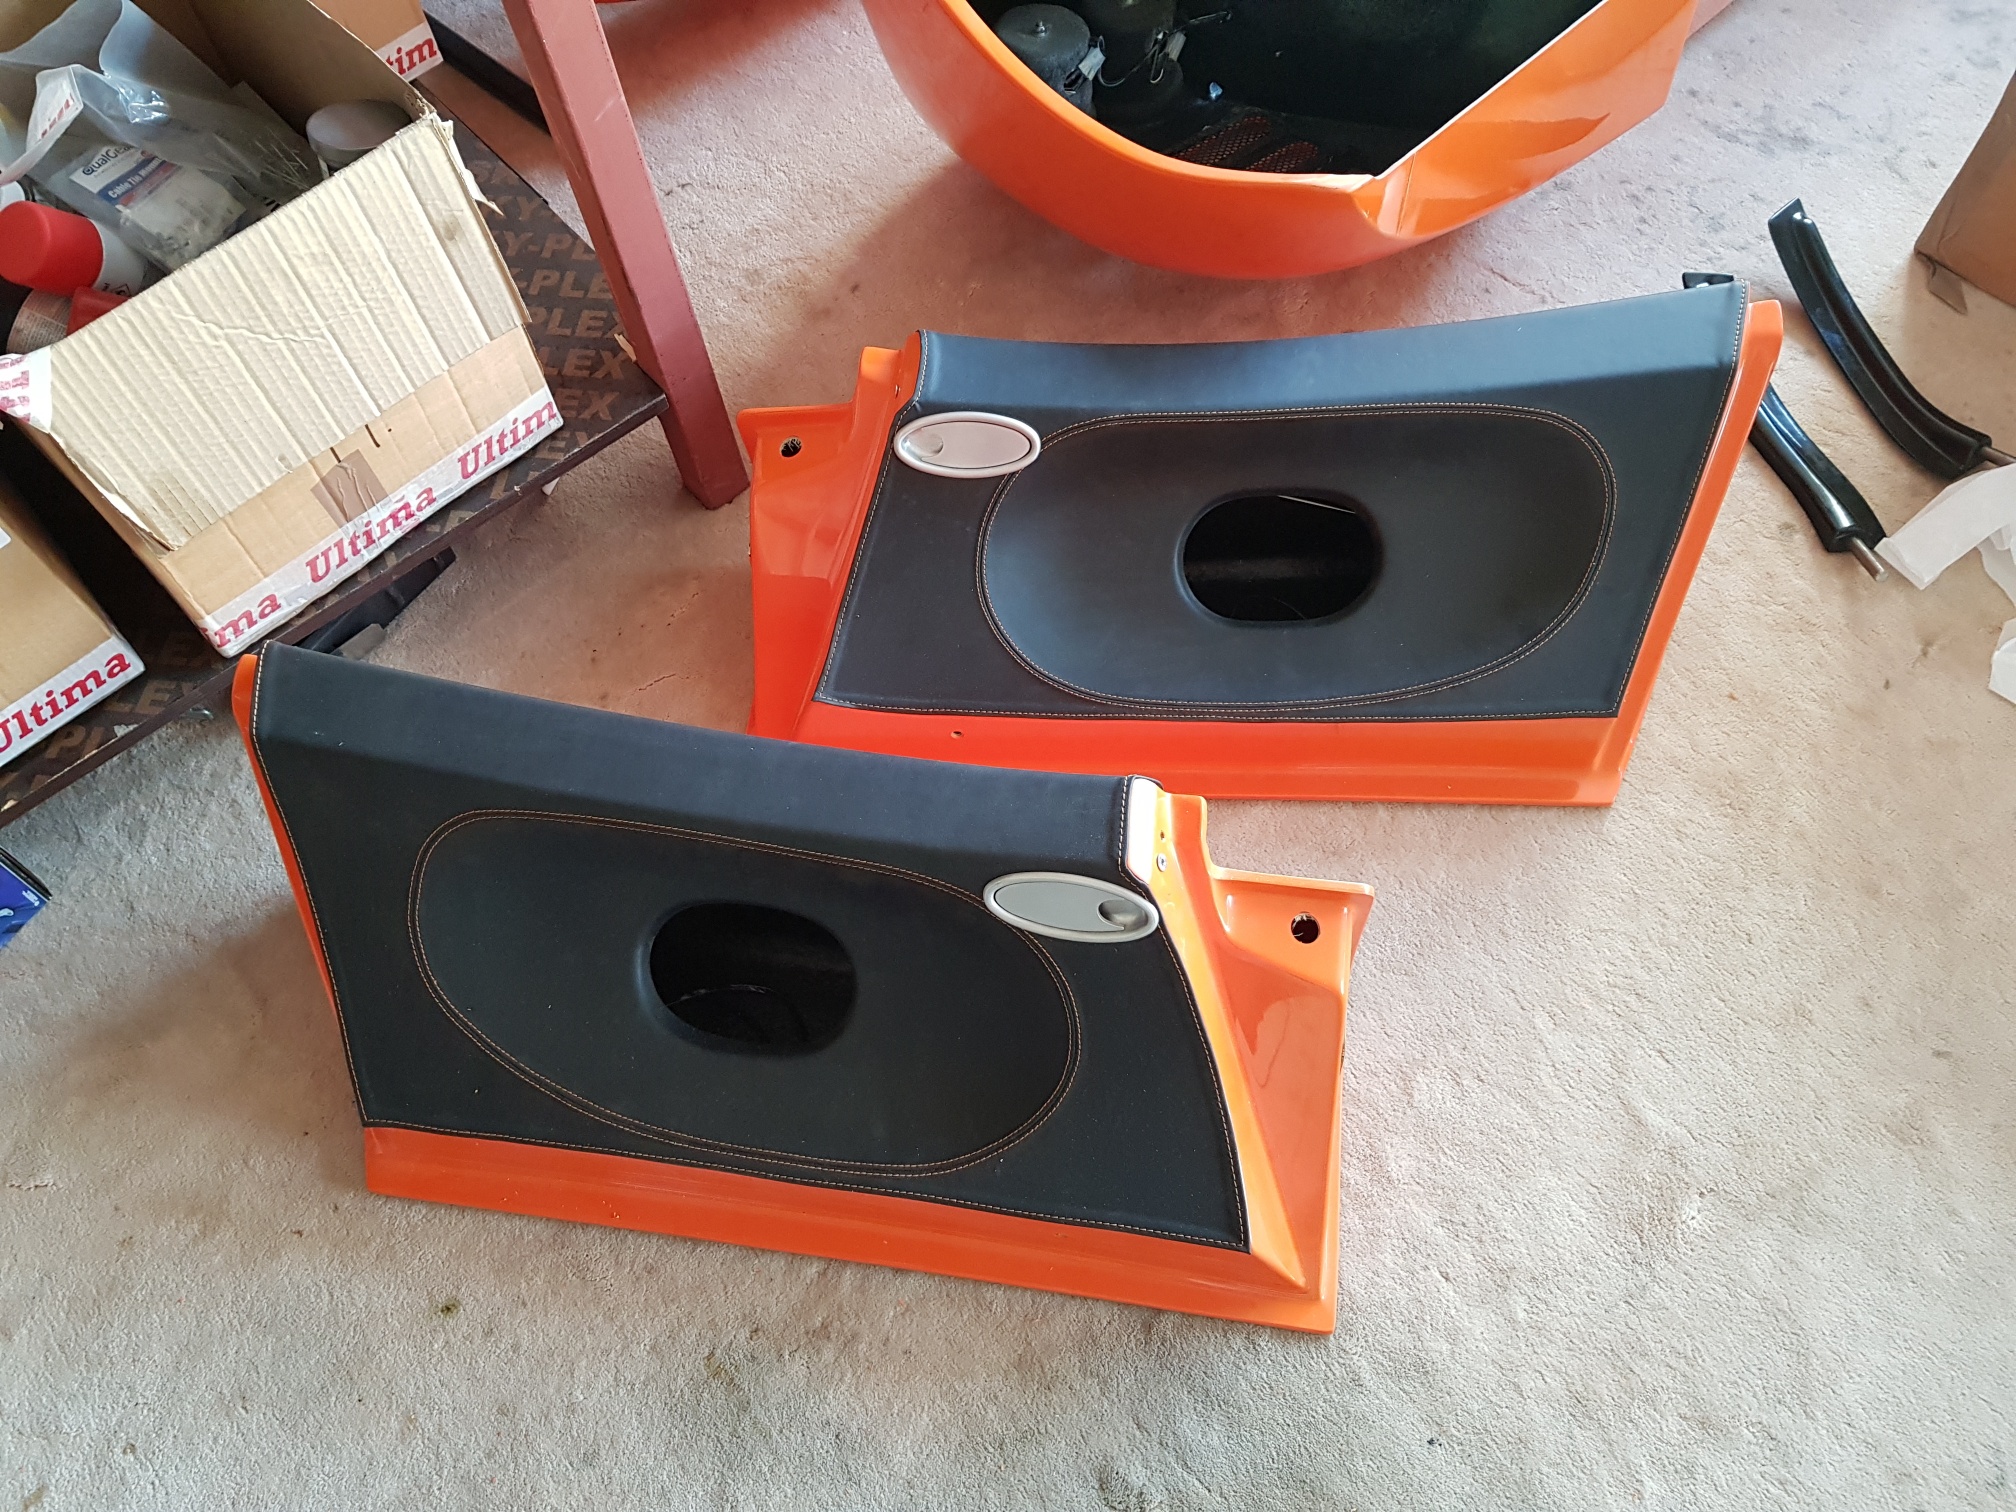
Next, I had to start getting the doors ready - so the leather was trimmed away for the door handle and the window supports... The brass window supports were then installed by sliding the support in the door, and drilling two holes in the door GRP - one to lock the support, and the other to lock/unlock the window in the future... Once the supports were installed, I filled the area with expanding foam to lock the support in and prevent any future movement...
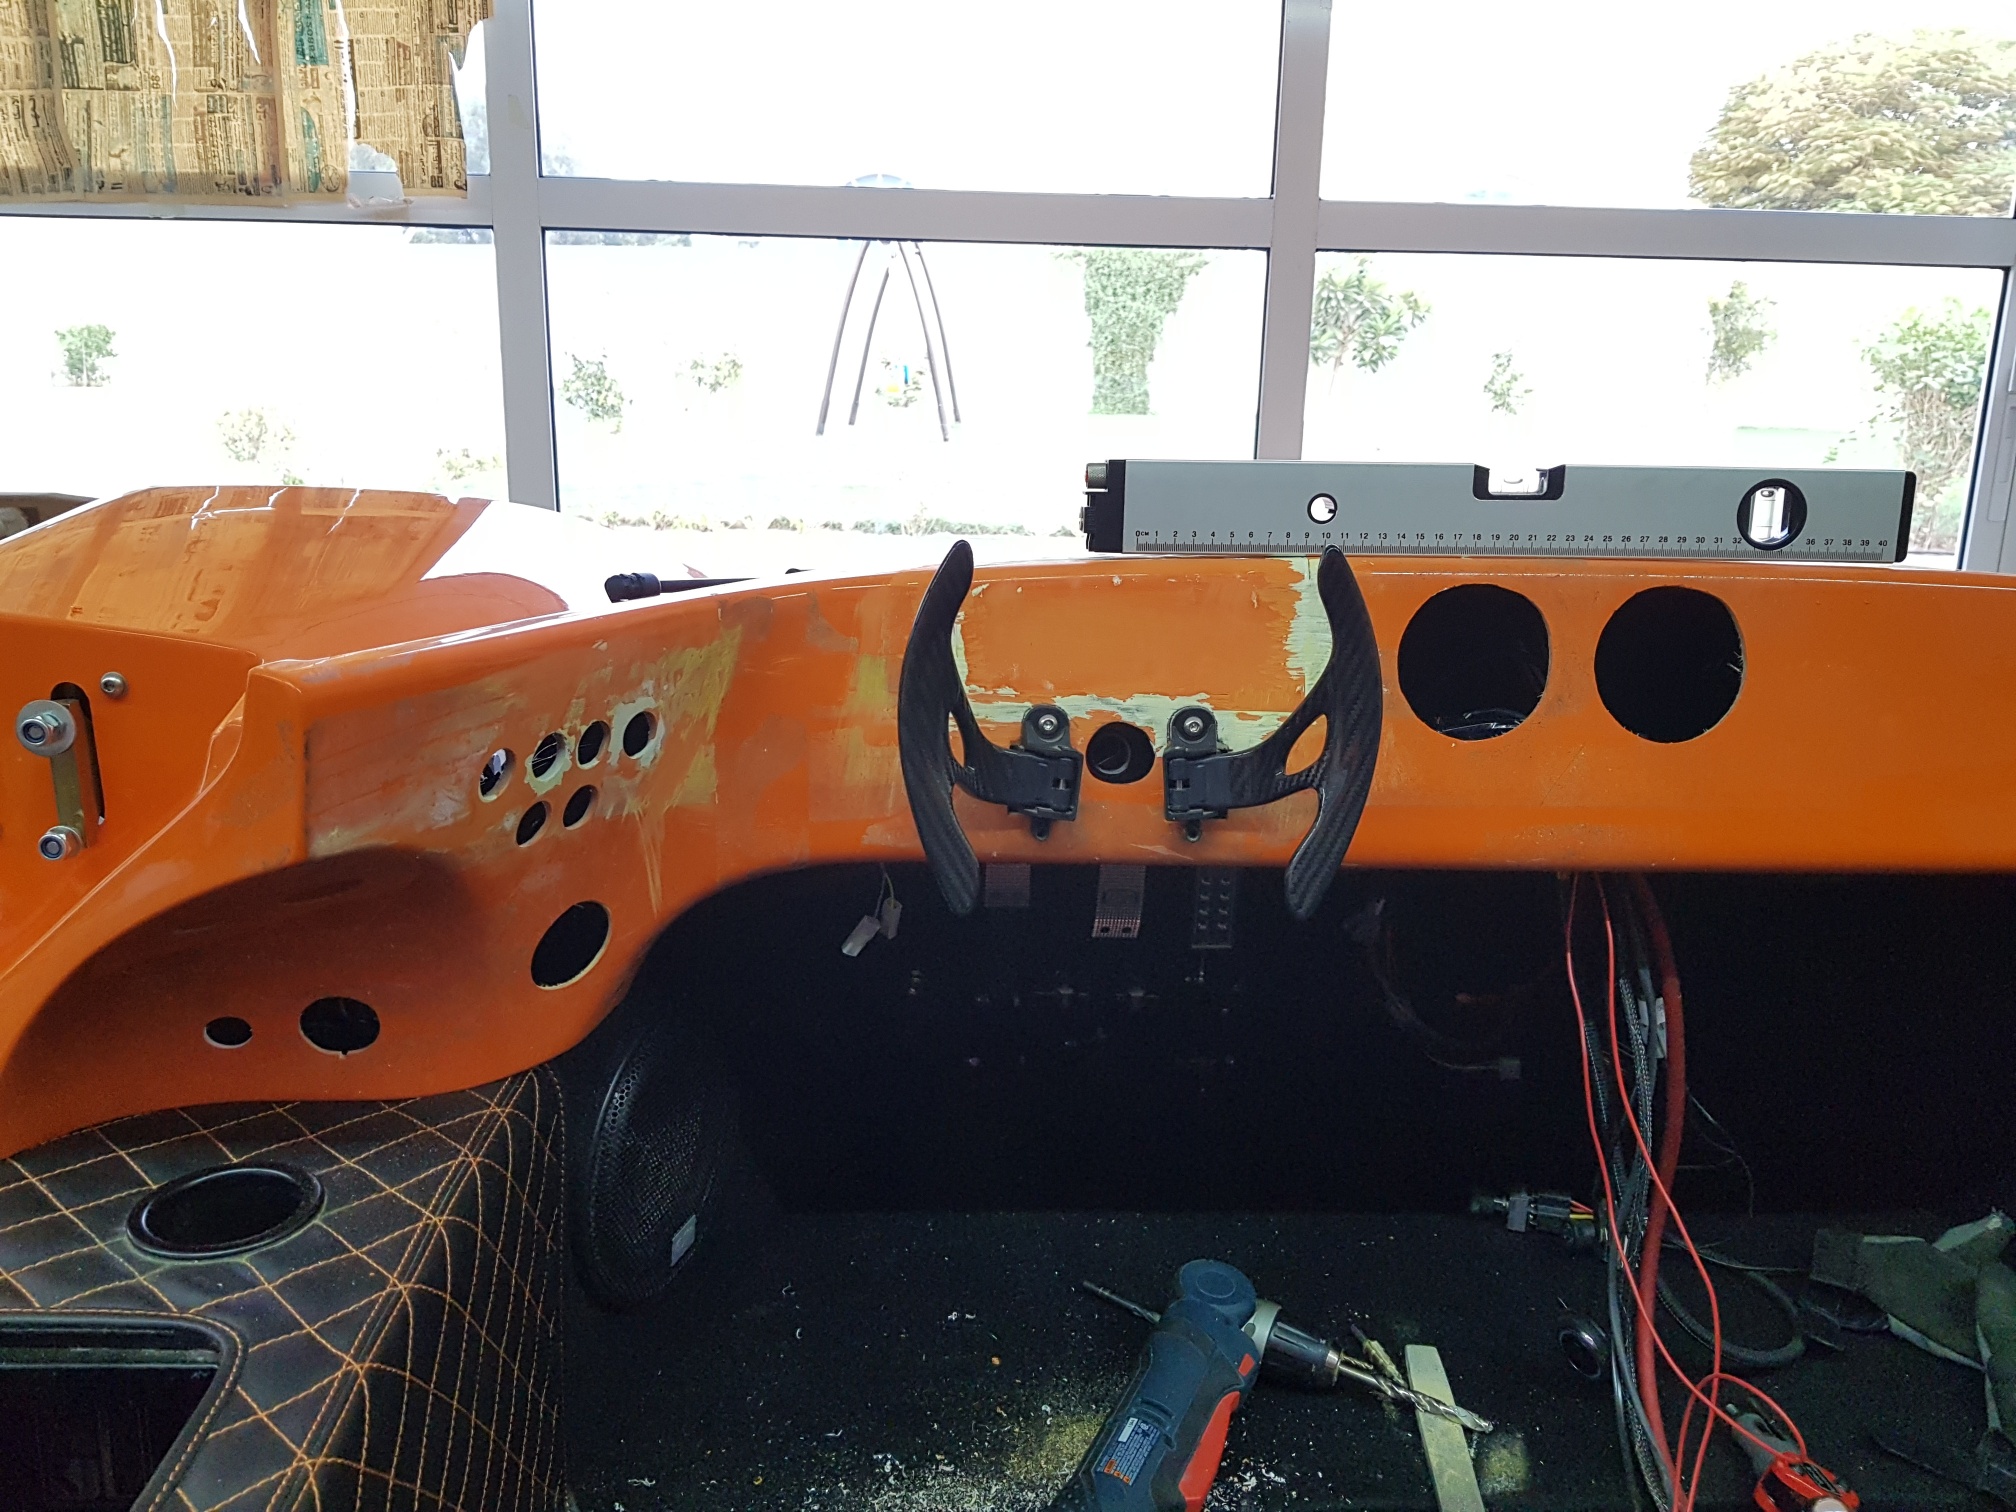
Next, I had to start prepping the dash... The dash was first installed on the chassis to check for clearance of the steering wheel.. Once happy with the steering wheel hole, I started to work on the holes needed in the dash: First was to make place for the shift paddles... It took a while to figure out where to place the holes, and what size they would need to be in order to get a correct look with the steering wheel, but I was able to get the hole positioned correctly...
The Dash was removed from the chassis, and the hole for the paddles was made and trimmed... the paddle shifter now fits in the hole, but I will need to recess the GRP a little to let them sit flush... I will do this with the dash back on the chassis to get the position perfect before drilling the bolt holes...
I then drilled the holes for the EVO switches, side mirror switch, interior light switch, and AC vents... I also ended up re-epoxing the GRP section back on that had been removed for the dash display - I was planning to use the Dash2 Pro but that is no longer the plan.. so now I don't need the dash hole that had been made to install the Dash2 Pro holder...
July 23 2017
Build Time Today: 3 hours
Total Build Time: 343 hours
Goal of today was to prep the hole for the JambTac in the dash GRP... I spent time figuring out where to install the 2 JambTac (on each side).. Location was finalized by comparing the door face and dash face that meet and finding the best 'open' spots... Then I had to drill and trim two holes on each side to fit the JambTac... A simple job but took a long time to get a great fit... The 'matching' holes on the door will be marked when the dash/doors are installed (temporarily) later so that the position will be exact...

July 25 2017
Build Time Today: 5 hours
Total Build Time: 348 hours
A long day in the workshop today...
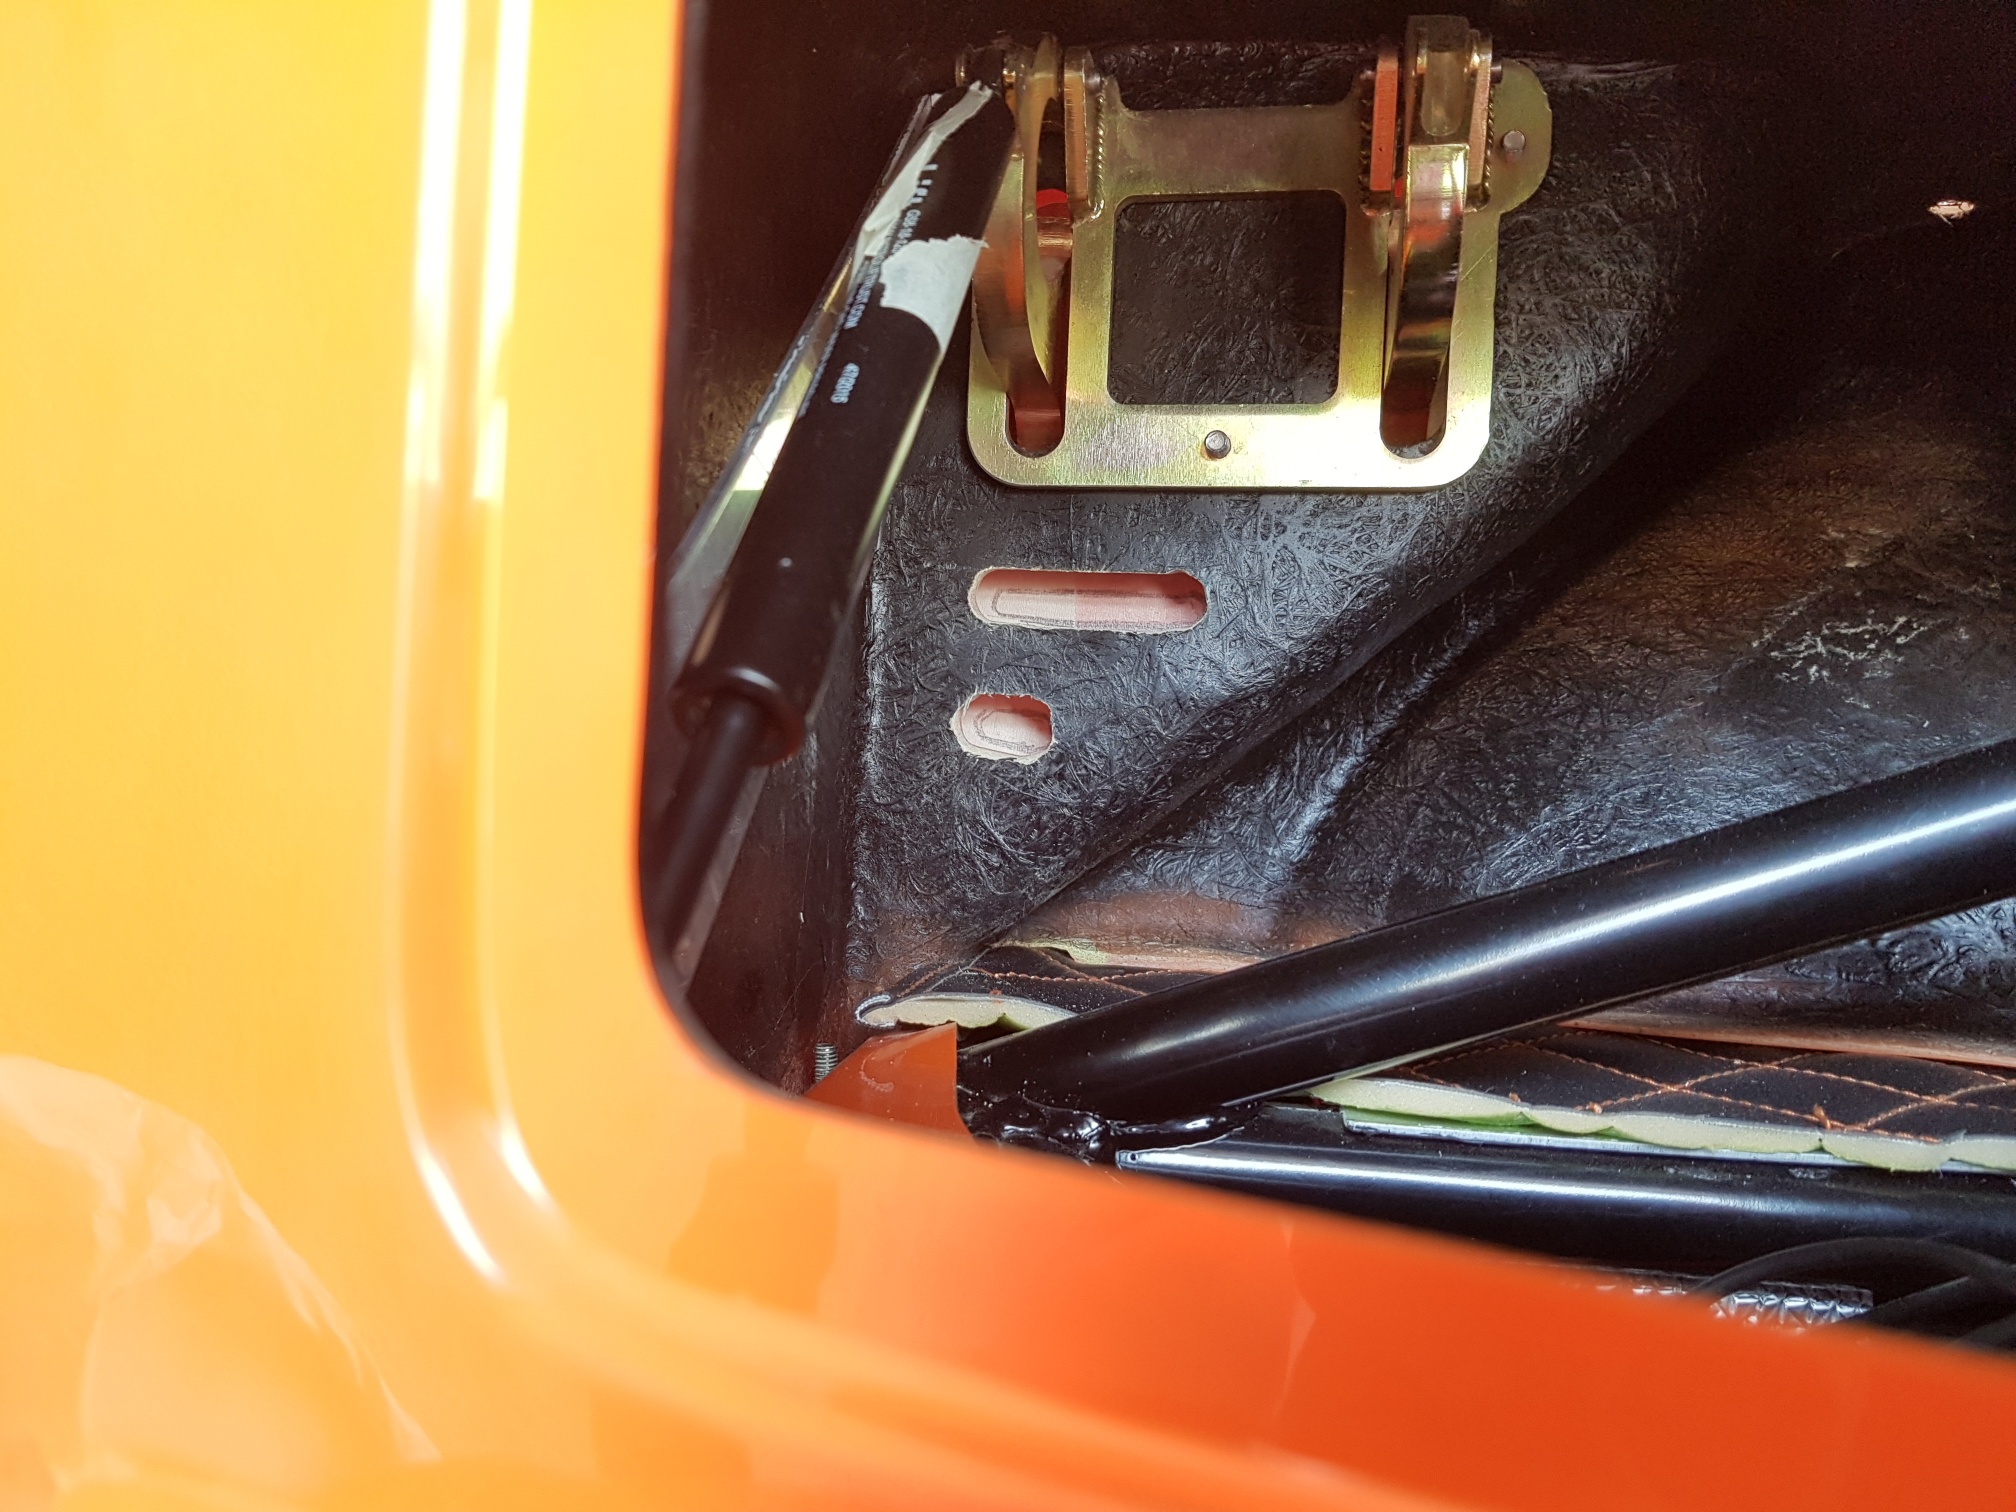
I started with getting the doors ready - the door locks (with the central locking motor attached) was installed inside the door, and then the door handles were installed as well - the later took some time because the expanding foam needed to be trimmed a little to let the handle fit correctly...
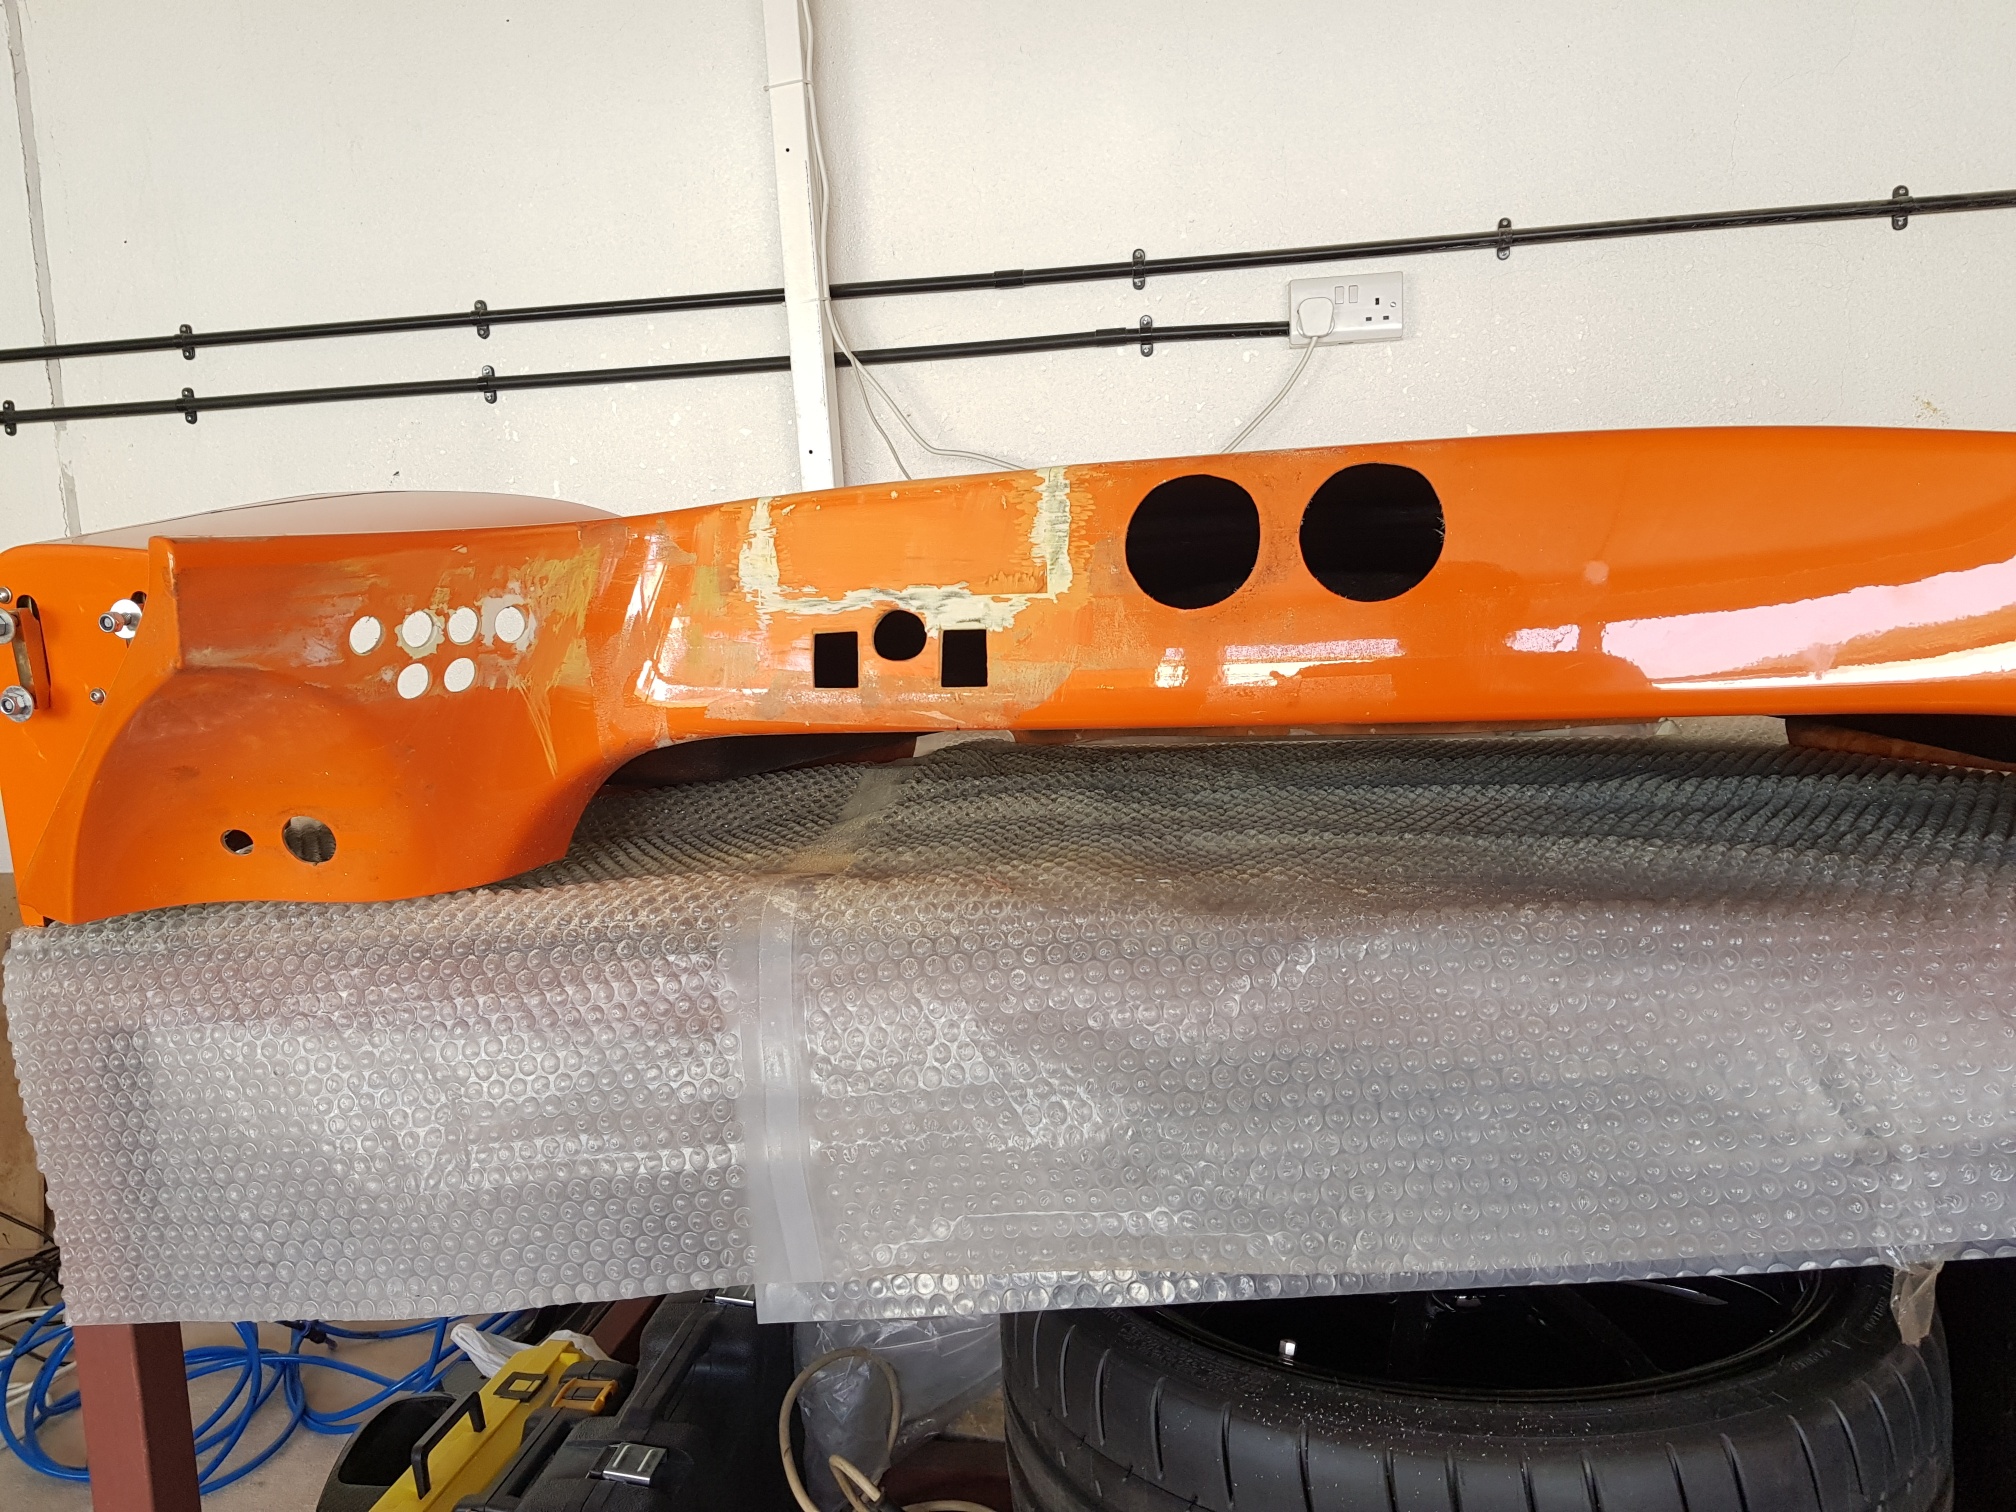
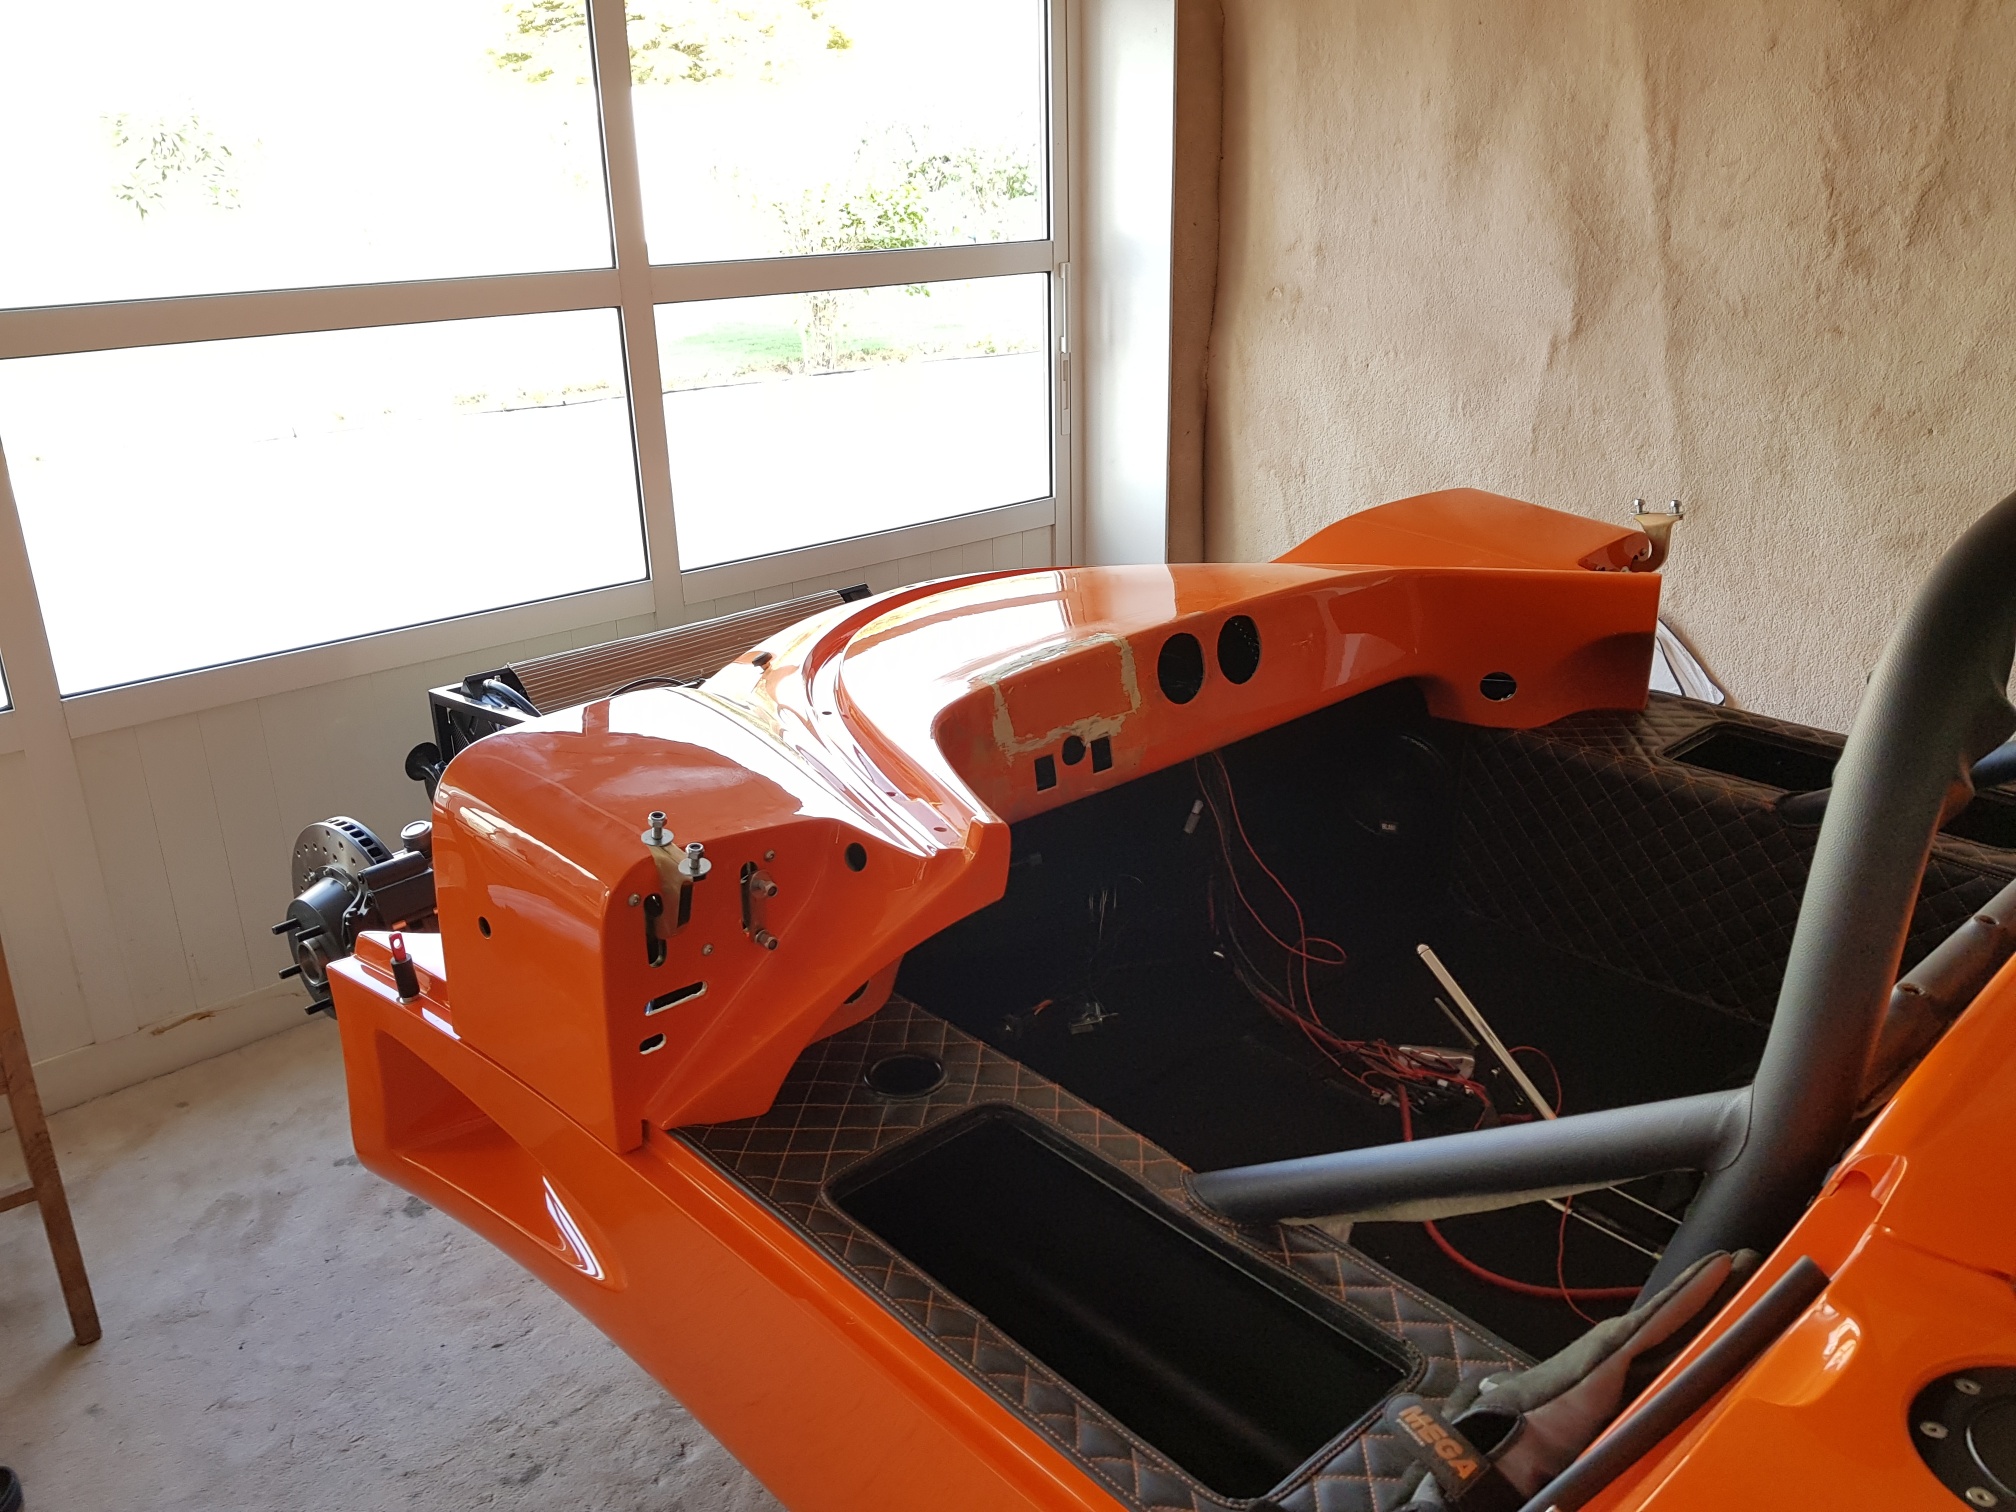
Then I started work on the dash - holes for the tweeters were drilled... I took careful measurements to ensure both sides tweeters would be identically placed, and then drilled the 48mm holes... I then turned the dash upside down and trimmed out the EVO switchgear holes to allow the back ends of the buttons to fit flush against the inside of the GRP... I also slotted the holes for the windshield to allow it move a little to get a proper placement in the future, and I also drilled the holes along the front edge that will drill into the chassis (over the front ally panel)
The dash was then carefully installed on the chassis, and the factory pre-fit marks checked for proper placement... The four inner bolts were tighened to get the GRP 'installed' - I need to place it correctly in order to carry out the door/dash works...
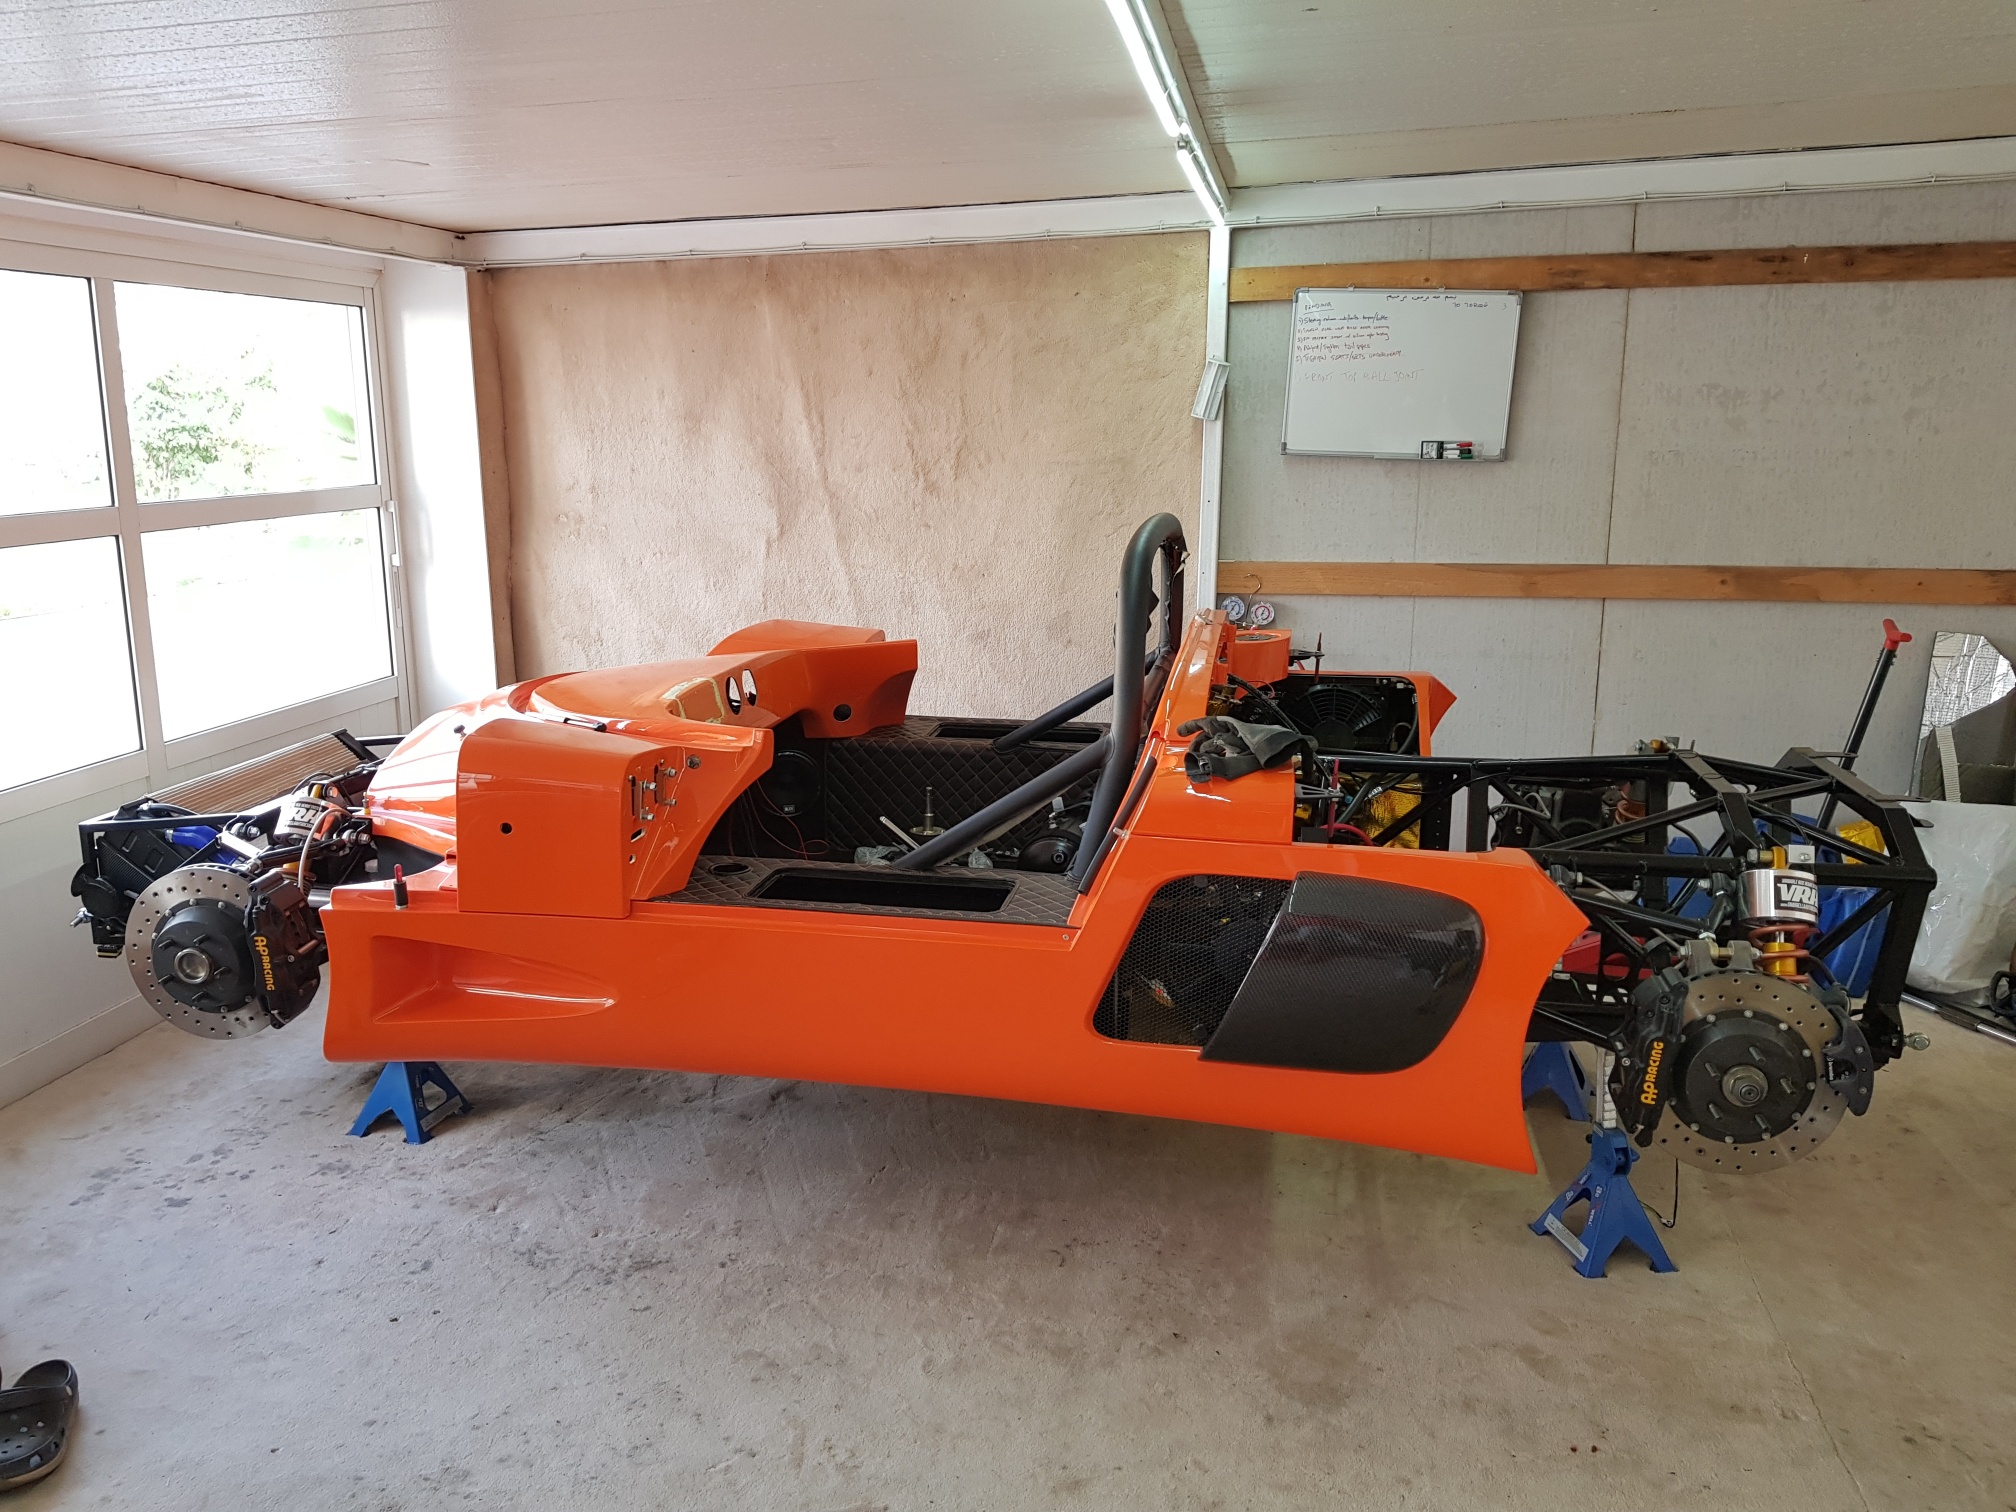
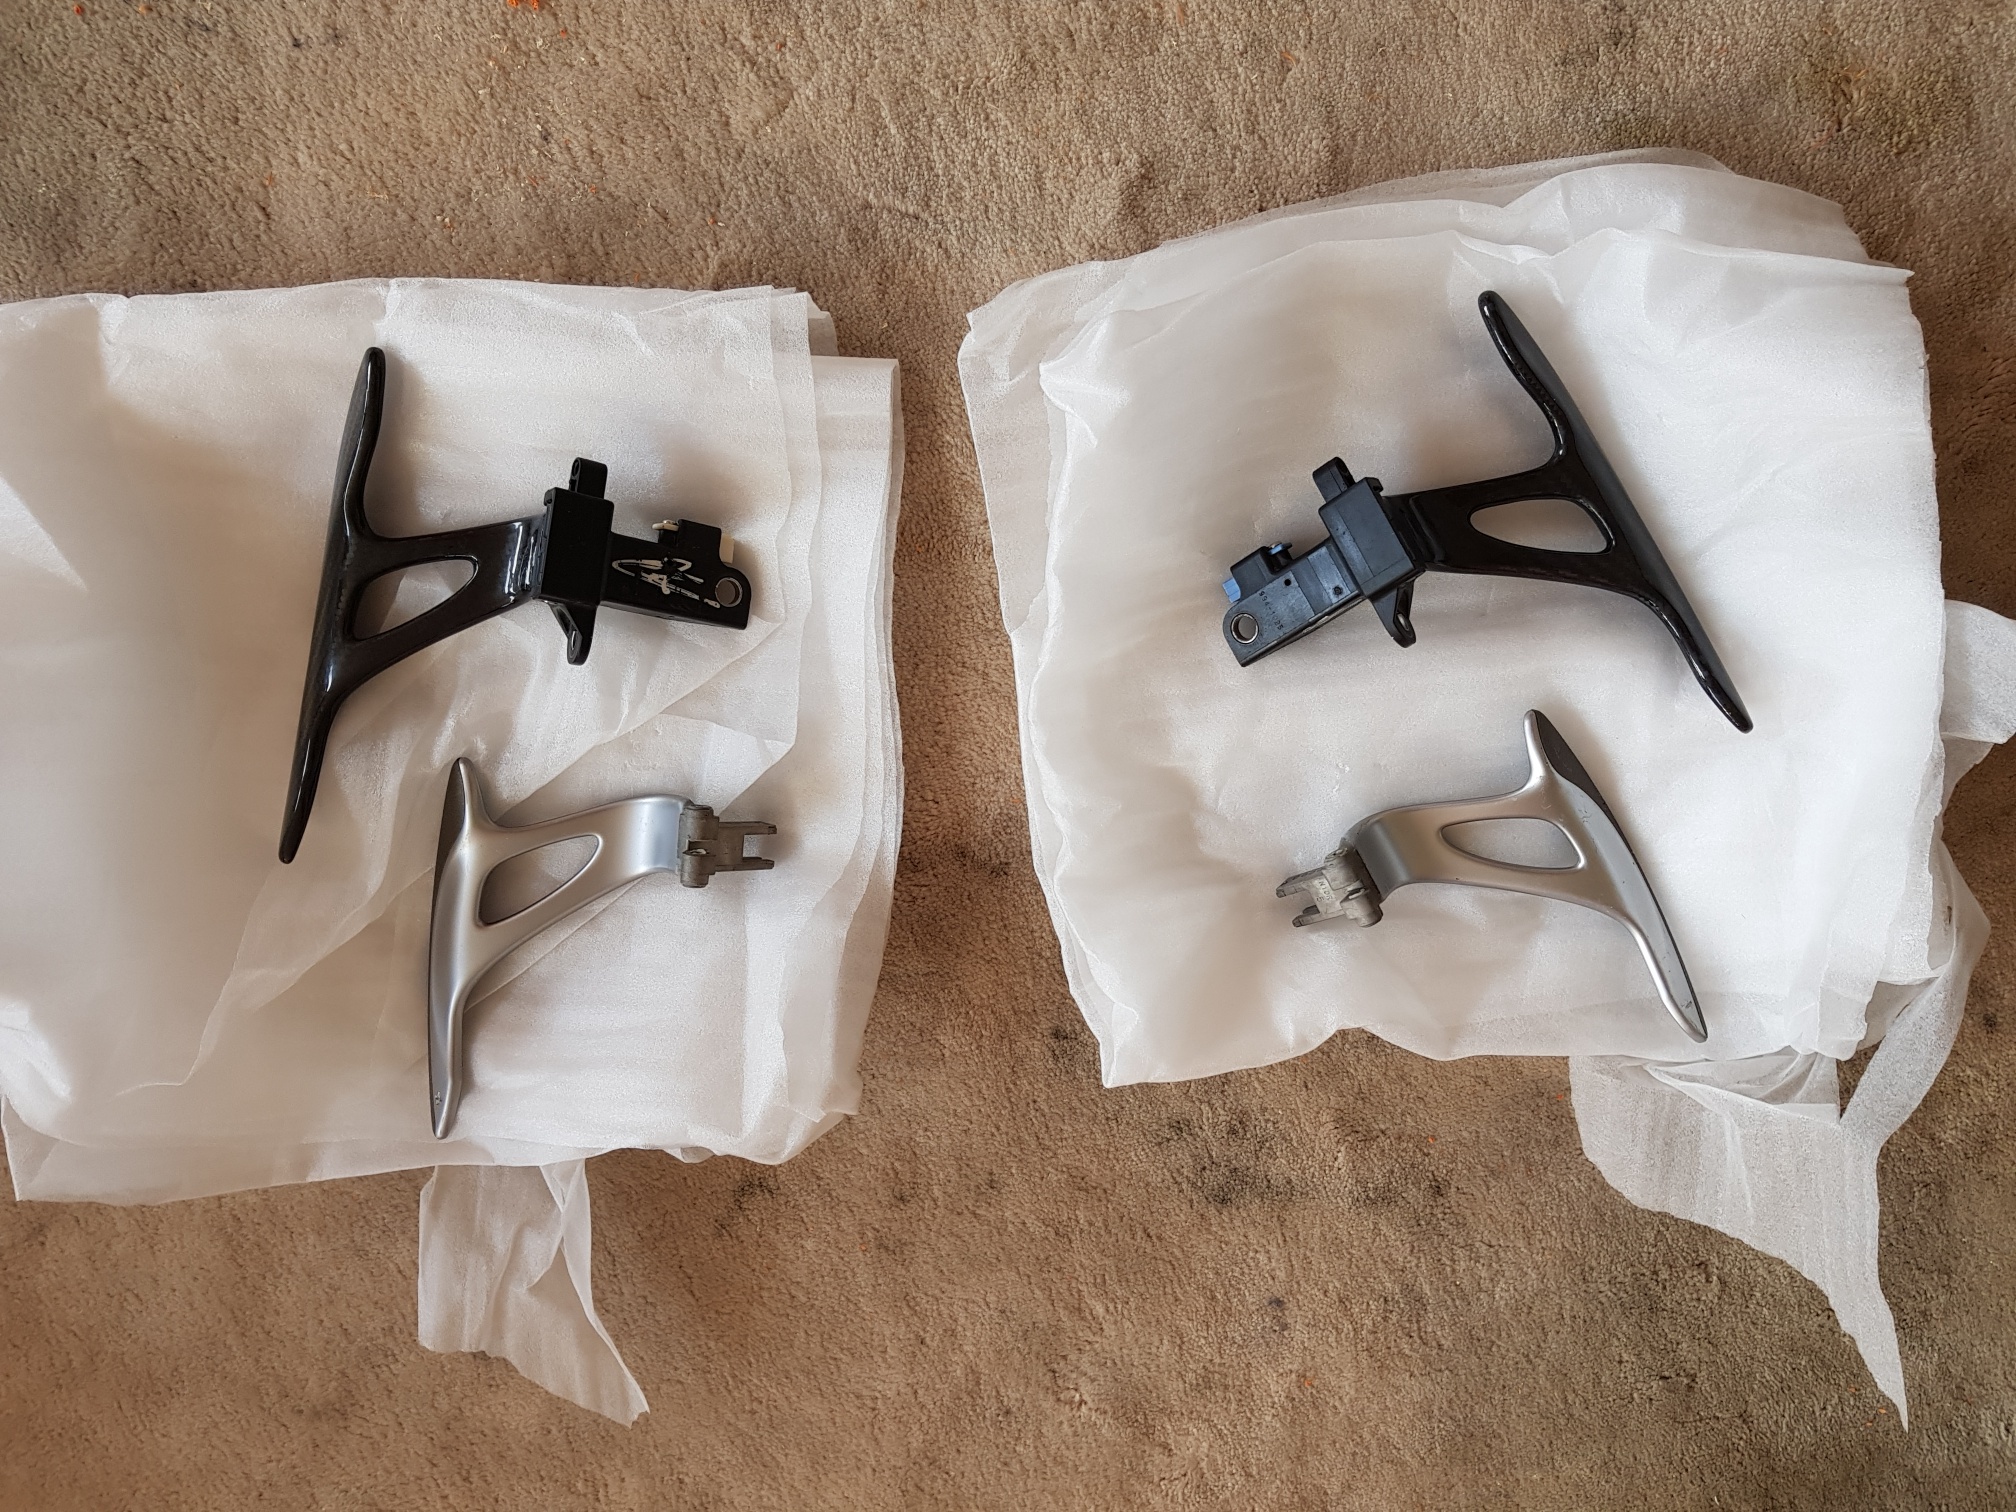
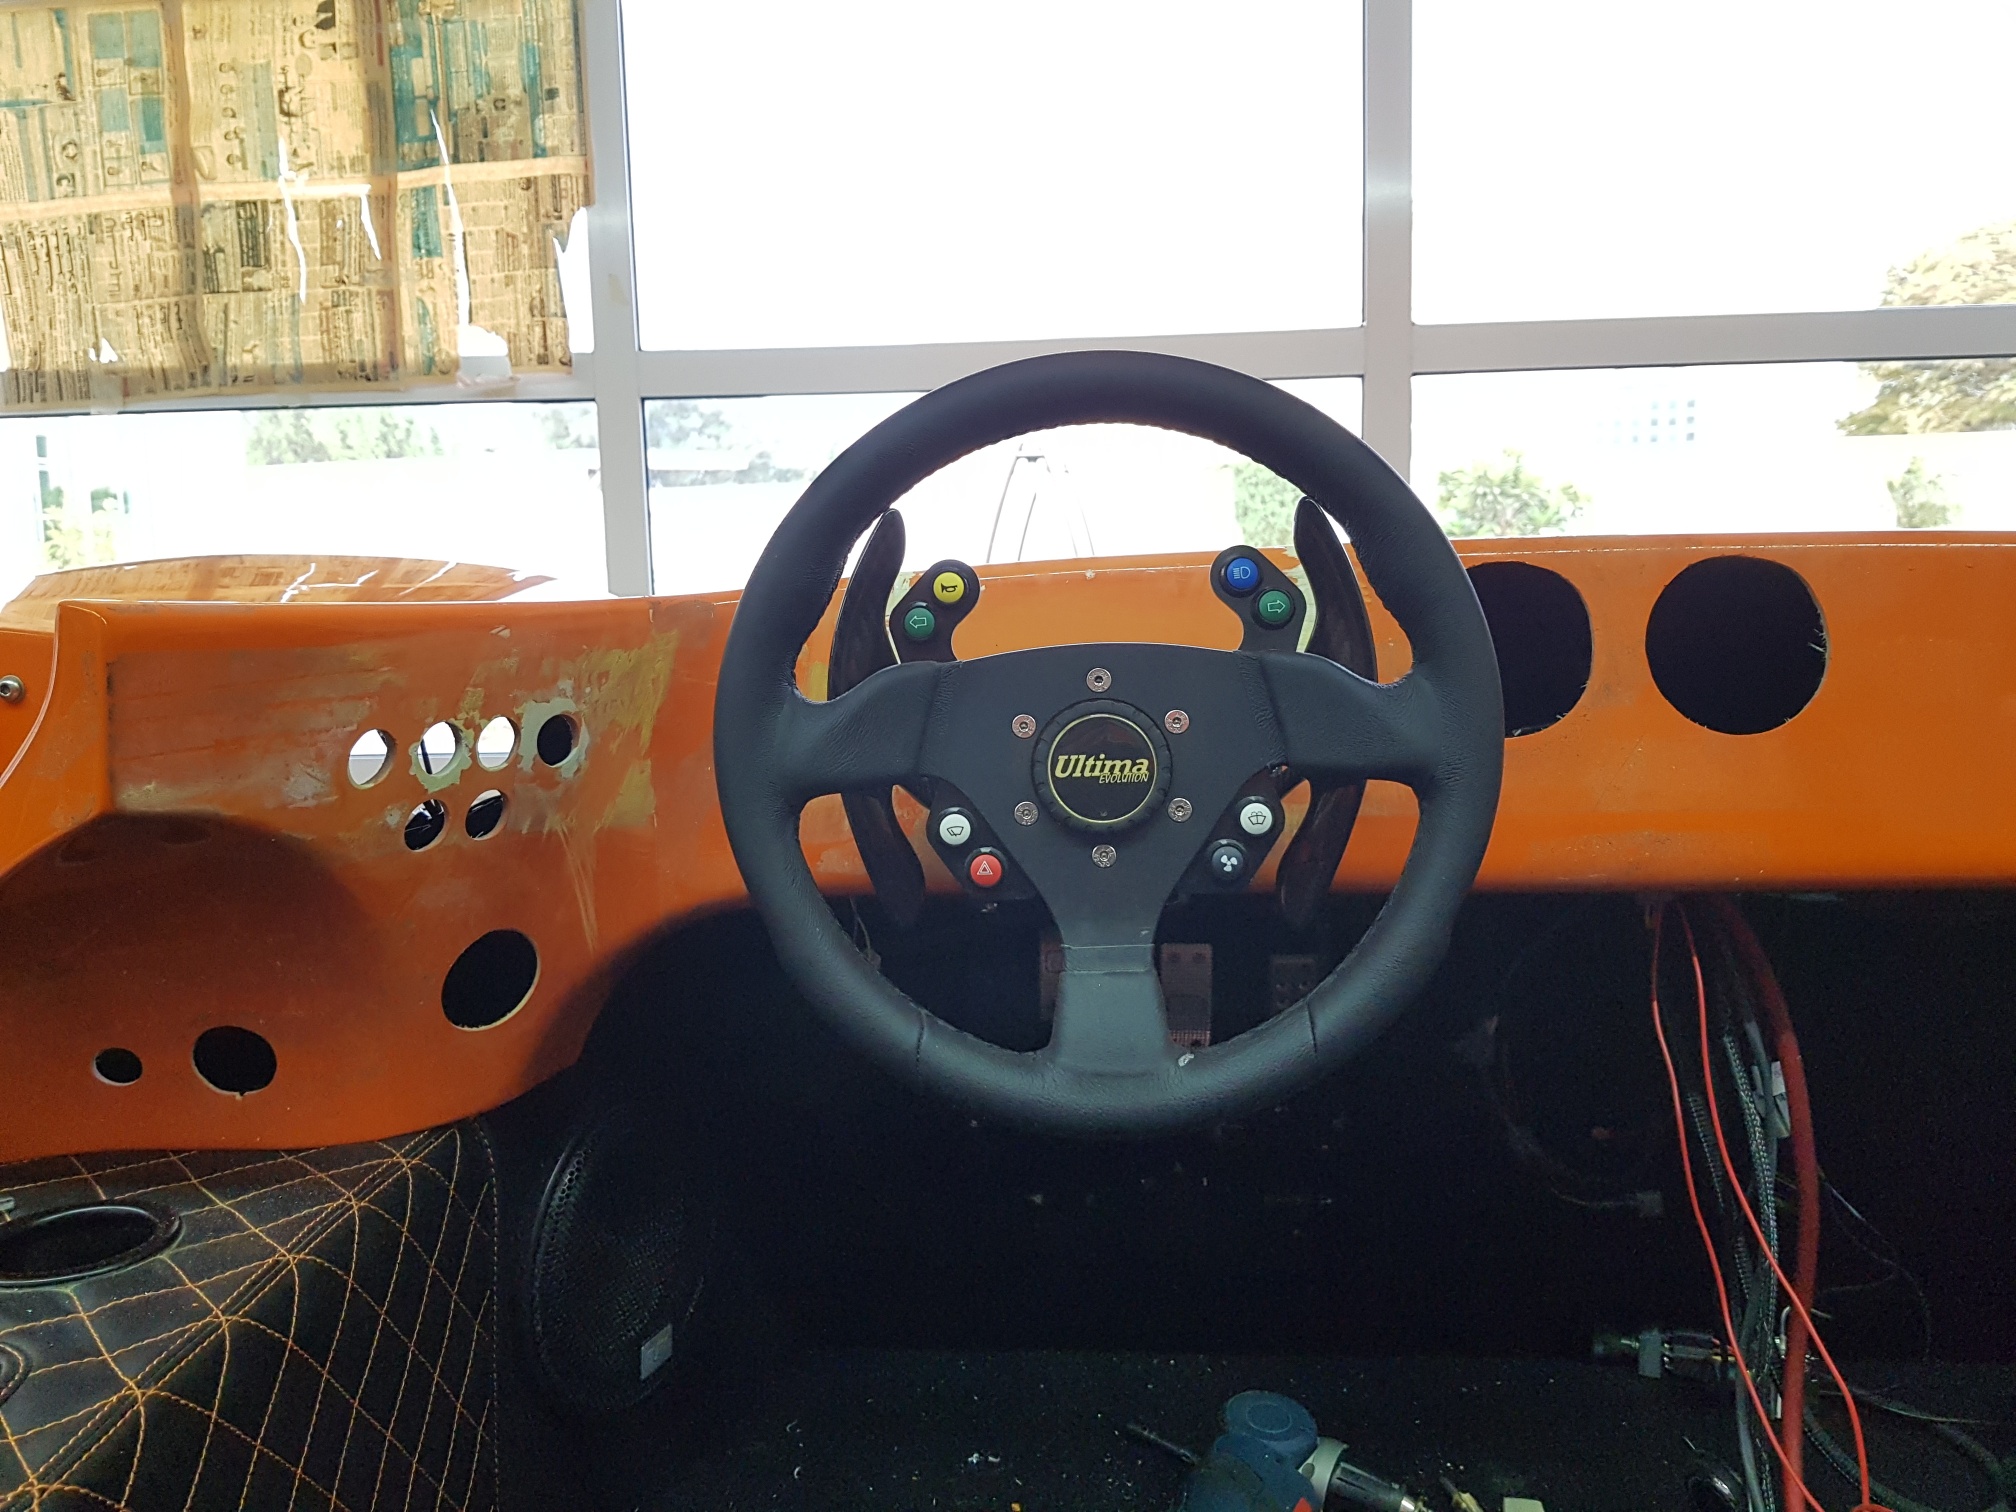
I then started work on the shifter paddles. First, the paddles were opened and replaced with brand new Carbon Fibre paddles. Then the steering wheel was installed and each shifter paddle was installed one by one... I had to ensure both paddles were level with each other, and fit correctly behind the steering wheel in the position I wanted... Once happy with the position, I drilled the top holes for the paddles and installed rivnuts... the paddles were temp installed and steering wheel put back on to see the final look - and it looks great! I will also install rivnuts for the lower paddle assembly holes later - I do not have the correct rivnut size so first need to find those before installing them...
July 27 2017
Build Time Today: 3.5 hours
Total Build Time: 351.5 hours
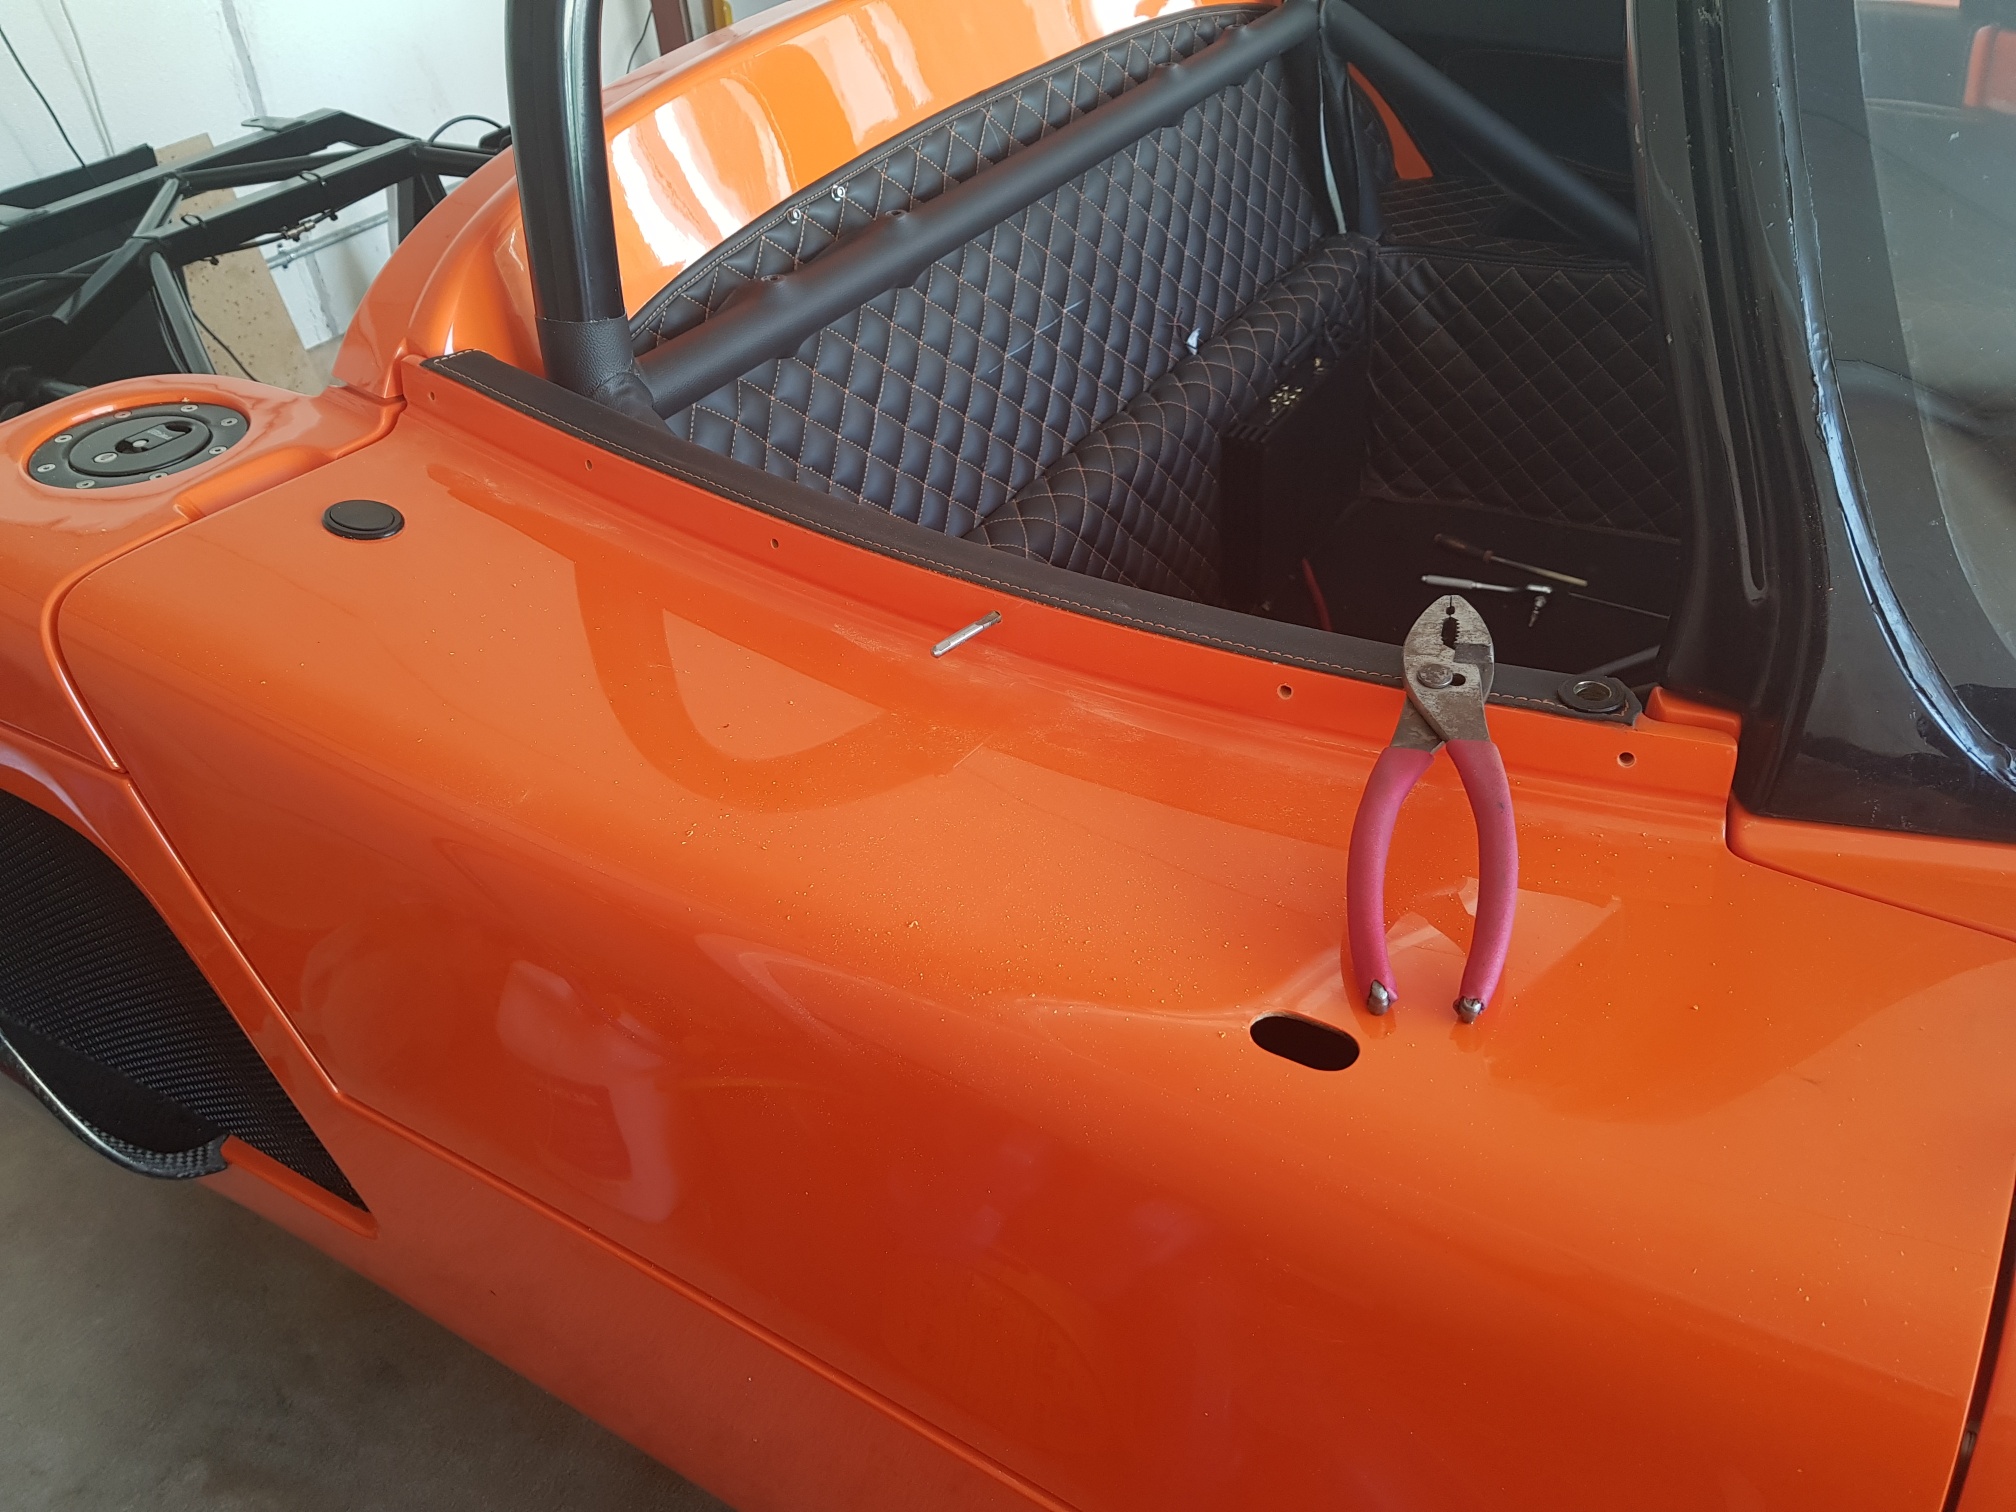
Today's job was to get the doors on and to prefit the door side JambTacs... The passenger door was first installed - the the door strut installed inside the dash GRP and then the door bolted on to the 4 studs on the hinge... The door was closed slowly and the alignment was checked... I noticed the door would not close properly and I knew why - from the last build, I realized that the central locking brackets moved the lock mechanism a little bit and that would prevent the door hinge from locking onto the door - so, I undid the door hinge bolt and repositioned it to get a clean fit, and then tightened it back again.. The door now closes perfectly, and the alignment is just right...
The JambTac area was marked from inside the dash, and then the door was removed from the chassis... The JambTac slots were drilled and filed so the JmabTac unit could barely fit in the door slot - I have purposely kept it tight as I will need to move the JambTacs a little once the door is reinstalled to get the correct position (can only get 90% accuracy from inside the dash)... Once the slots were ready, the door was AGAIN installed on the chassis, and the alignment and door closing was again checked - it has maintained the position from before! The JambTacs were installed on both the dash and the door, and the door slowly closed with a flashlight in hand that illuminated the gap between the door and dash... The positioning is spot on and all the contacts correctly line up! The slots were barely enlarged and the Jambtac alignment checked one more time, and I am happy with the results!
The same thing was then repeated on the driver side door... and thats it for today!


July 28-31 2017
Build Time Today: 11.5 hours
Total Build Time: 363 hours
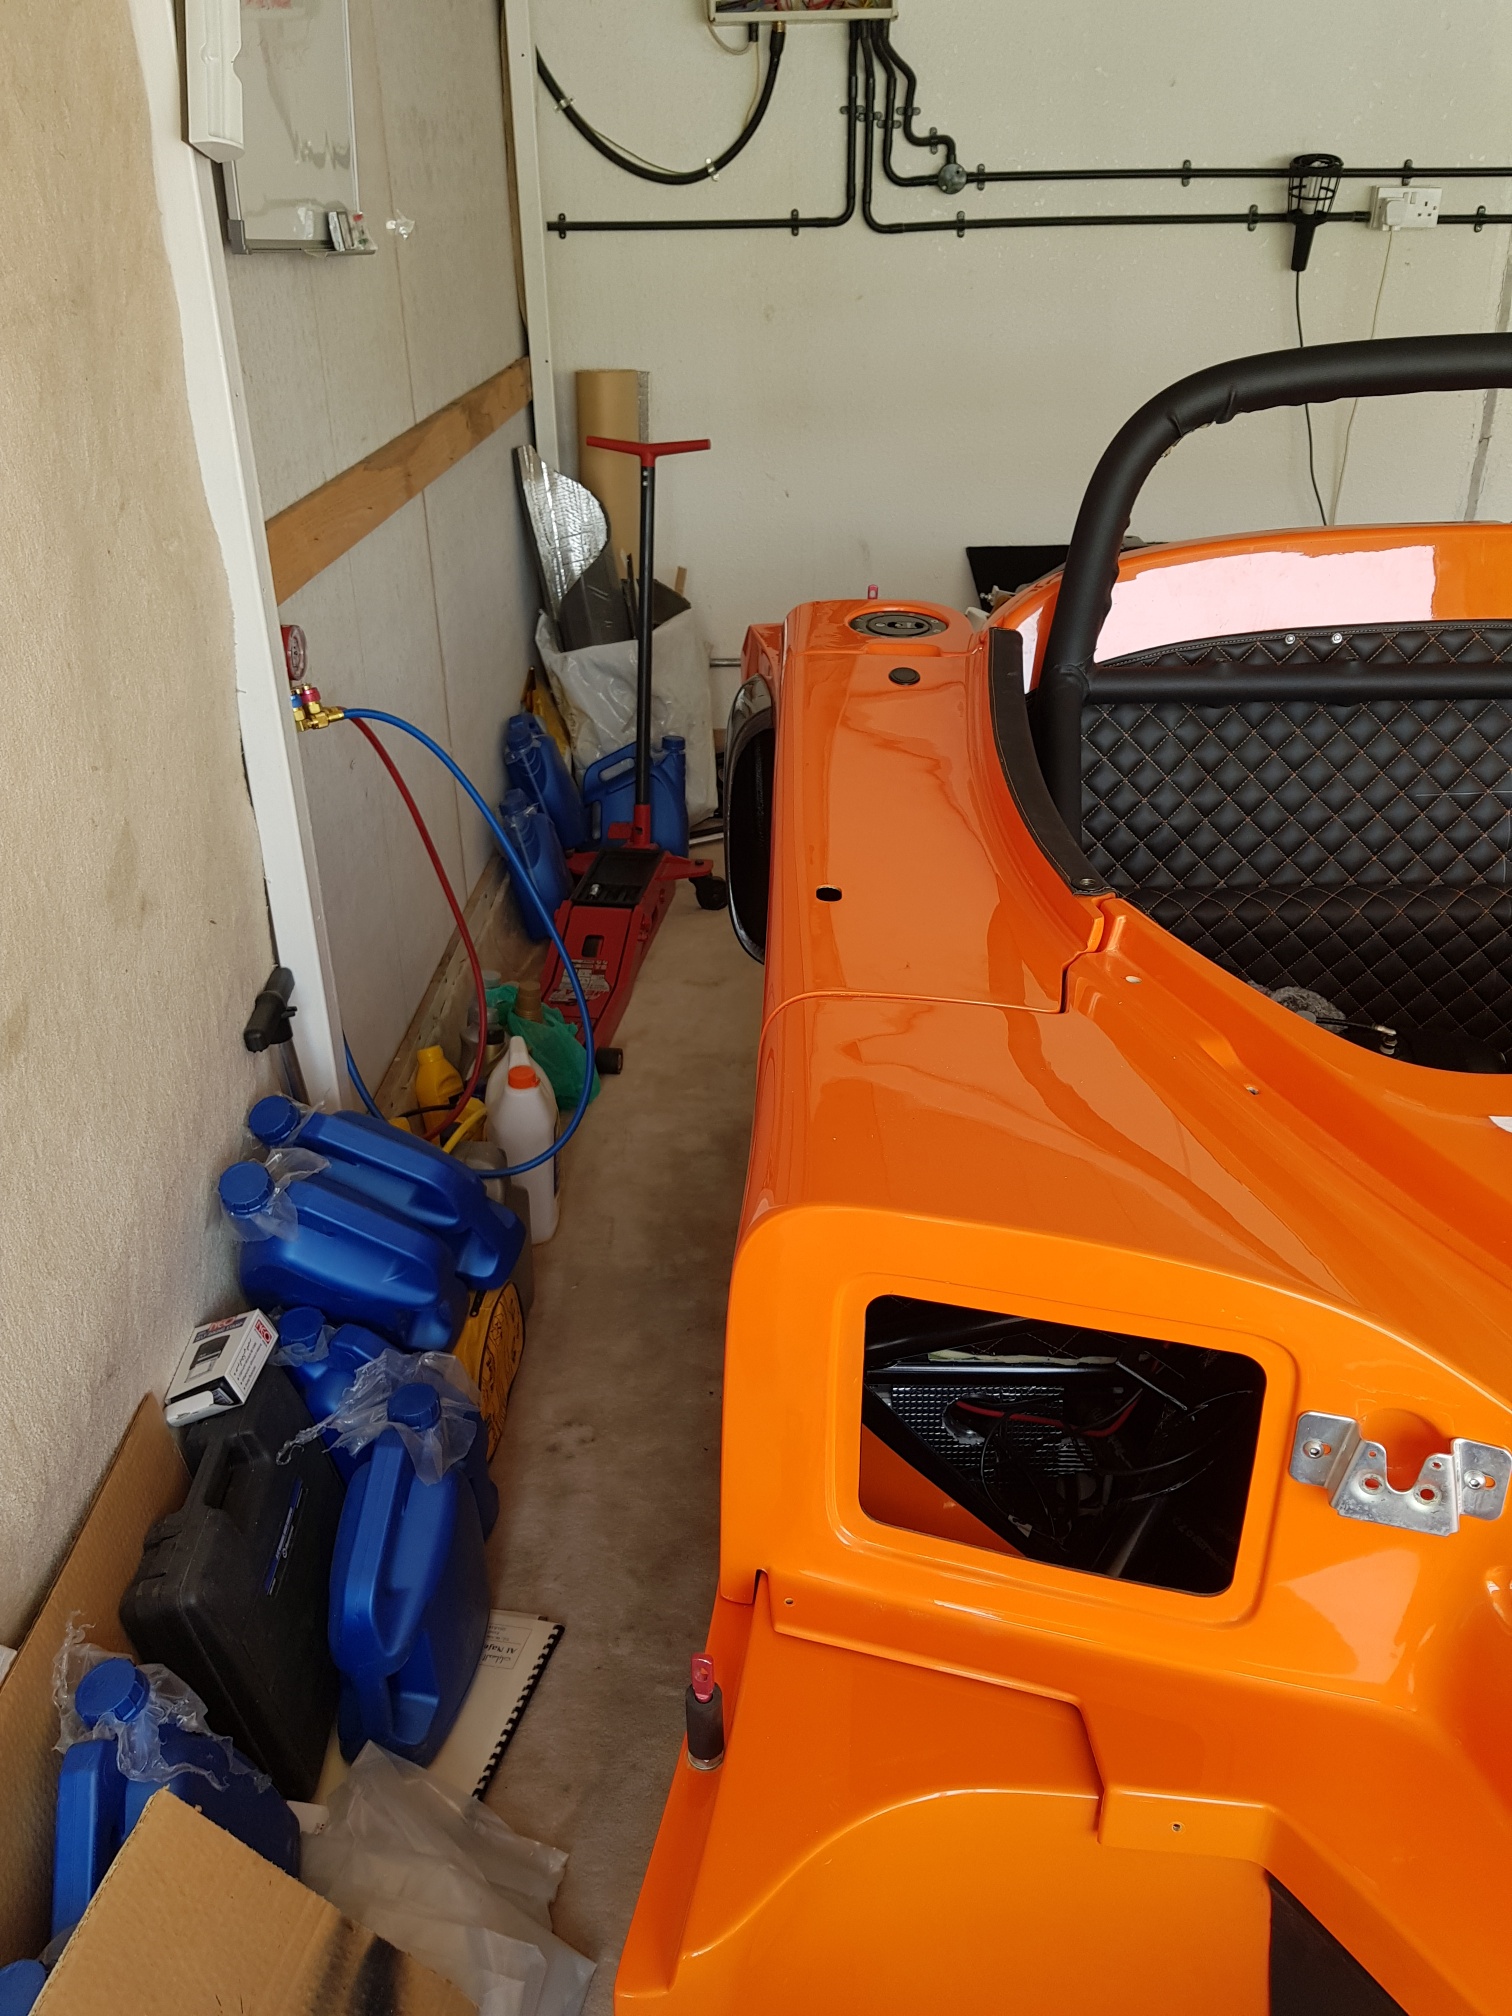
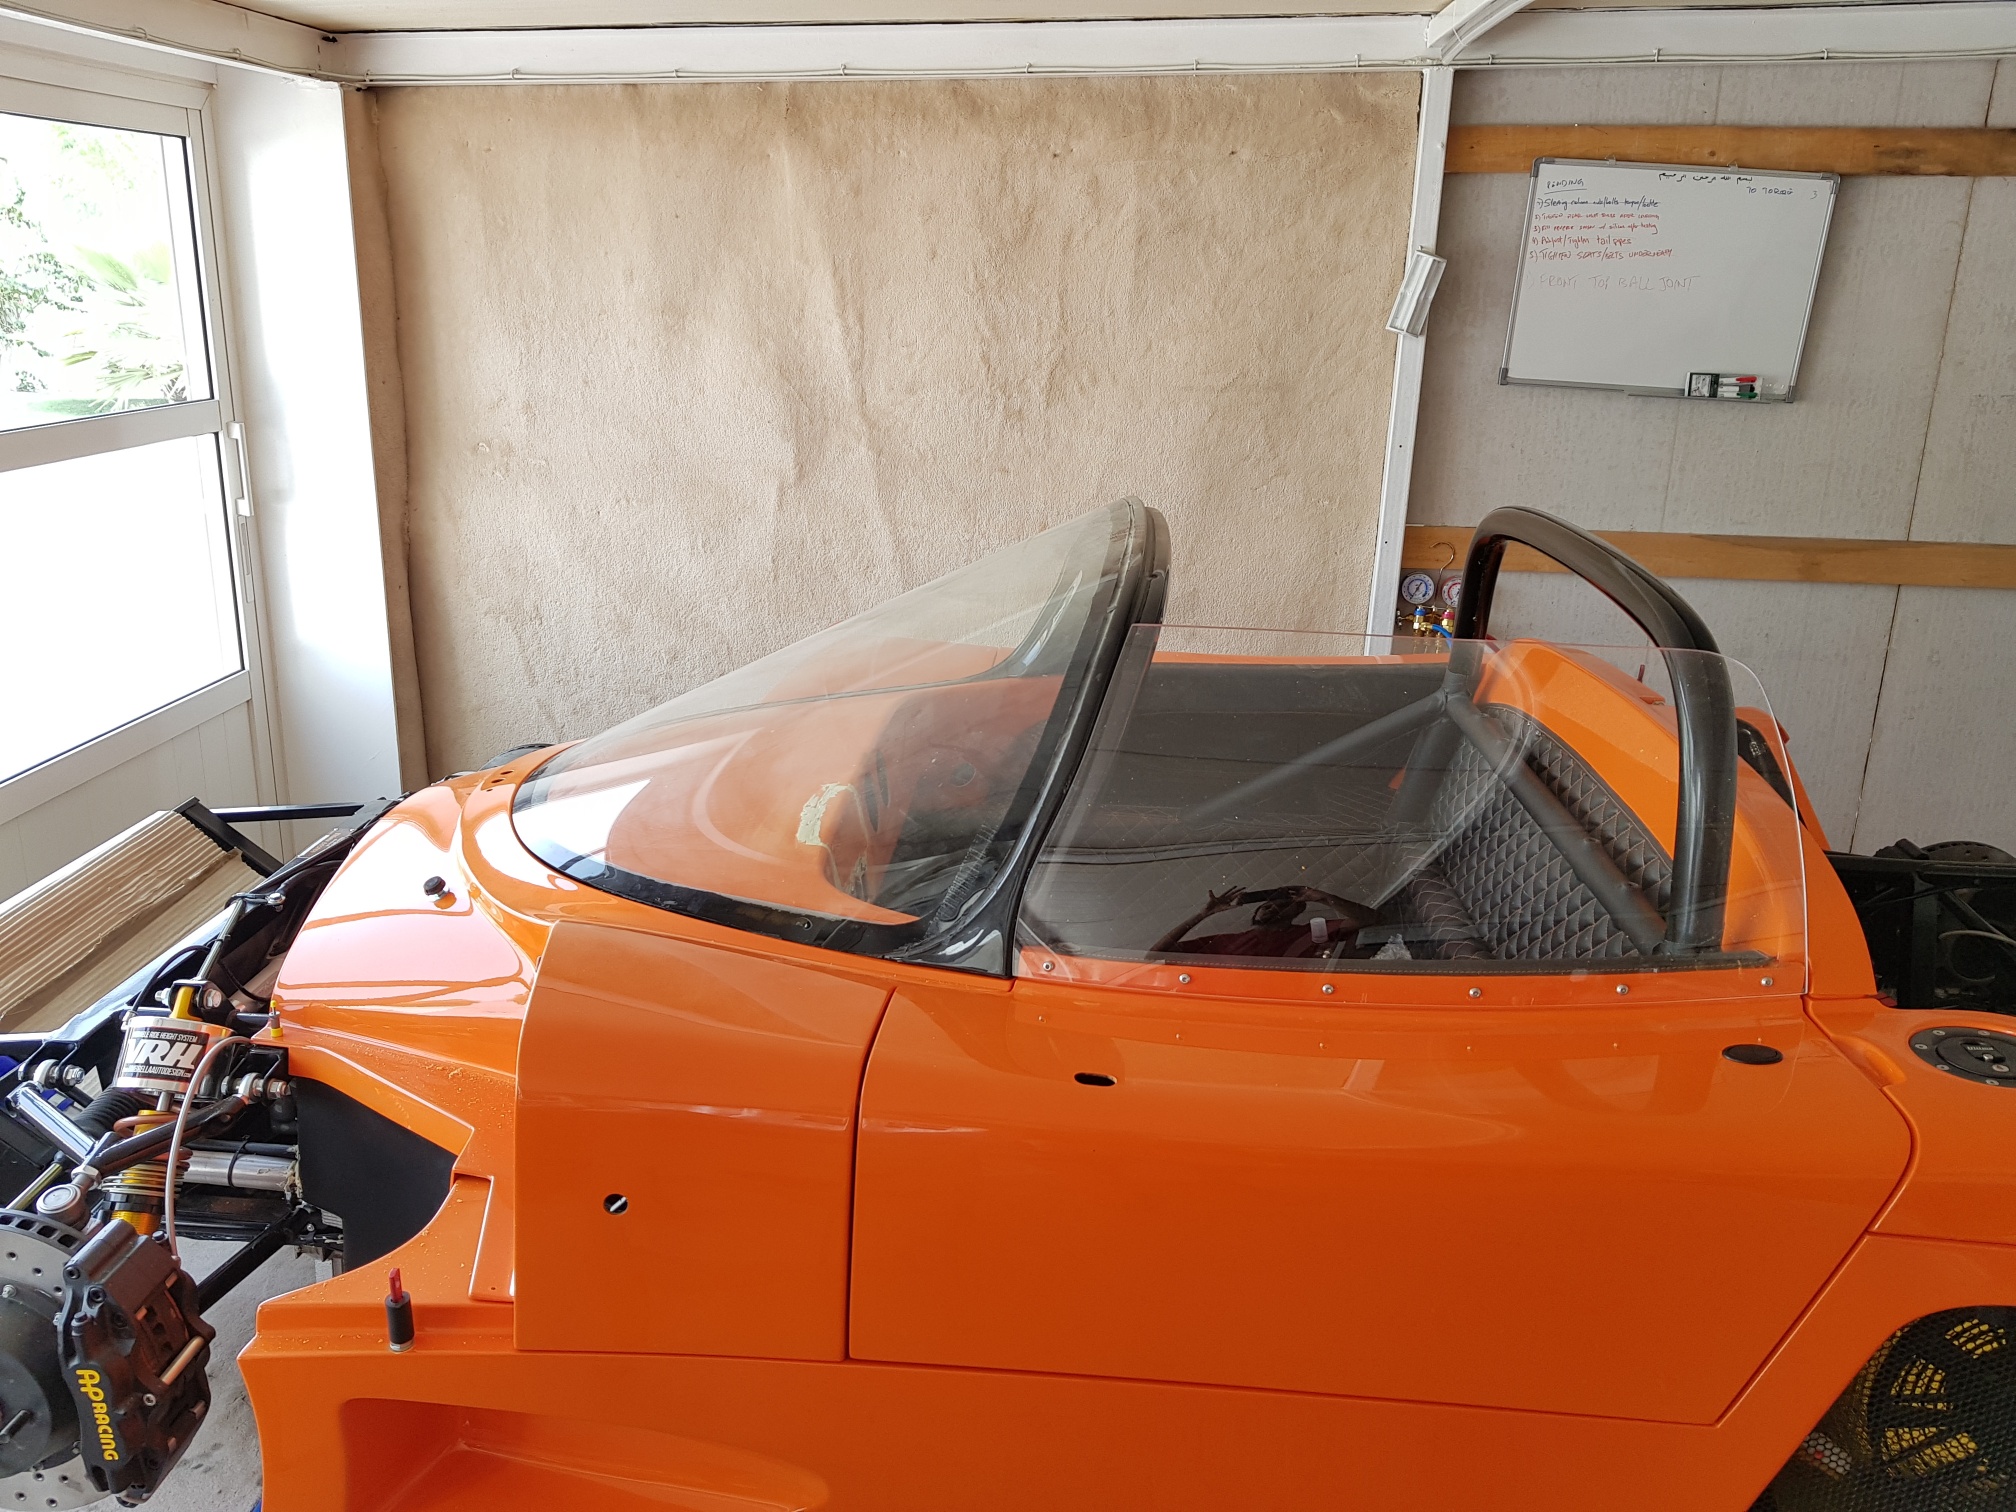
The last few days was spent working on the glass! Once the doors were ready, I could now focus on the glass works to move the body work along to the roof area...
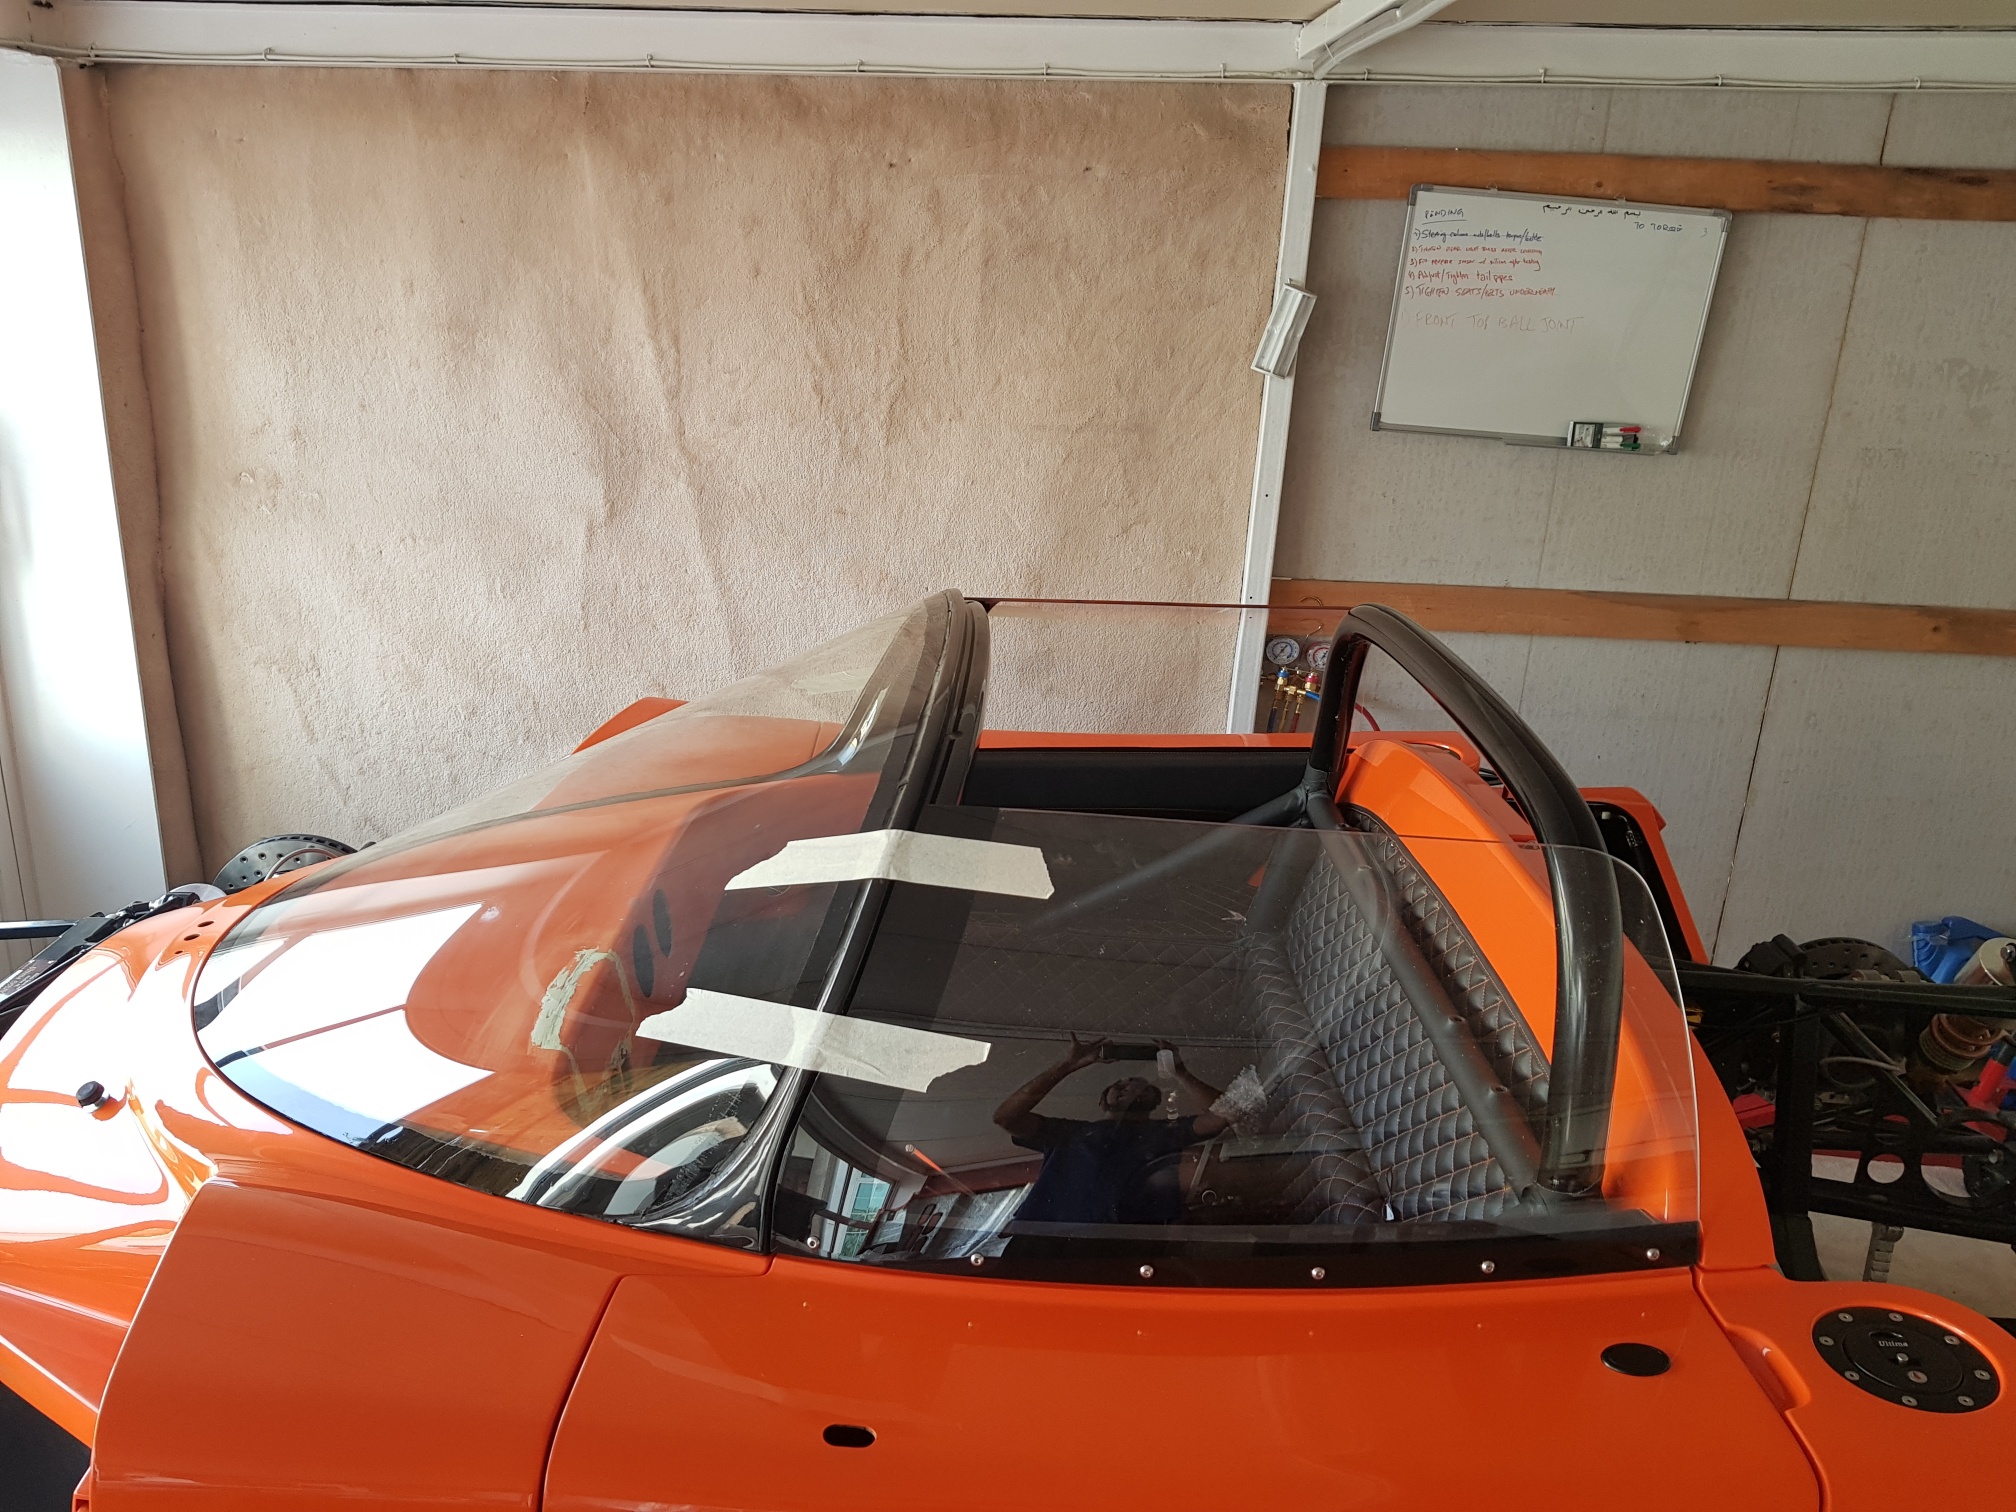
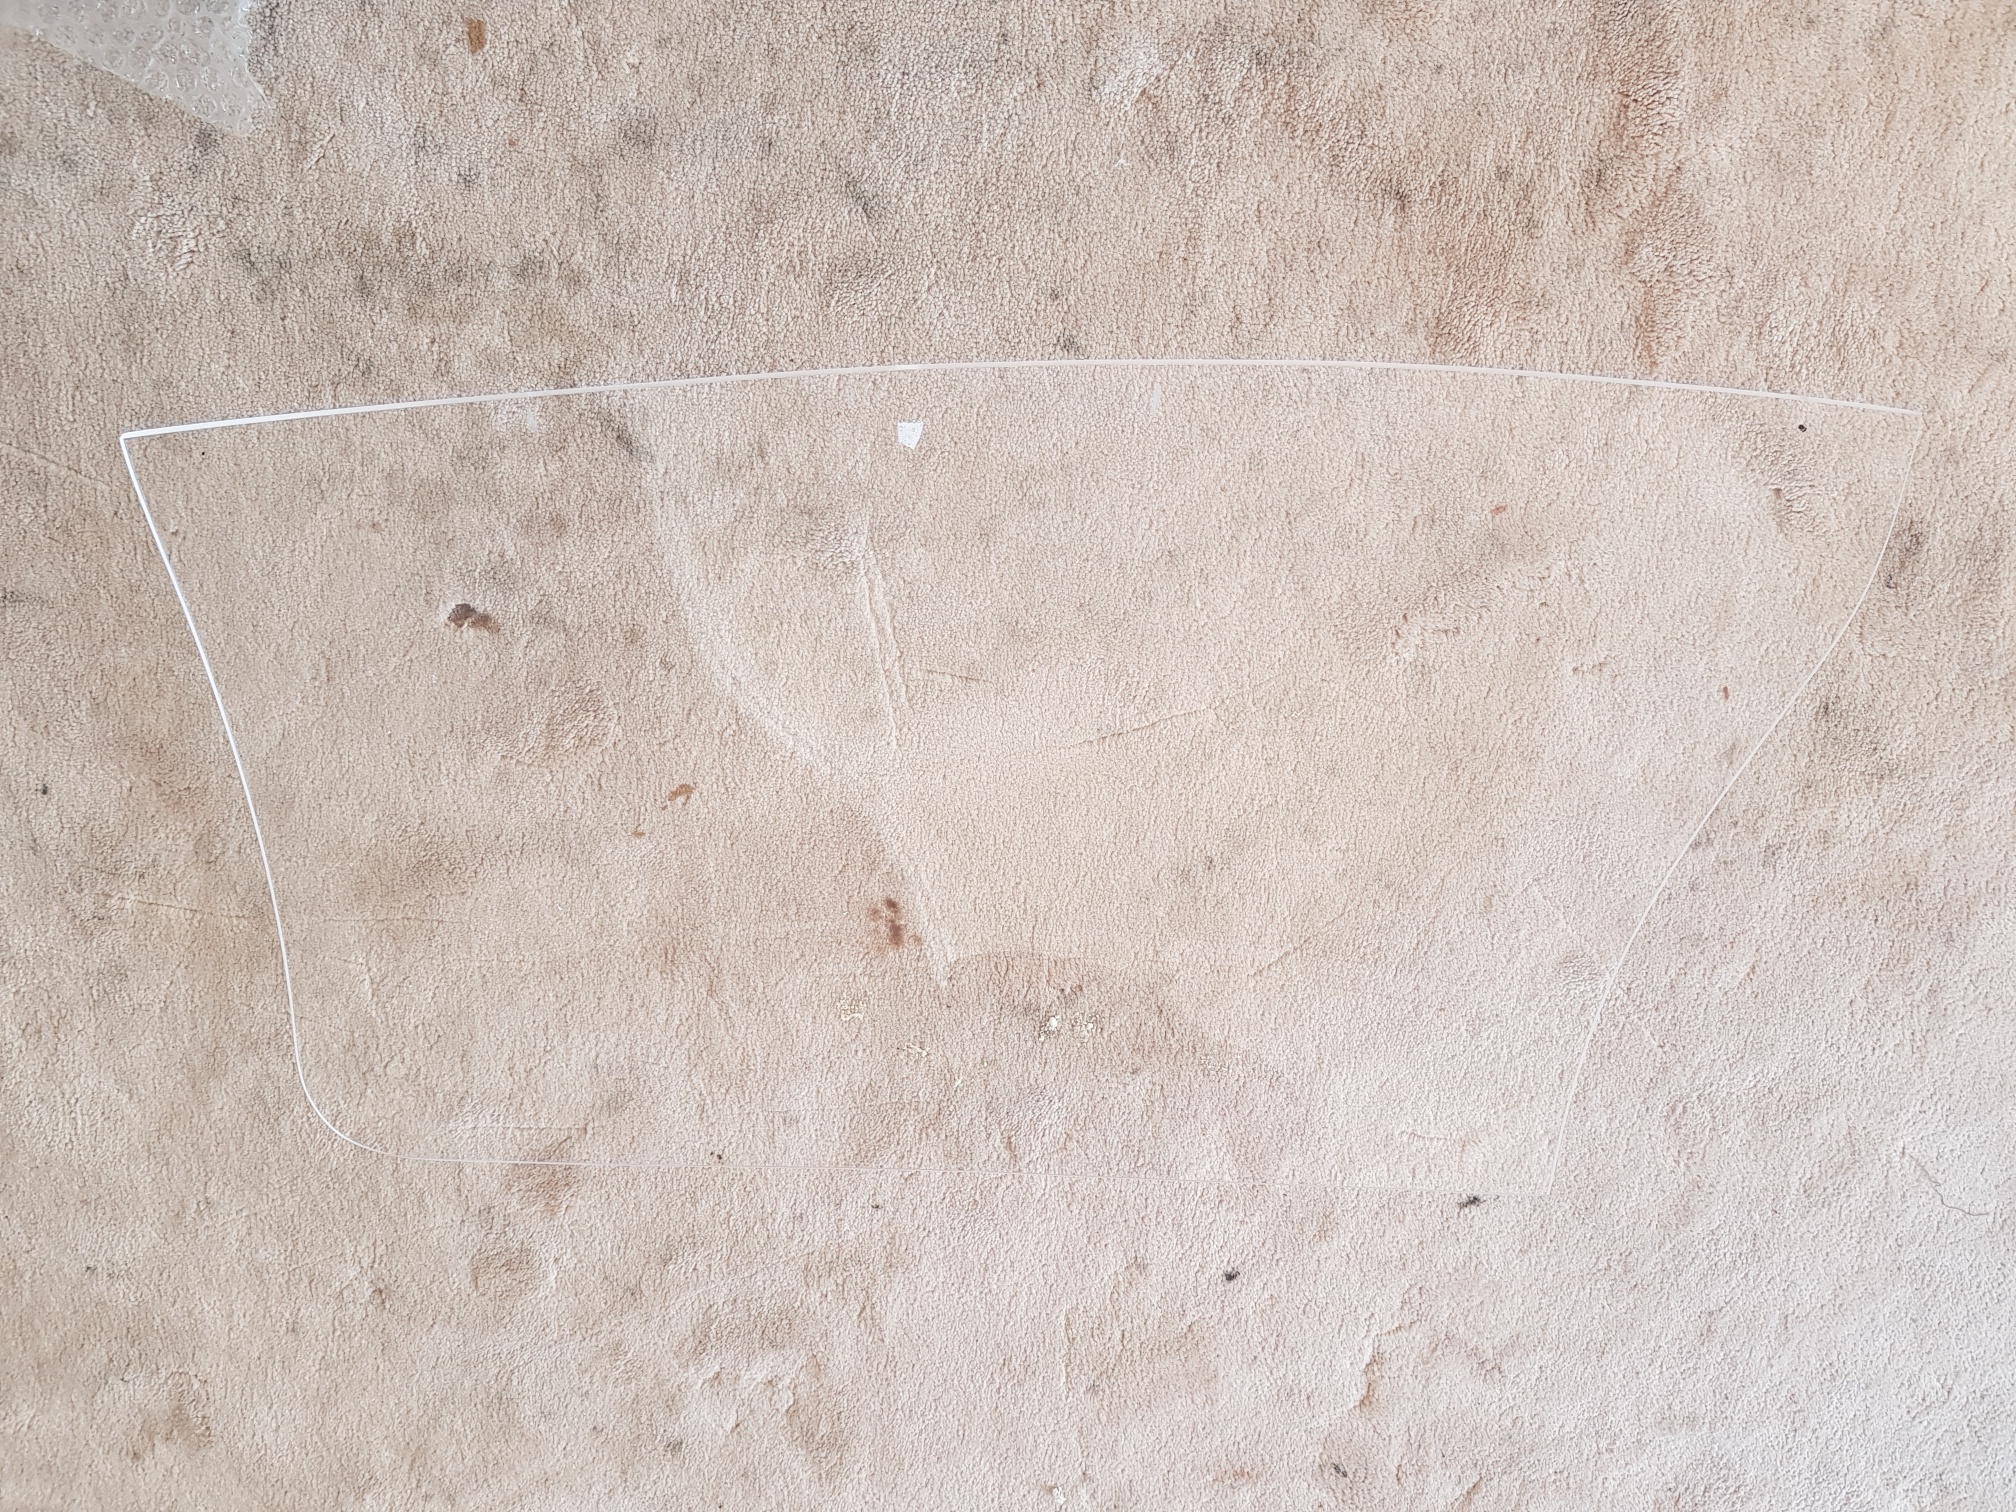
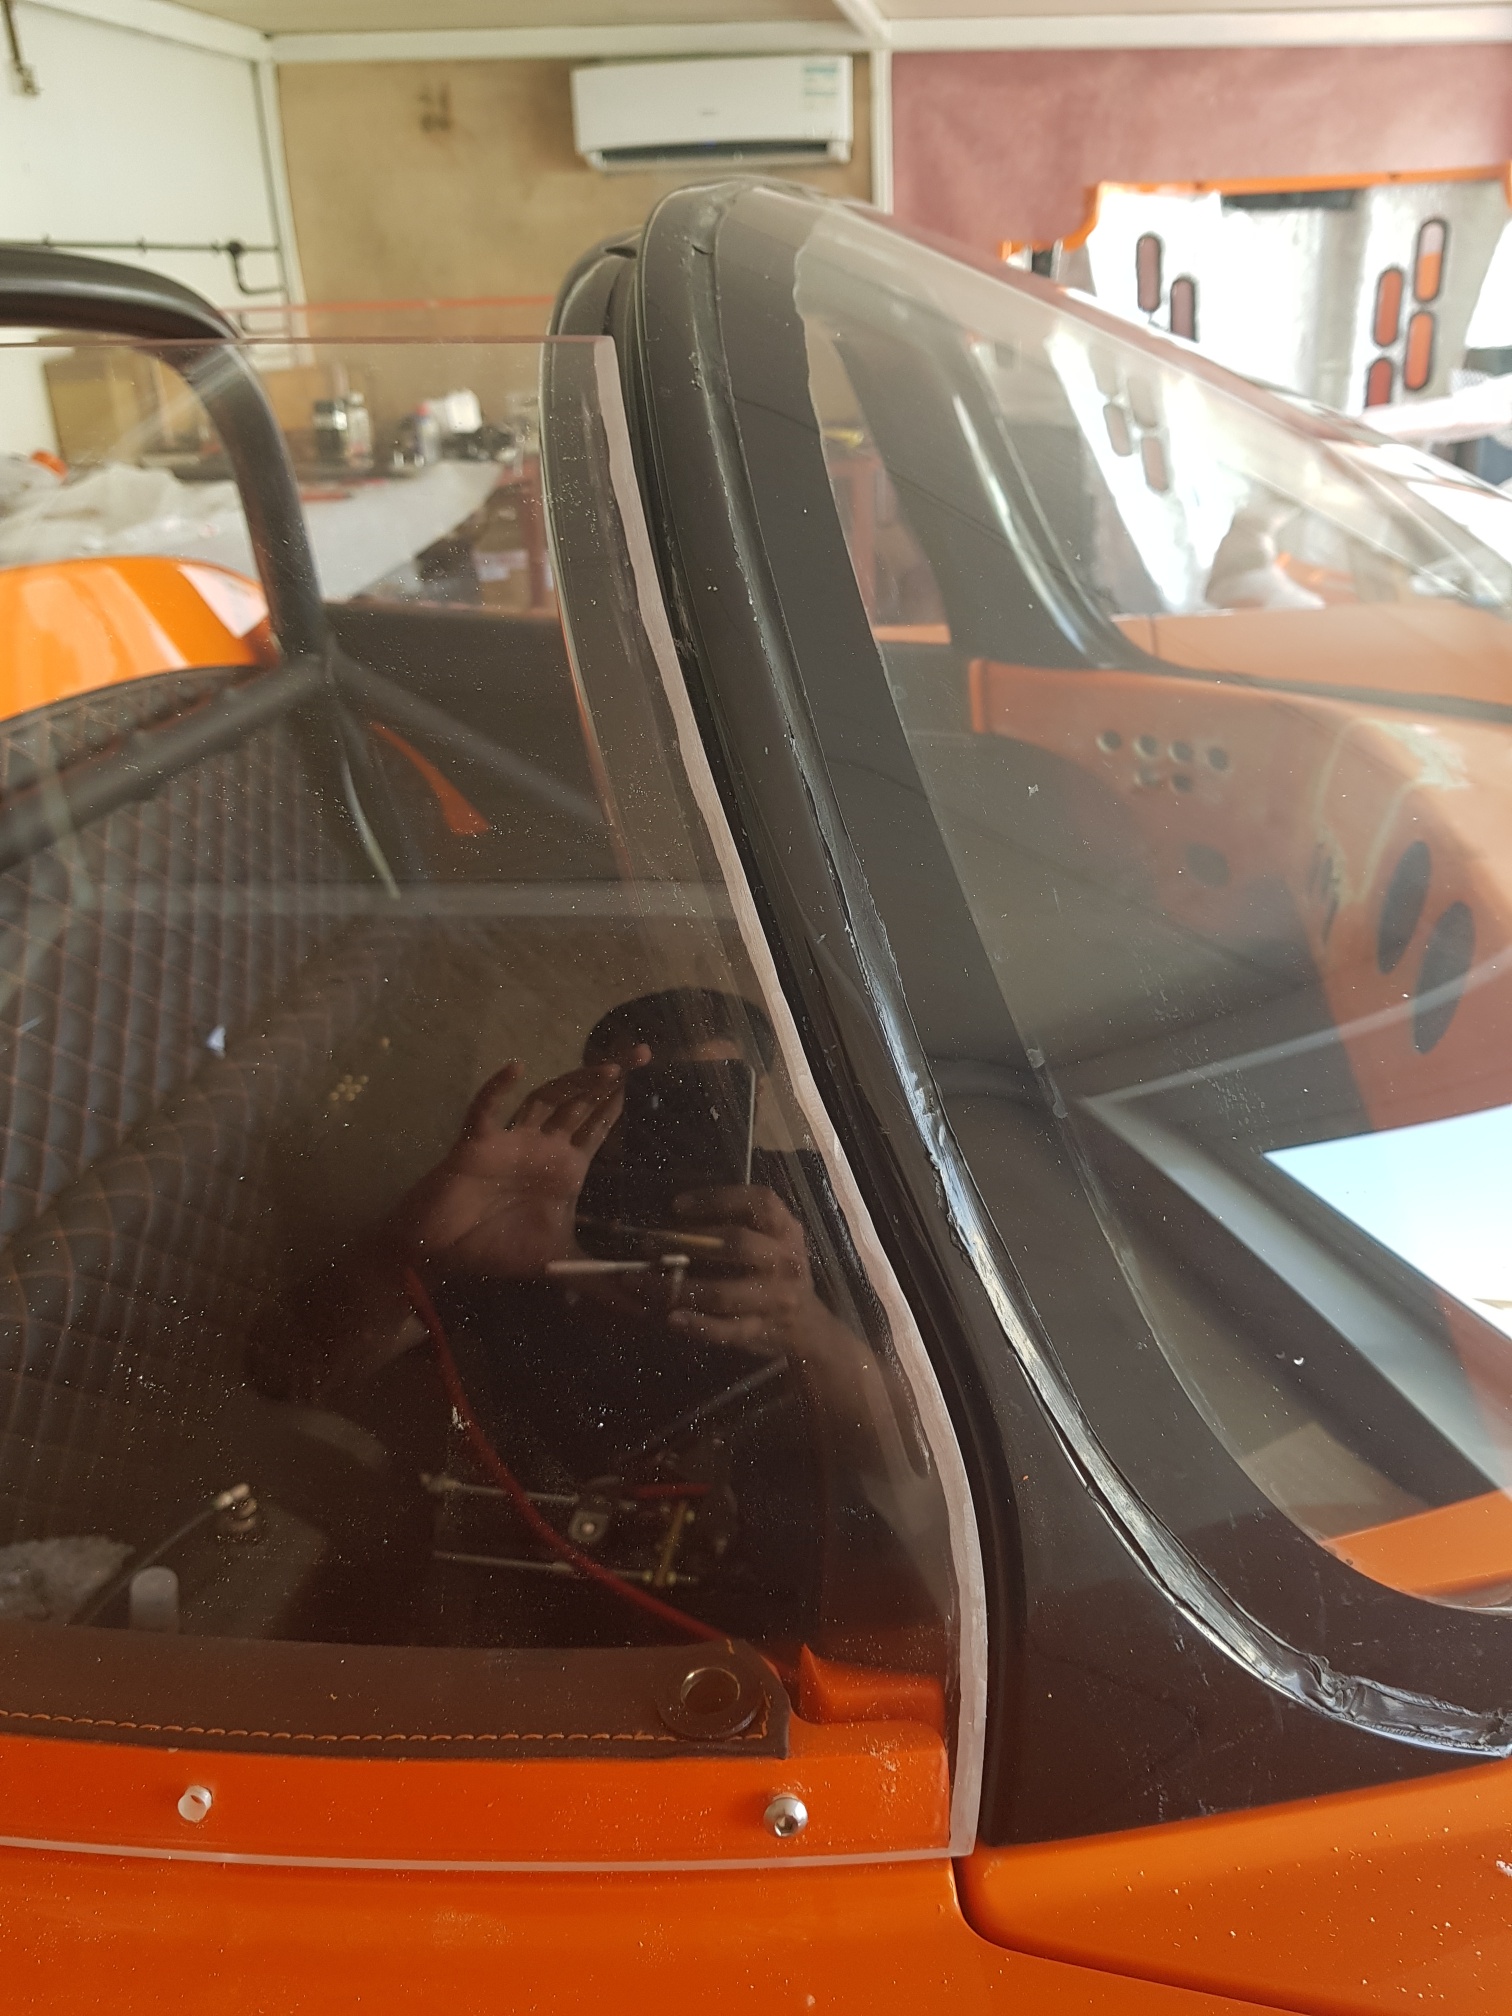
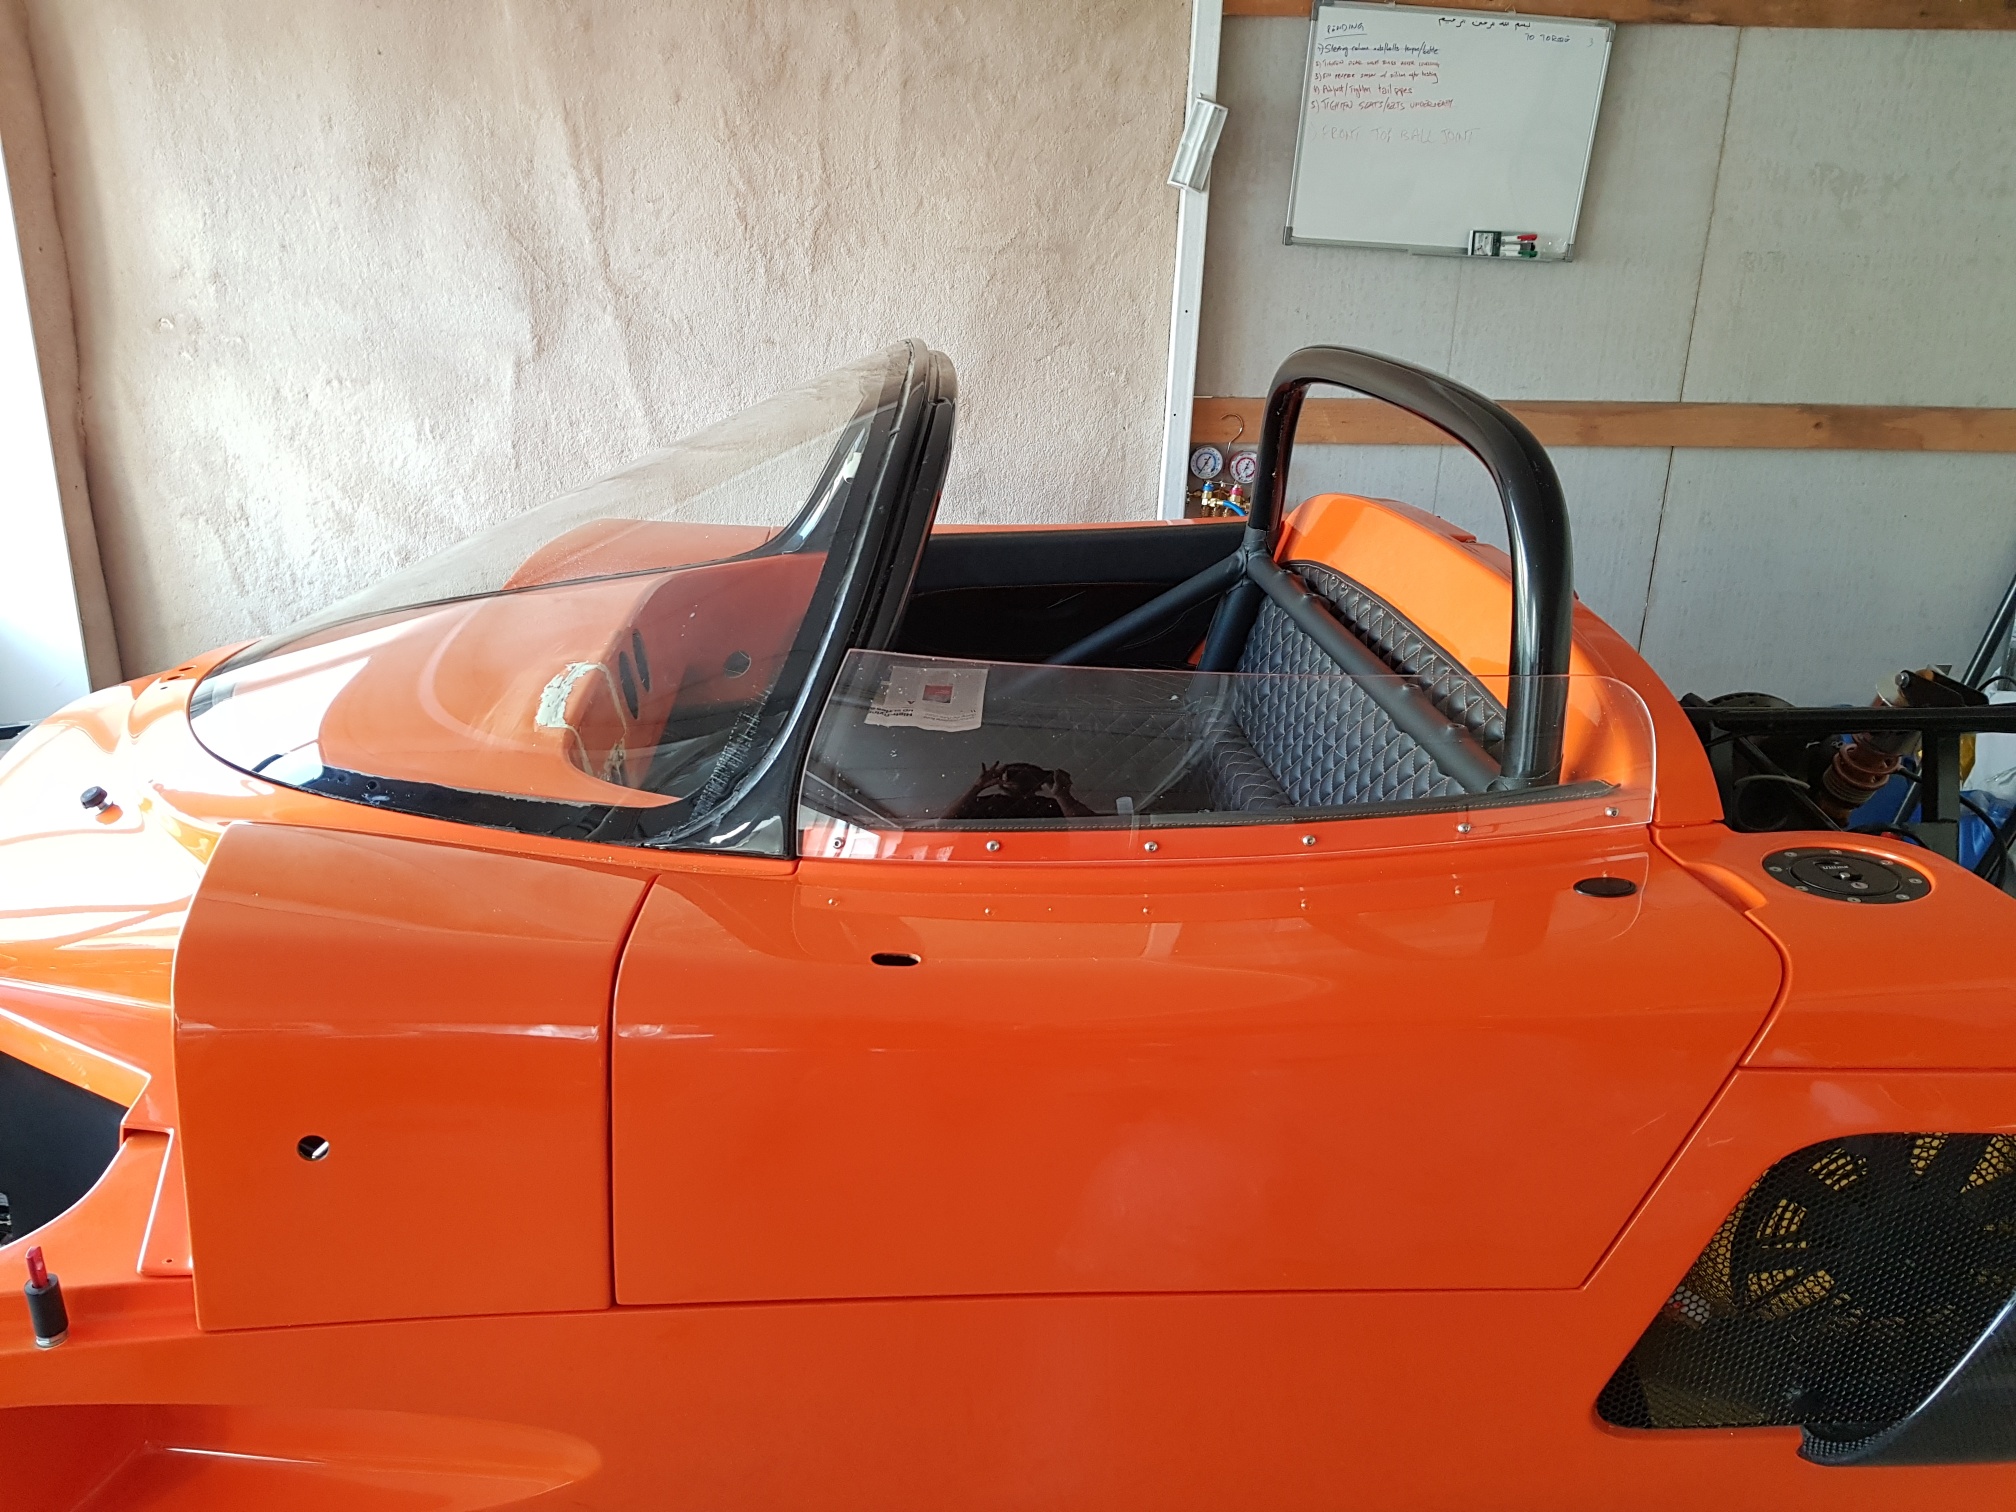
So first the windscreen was installed - it was bolted from below in a few places to hold it firm. Then I took the driver side window (large full size) and placed in the chassis... drill holes (5mm) were marked along the bottom and the plexi was drilled.. The glass was then used as a template to drill holes in the door edge, and those holes were tapped for an M6 screw, and the holes in the plexi were enlarged to 6mm... The glass was secured to the door and then the edges were checked for clearance.. It became apparent that part of the front edge had to be trimmed to get a good fit... The glass was removed and the edge was trimmed (placed back on chassis to check and trimmed again, until a good fit achieved)... The front edge was also trimmed into a slant to allow clearance while opening/closing the door... Once the glass was fitting properly, all the trimmed edges were polished with wet and dry paper and then a polishing compound...
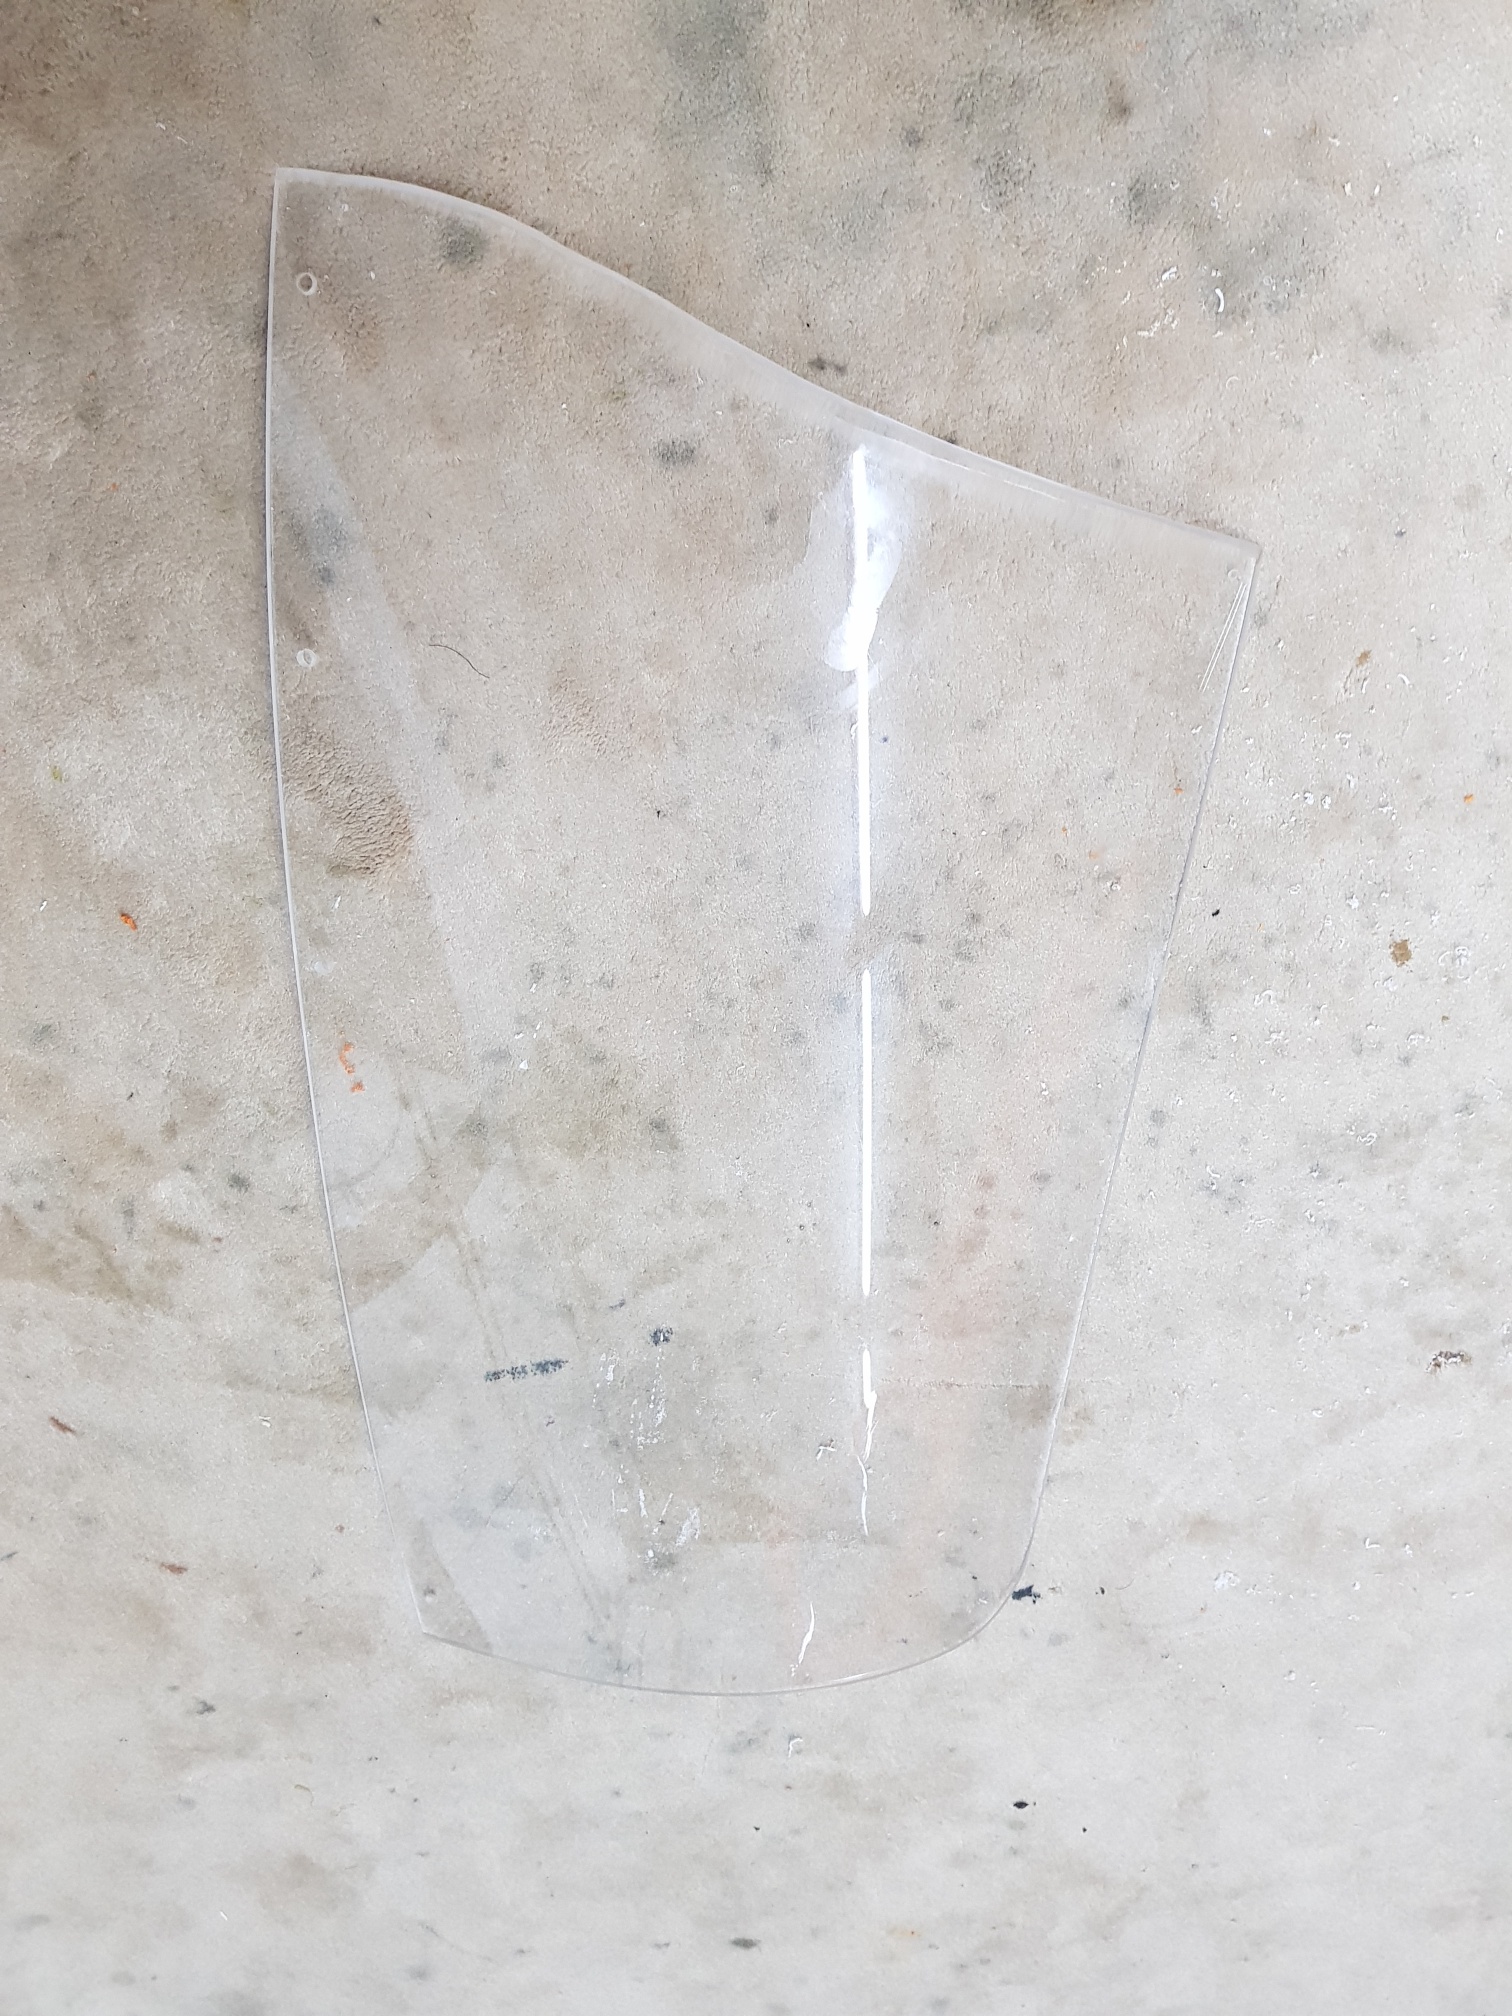
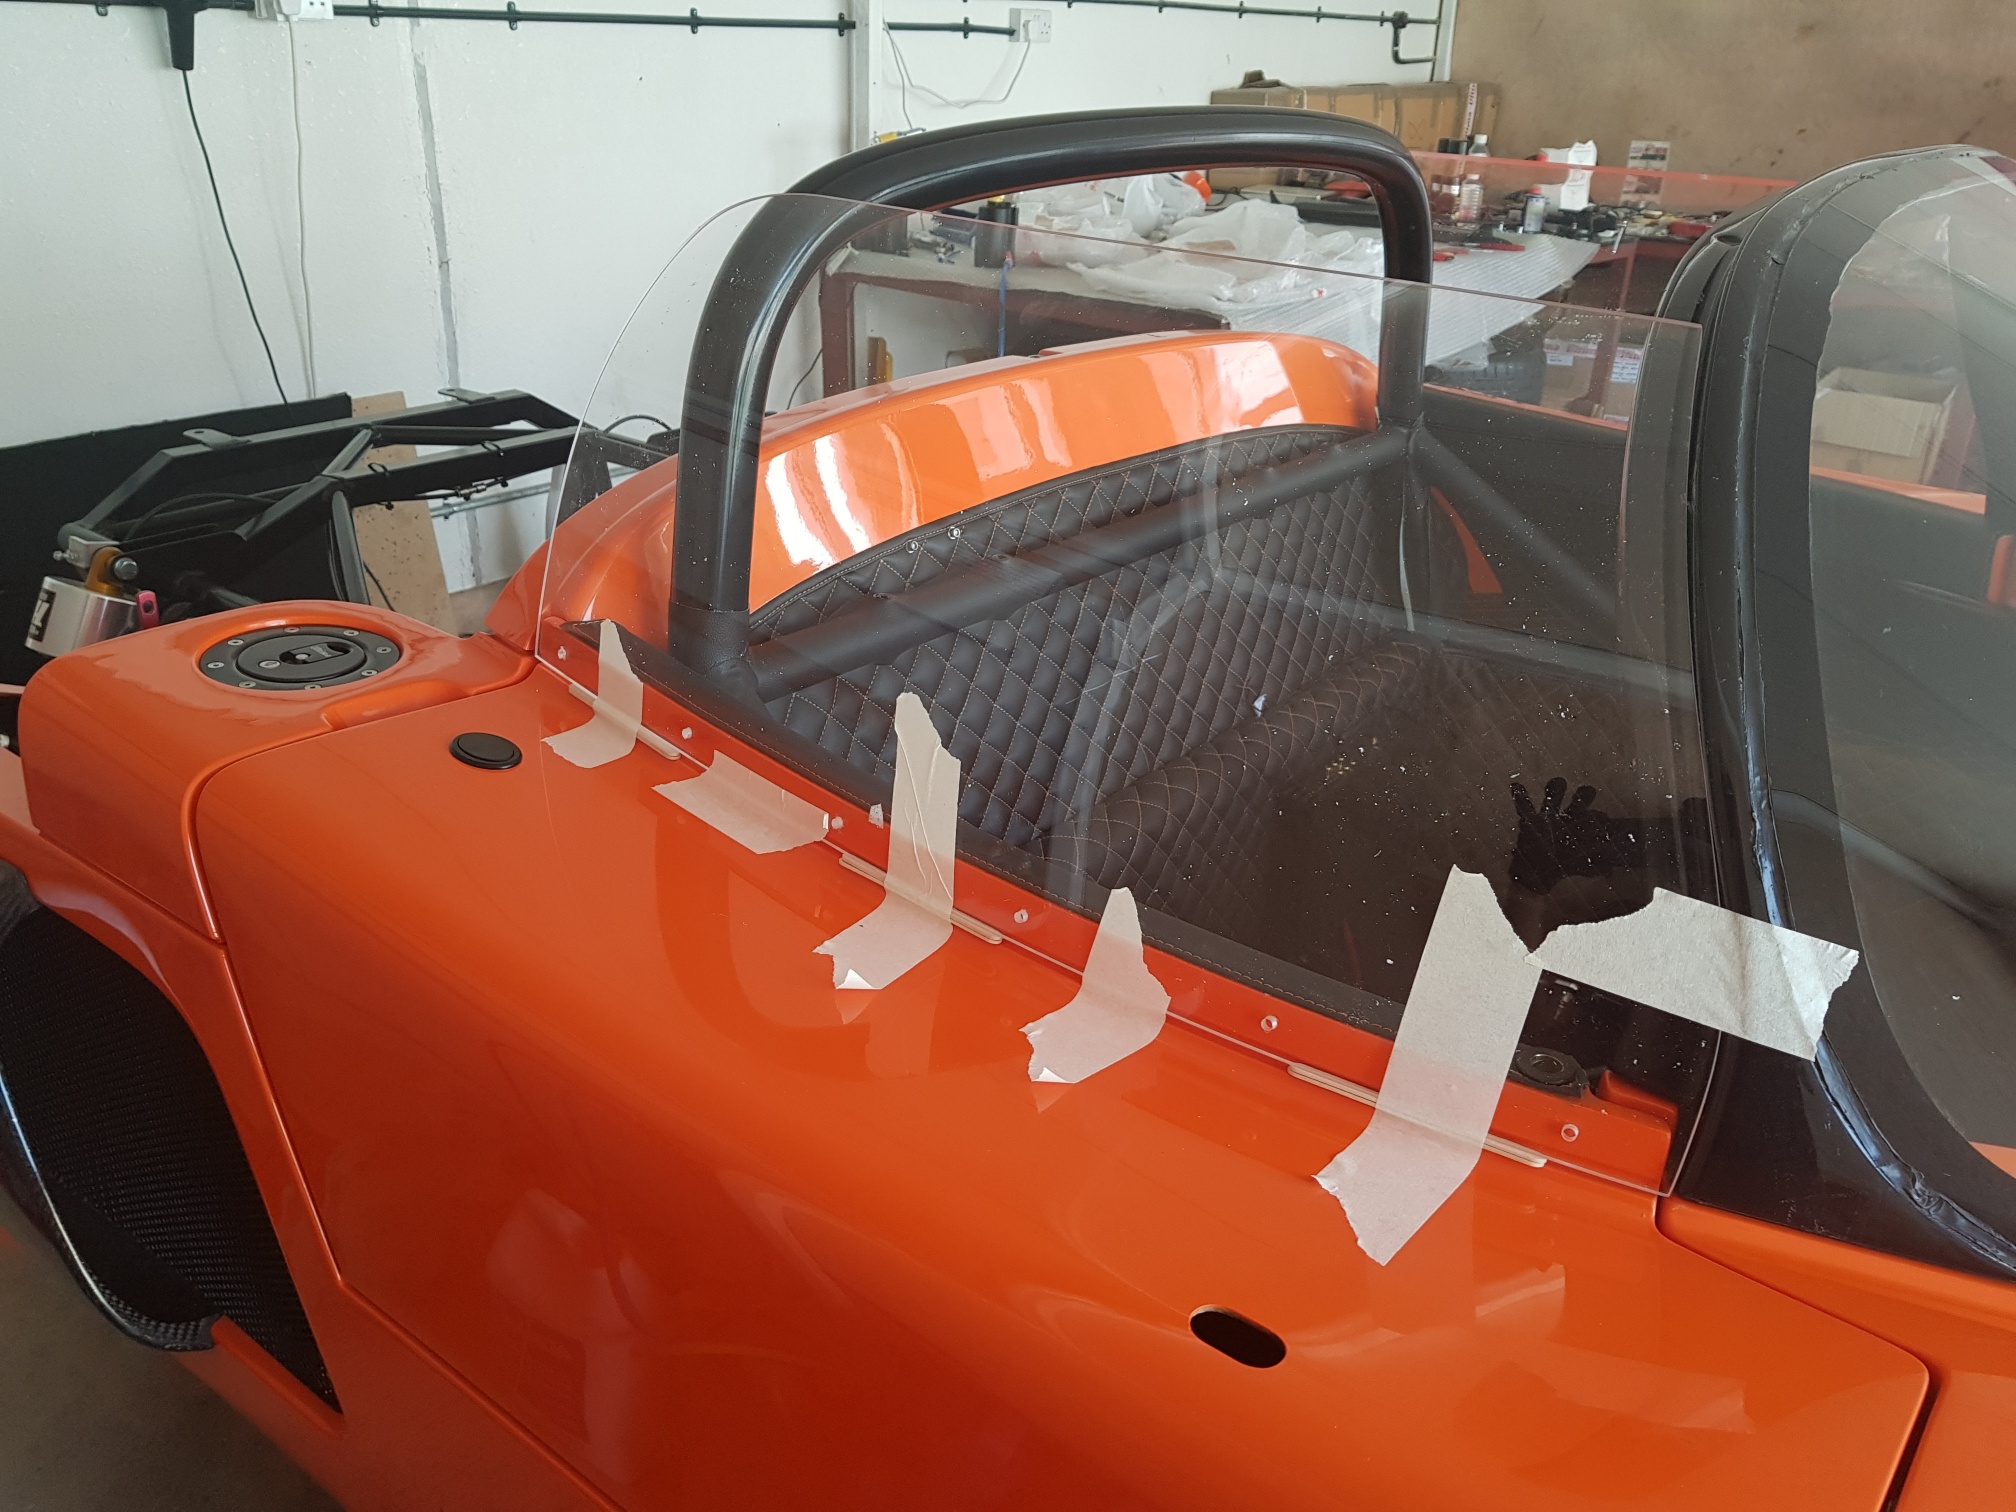
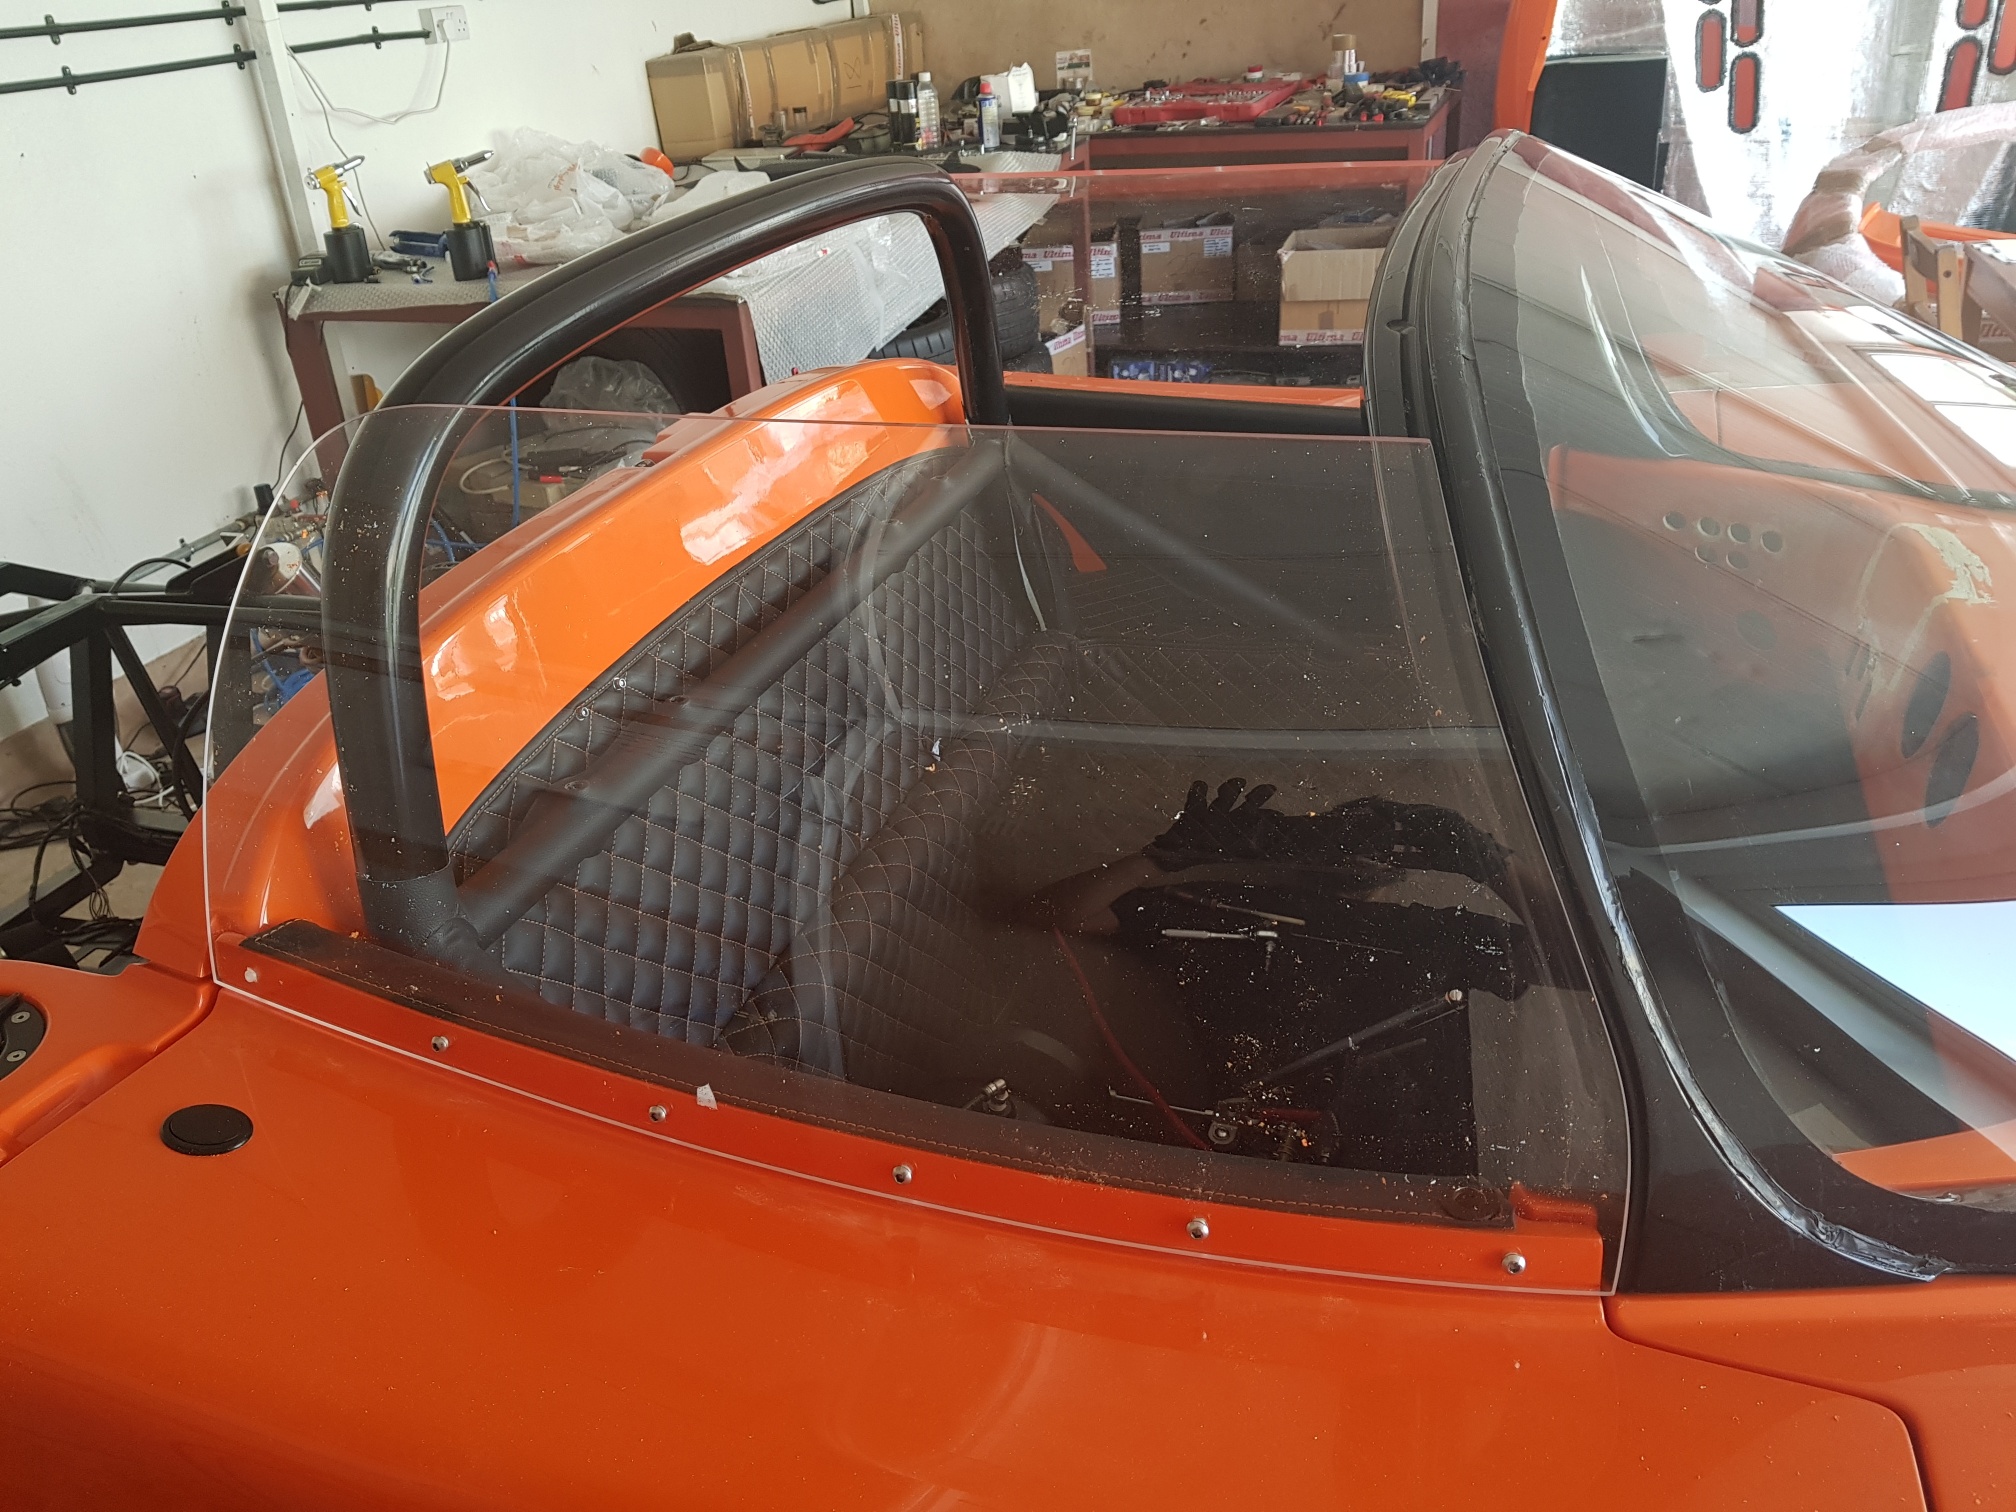

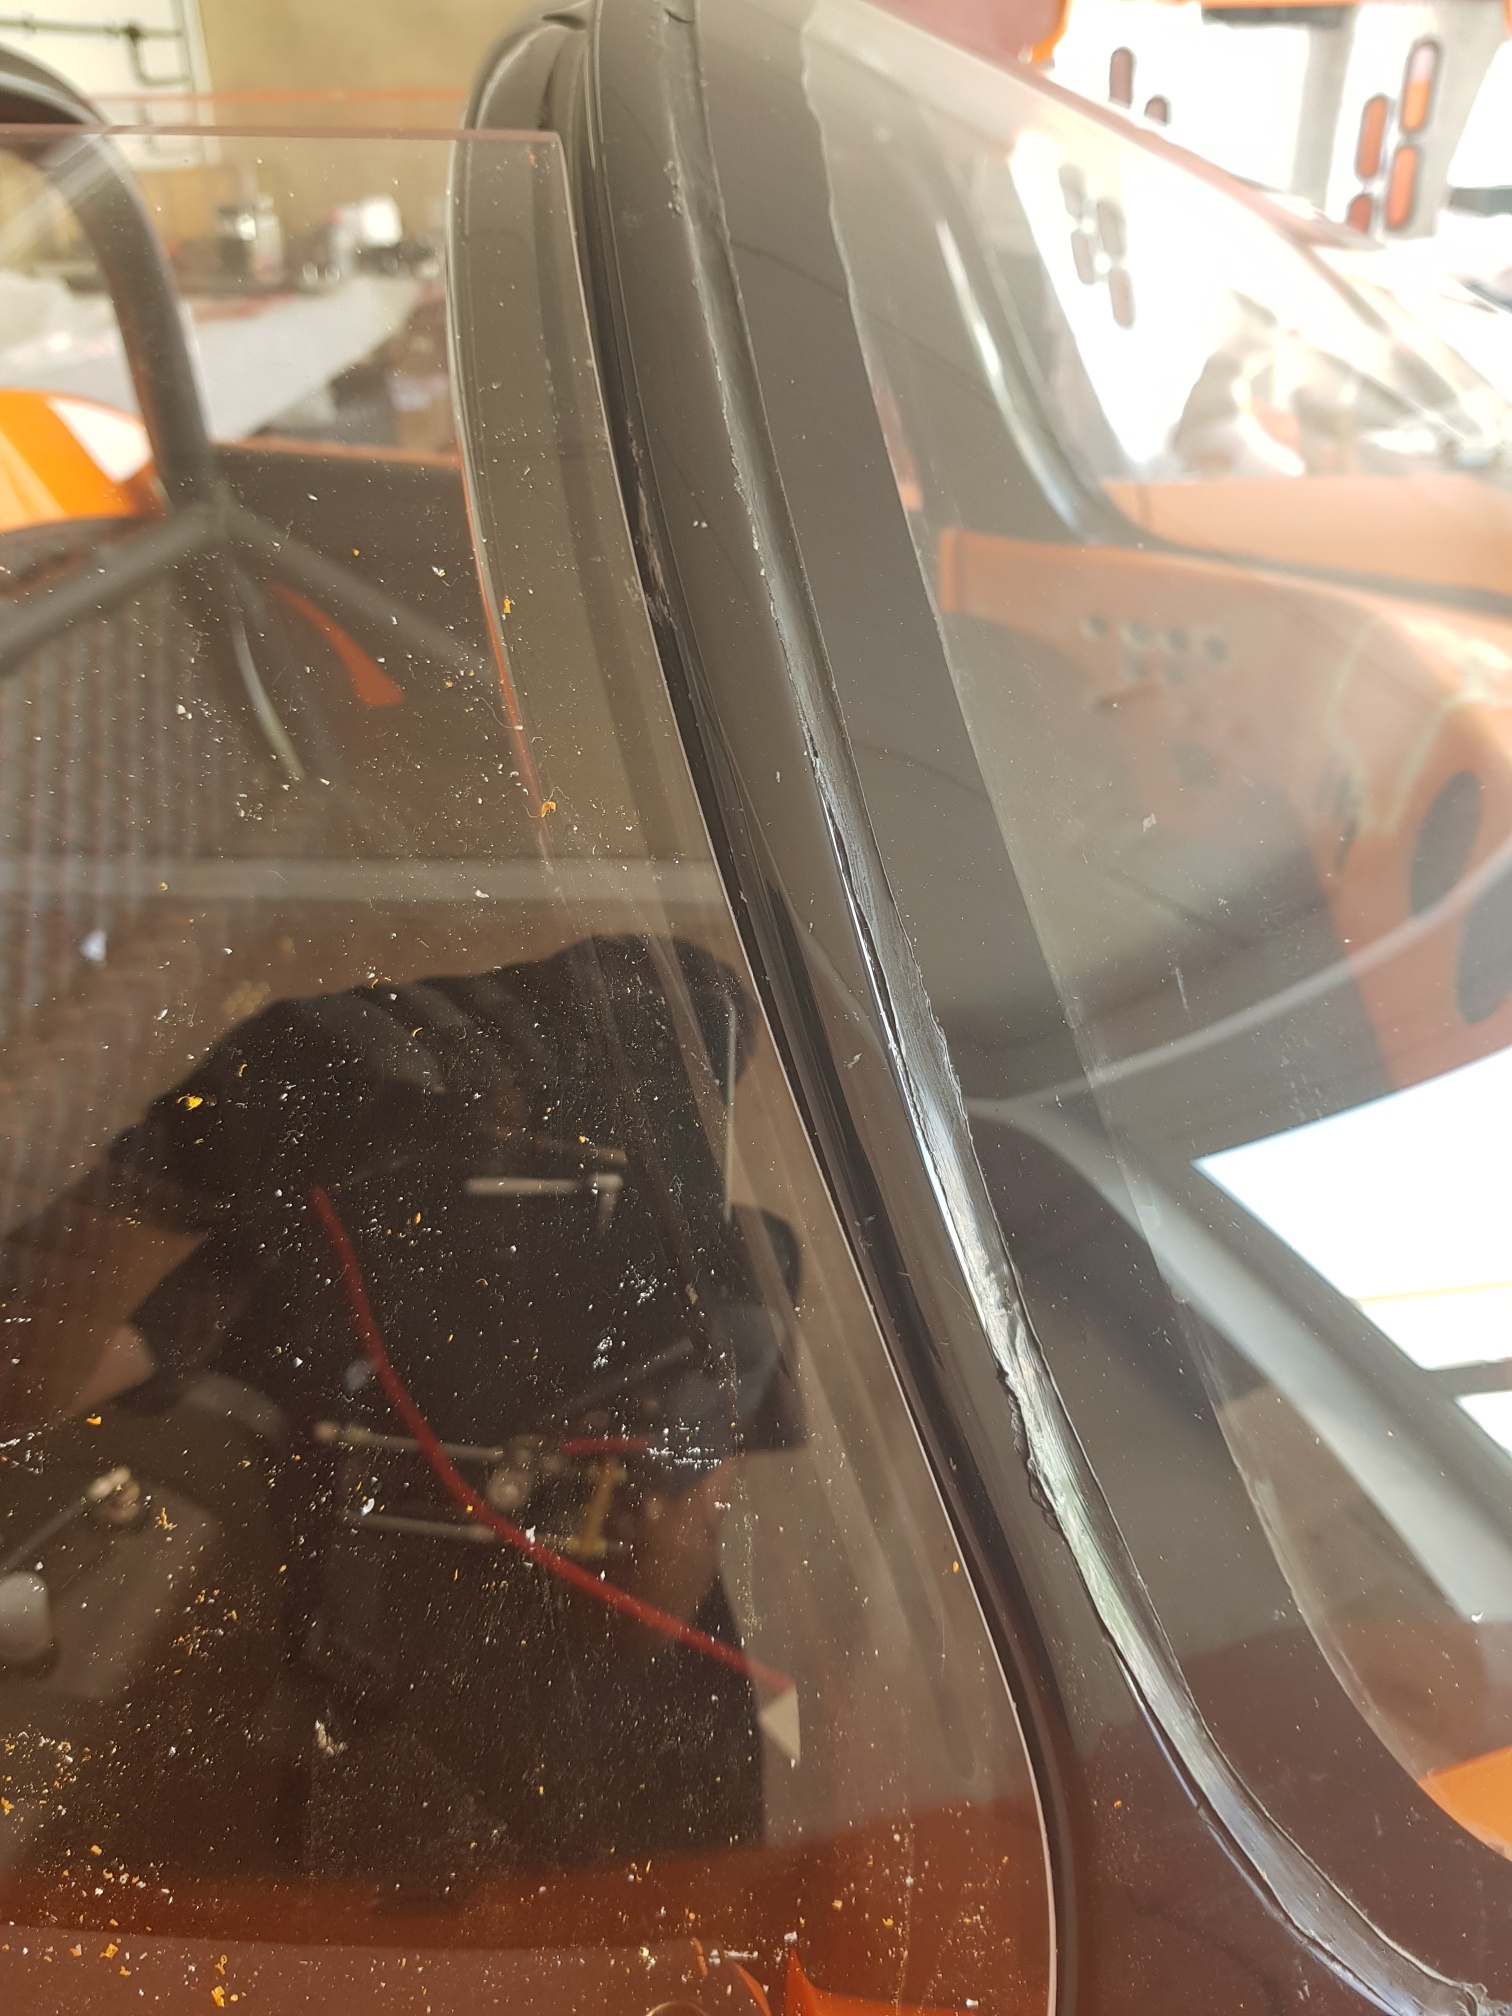
The screen support was then placed in the door hole and the screen placed against it... It became apparent that the support was not at the correct angle, so I had to rethink the next part - I ended up removing the door handle from inside, removing some of the expanding foam previously applied, and then closing the door and positioning the support correctly... once happy with the support position, I applied marine epoxy from inside the door handle area to the support/door GRP area and leaving everything to dry over night...
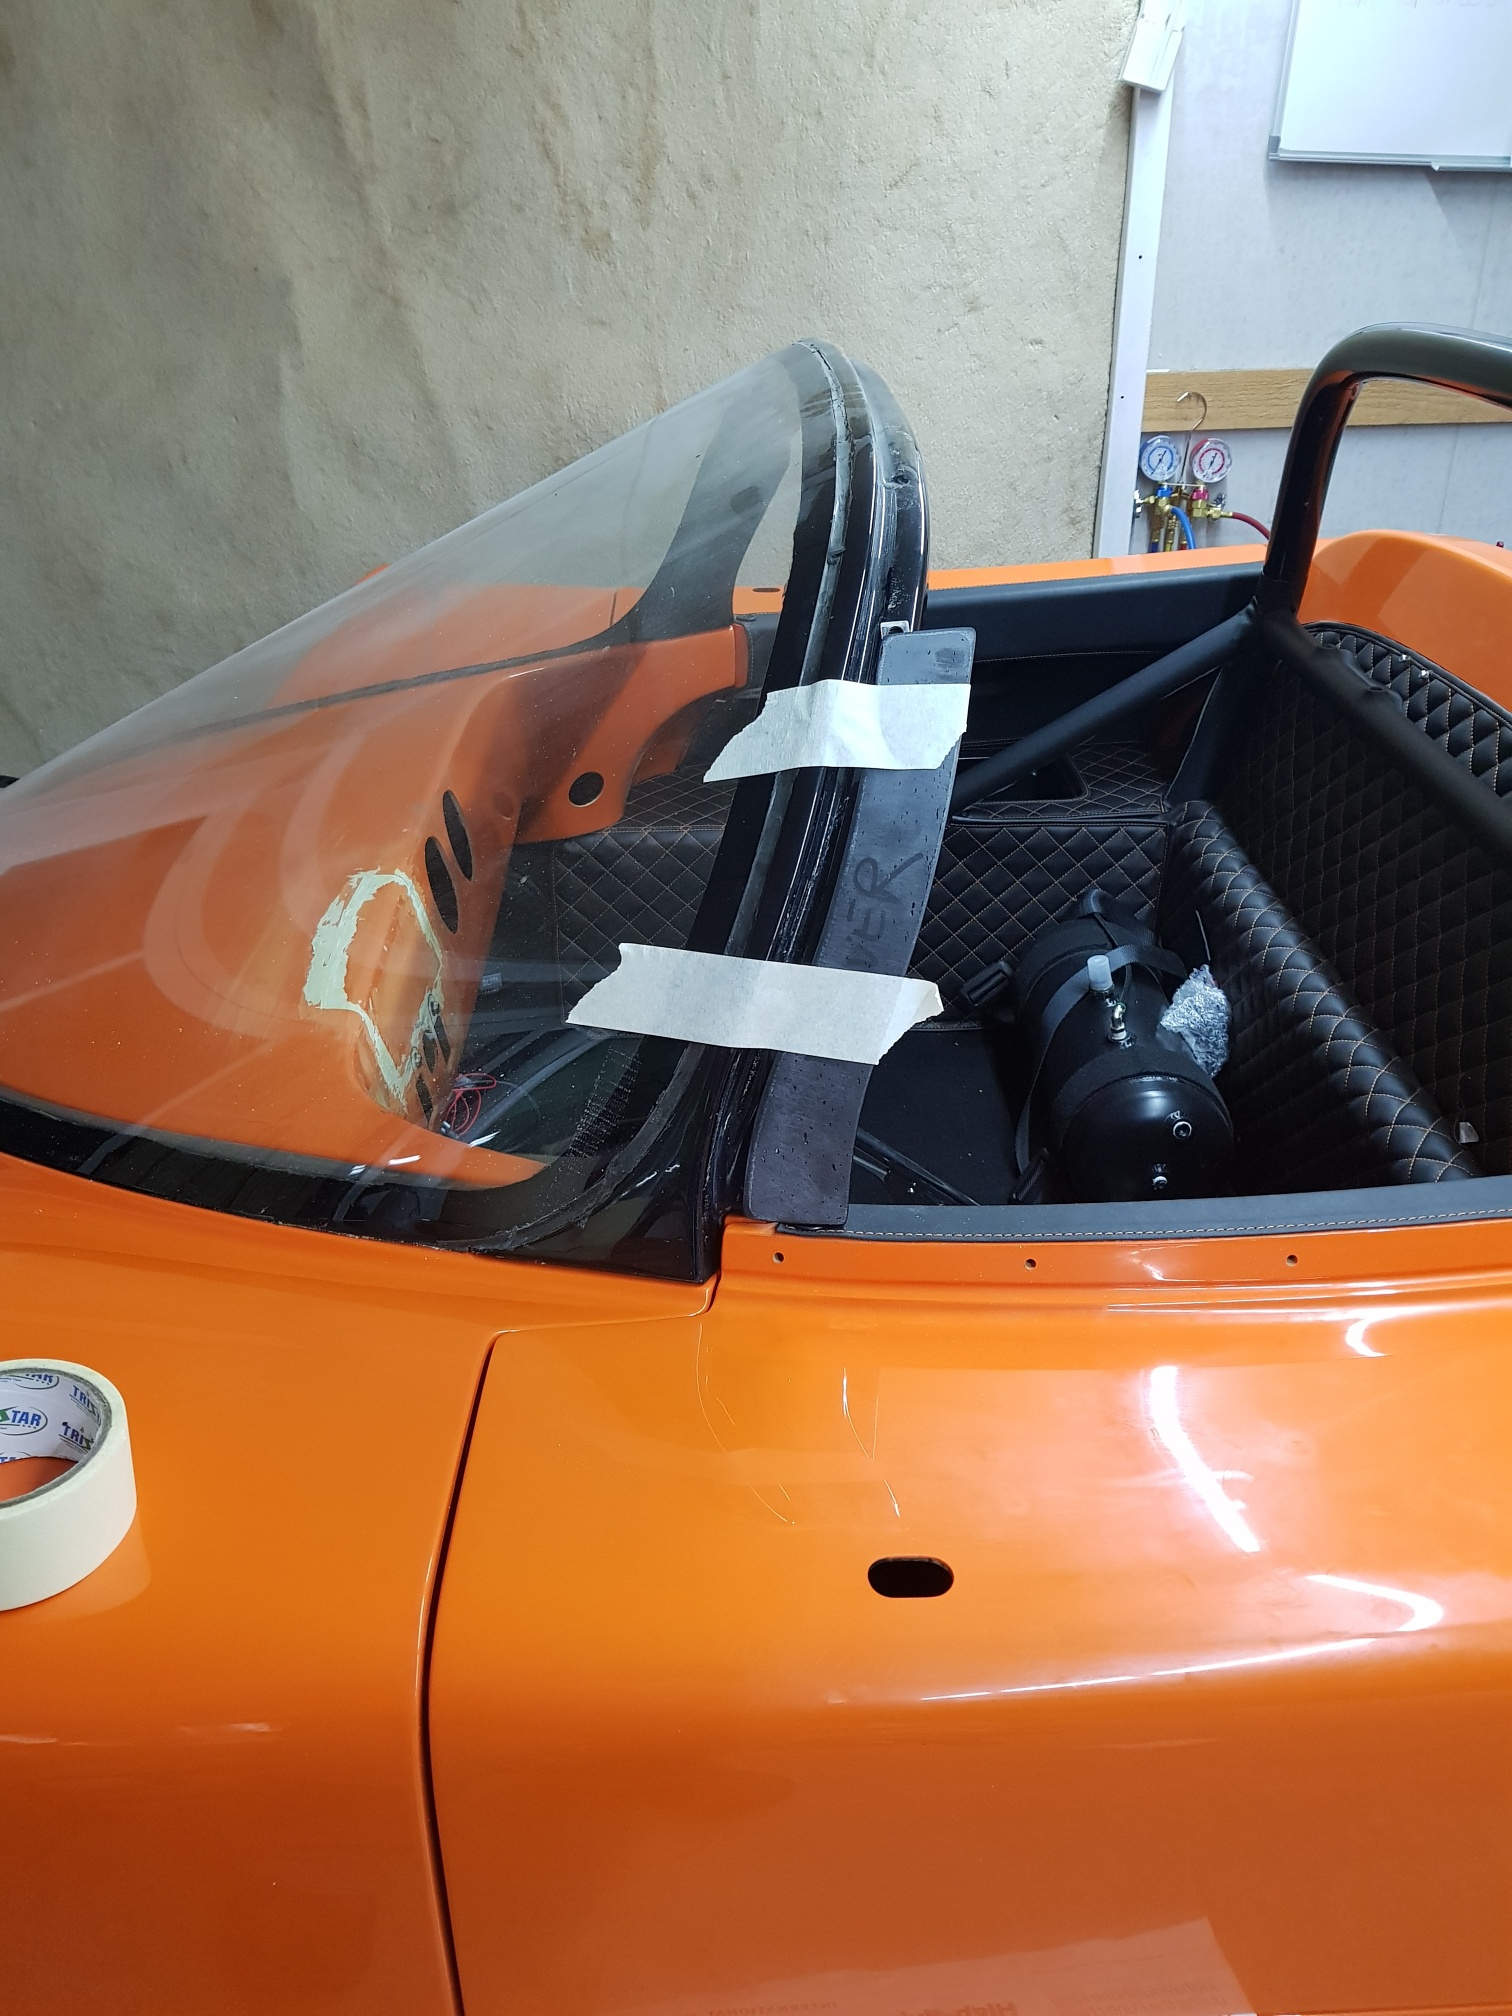
The next day I checked the support for any play, but there is none.. and the support is rock solid in the door... I closed up the door handle, and then proceeded to install the support in the door and the glass over it on the door.. and they fit as they are supposed to and everything lines up! I marked the edge of the support and the top of the door leather, and then removed the glass and applied tape to the glass edges and marked lines to prepare the black primer area...
The entire same process was then repeated on the passenger side door - along with the need to epoxy the support in the door due to incorrect support angle... TIP for others: do not install the support till the end because the angle will change depending on the support location and windscreen distance -even a change of 1mm will change the angle enough to require a redo...
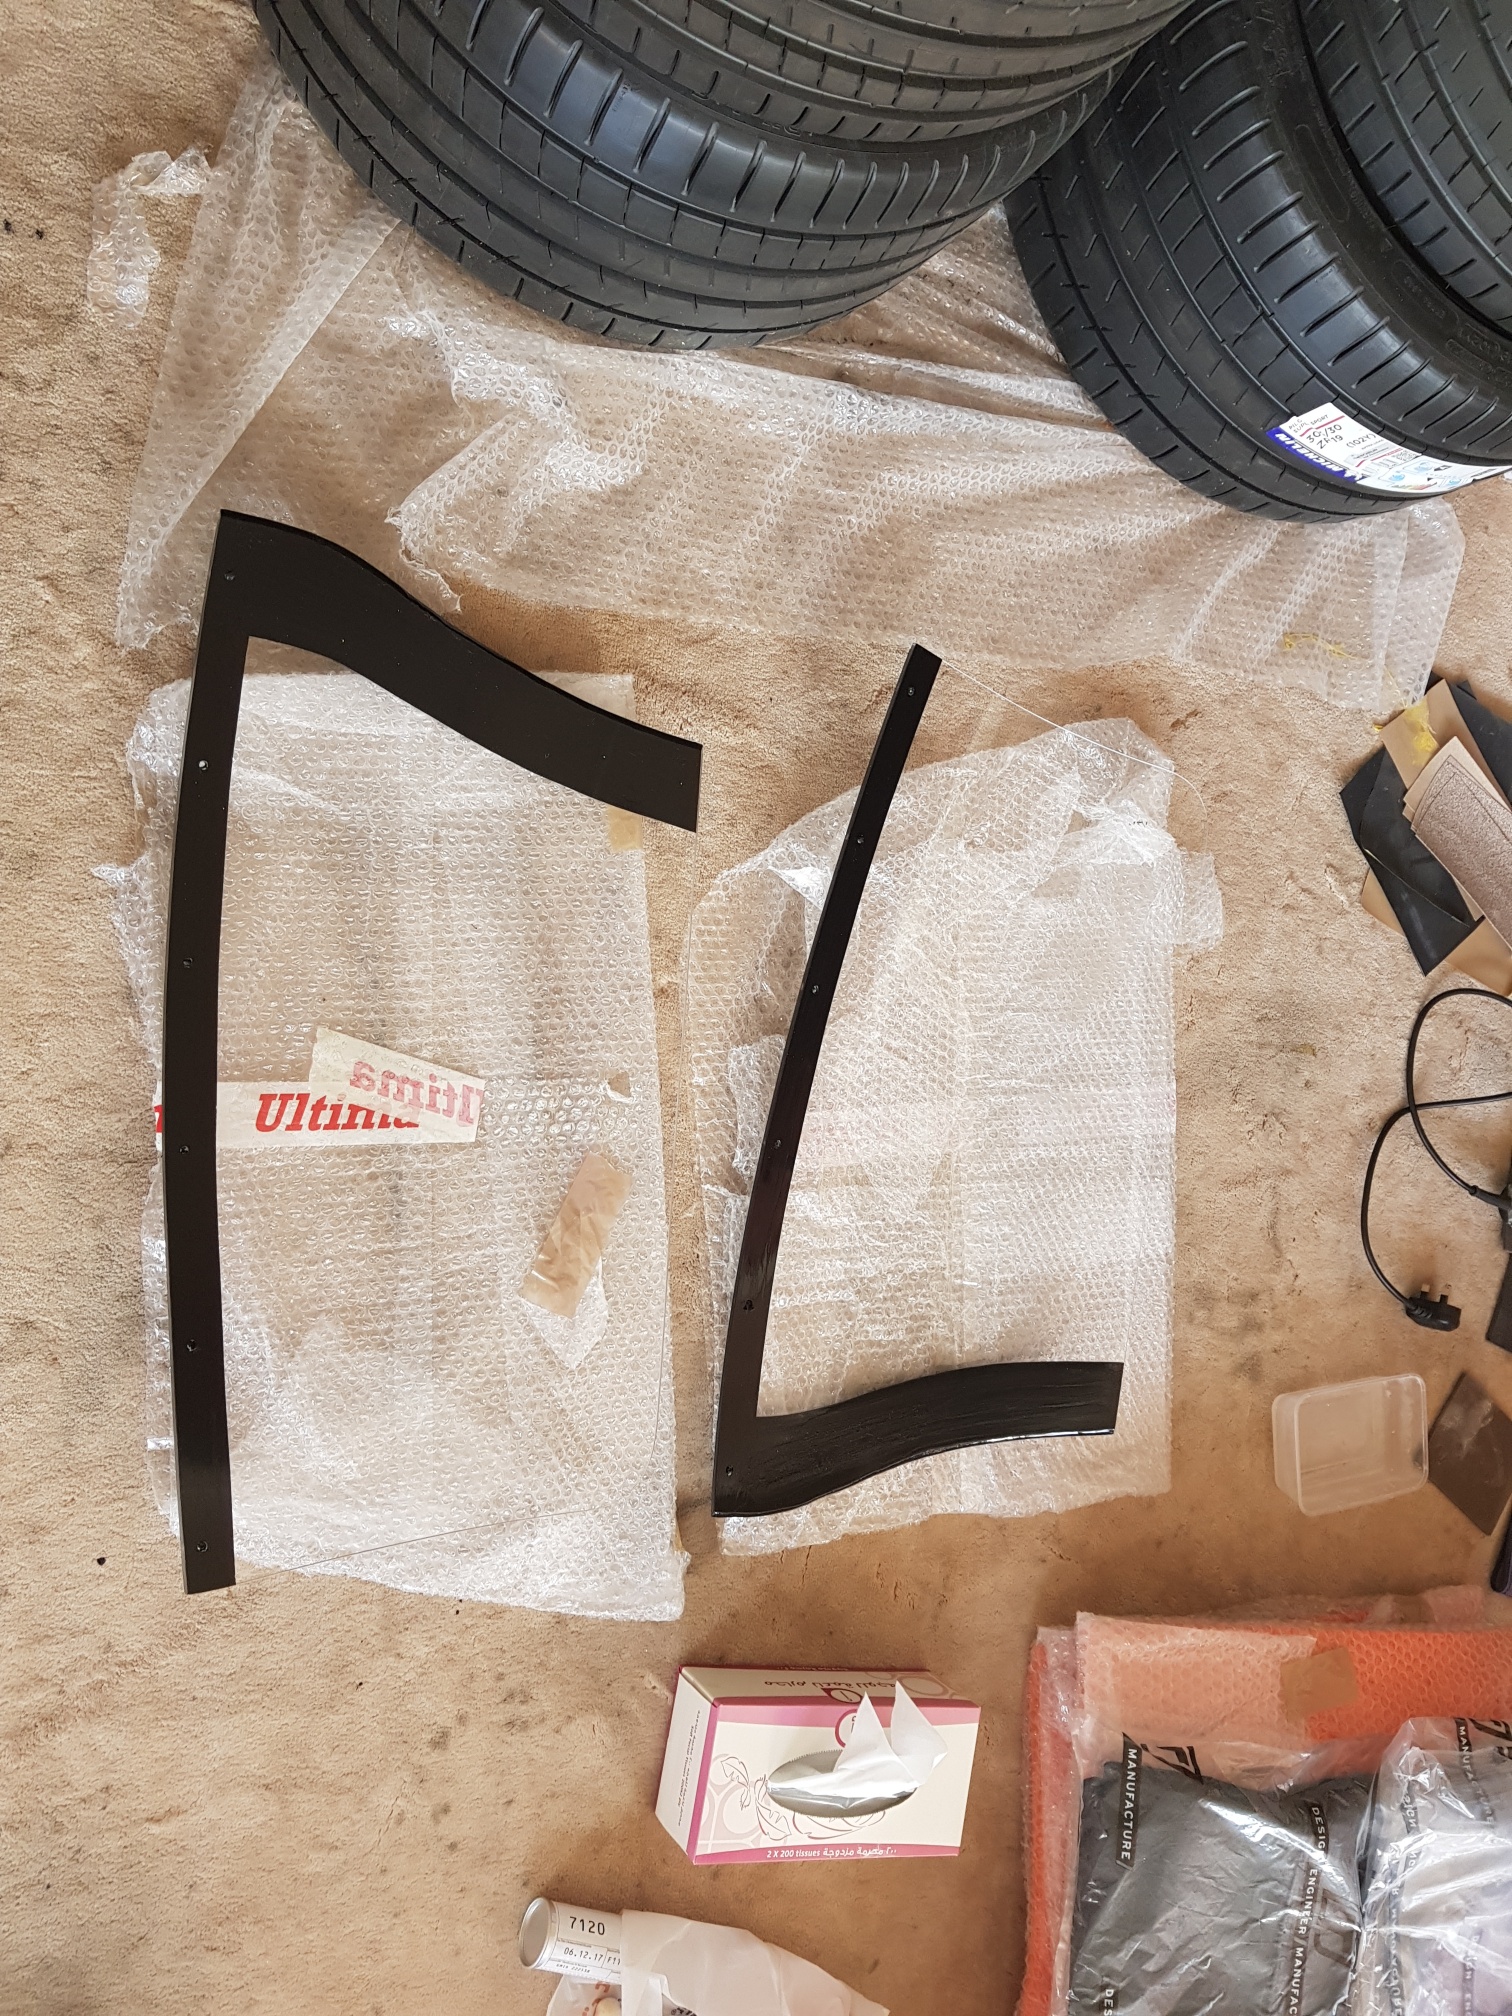
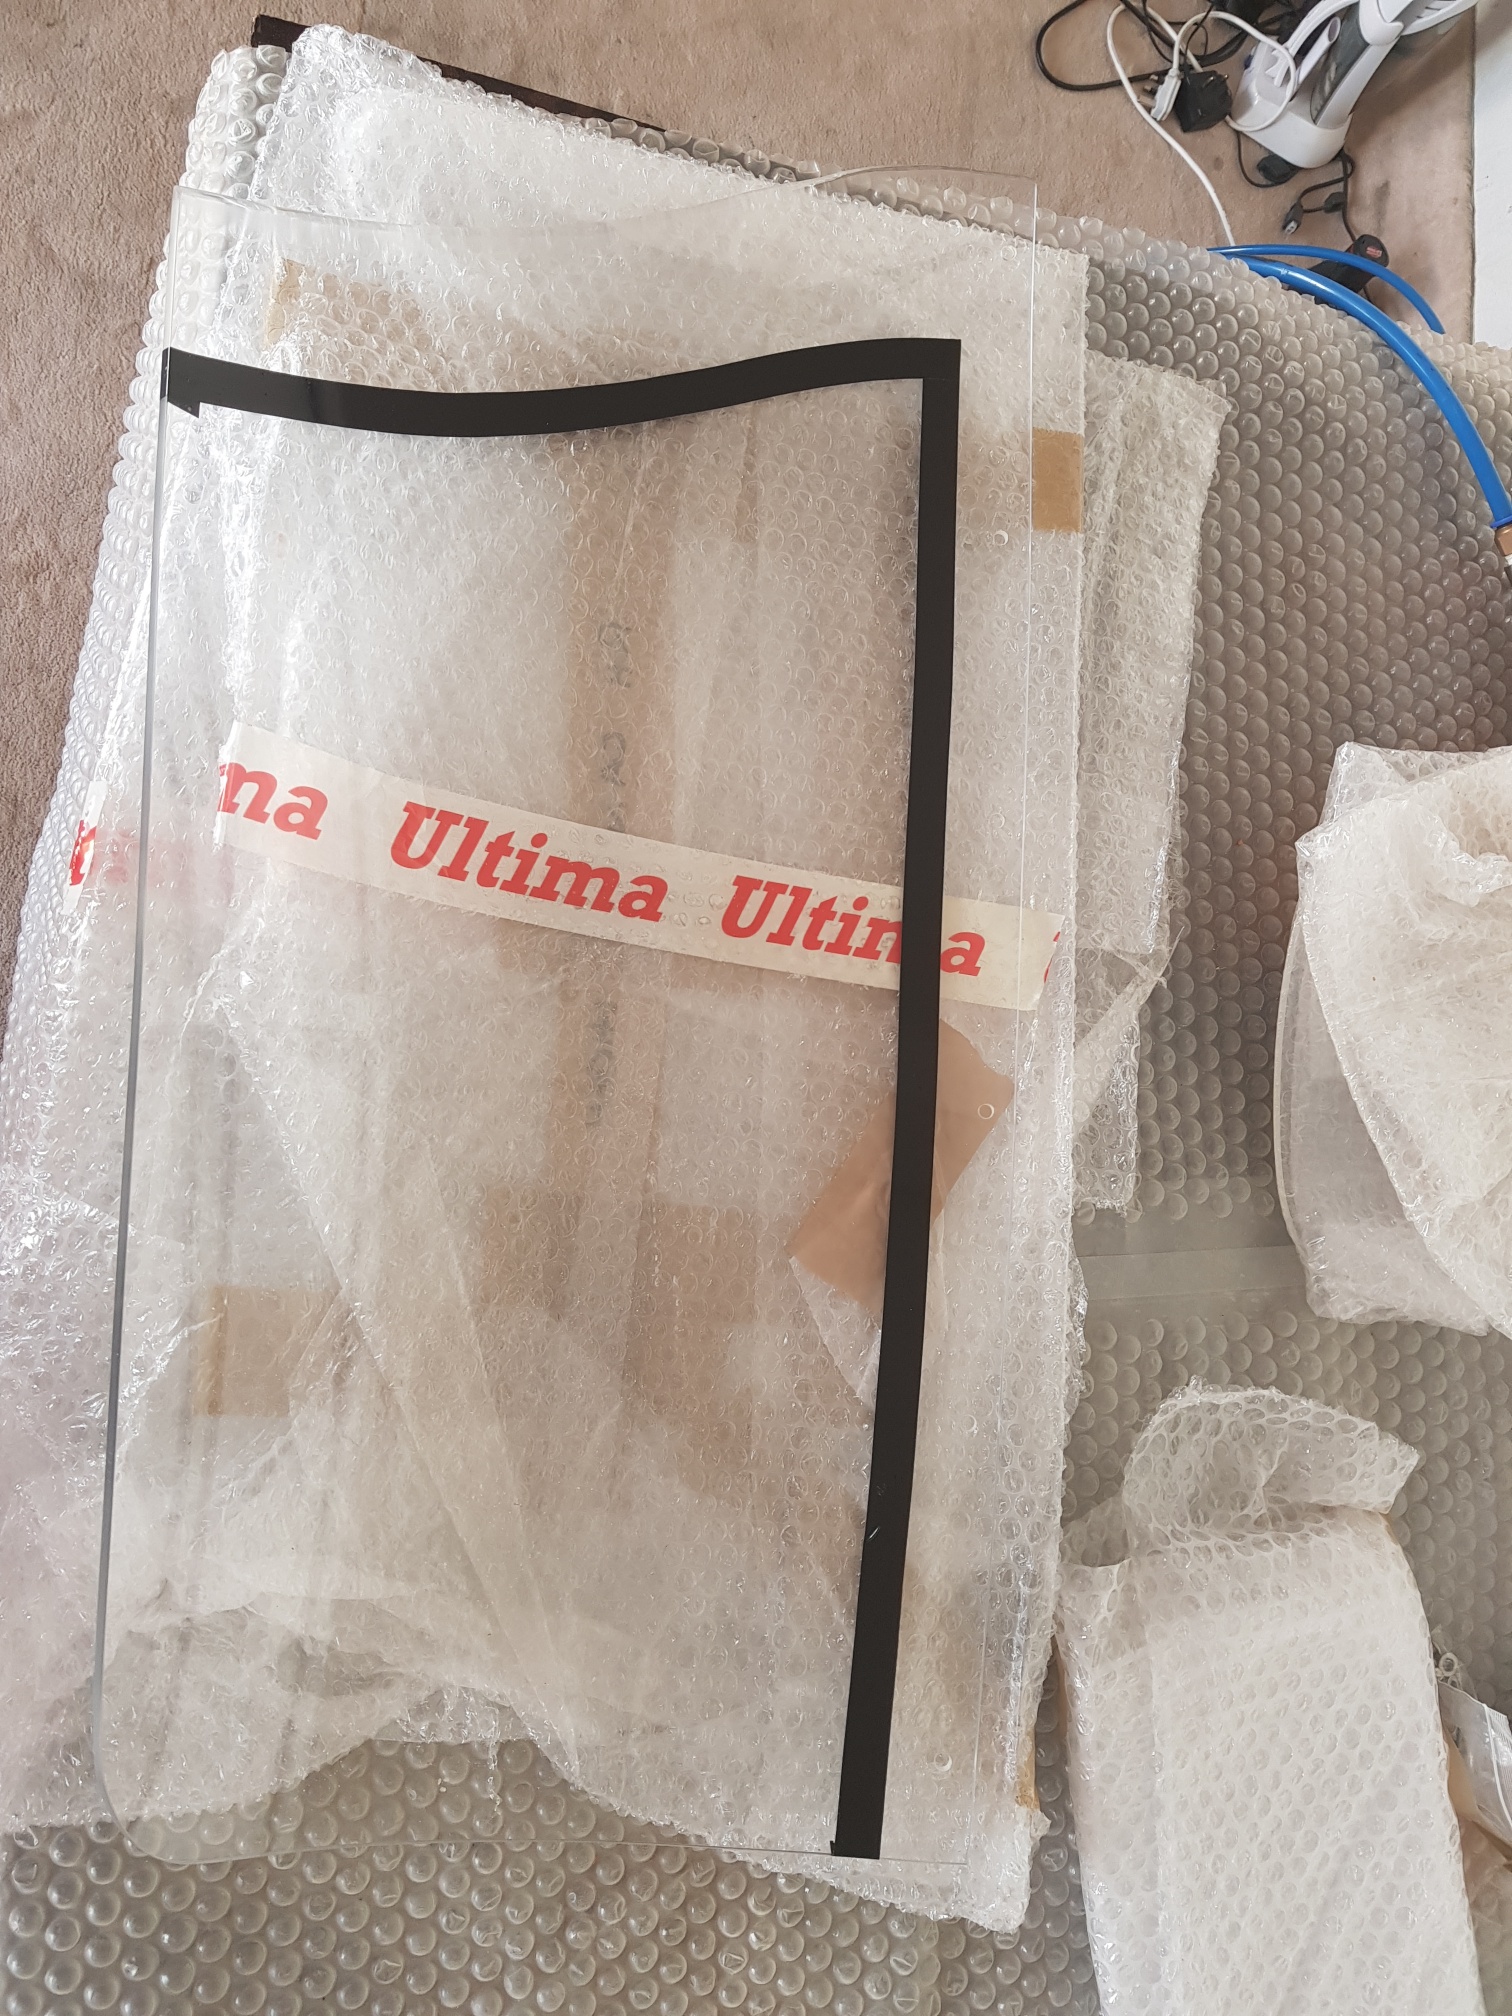
I then worked on the smaller side screens - the holes were drilled using the larger screen as templates, and the passenger side side screen had to be trimmed to make it fit - it is a little too large!
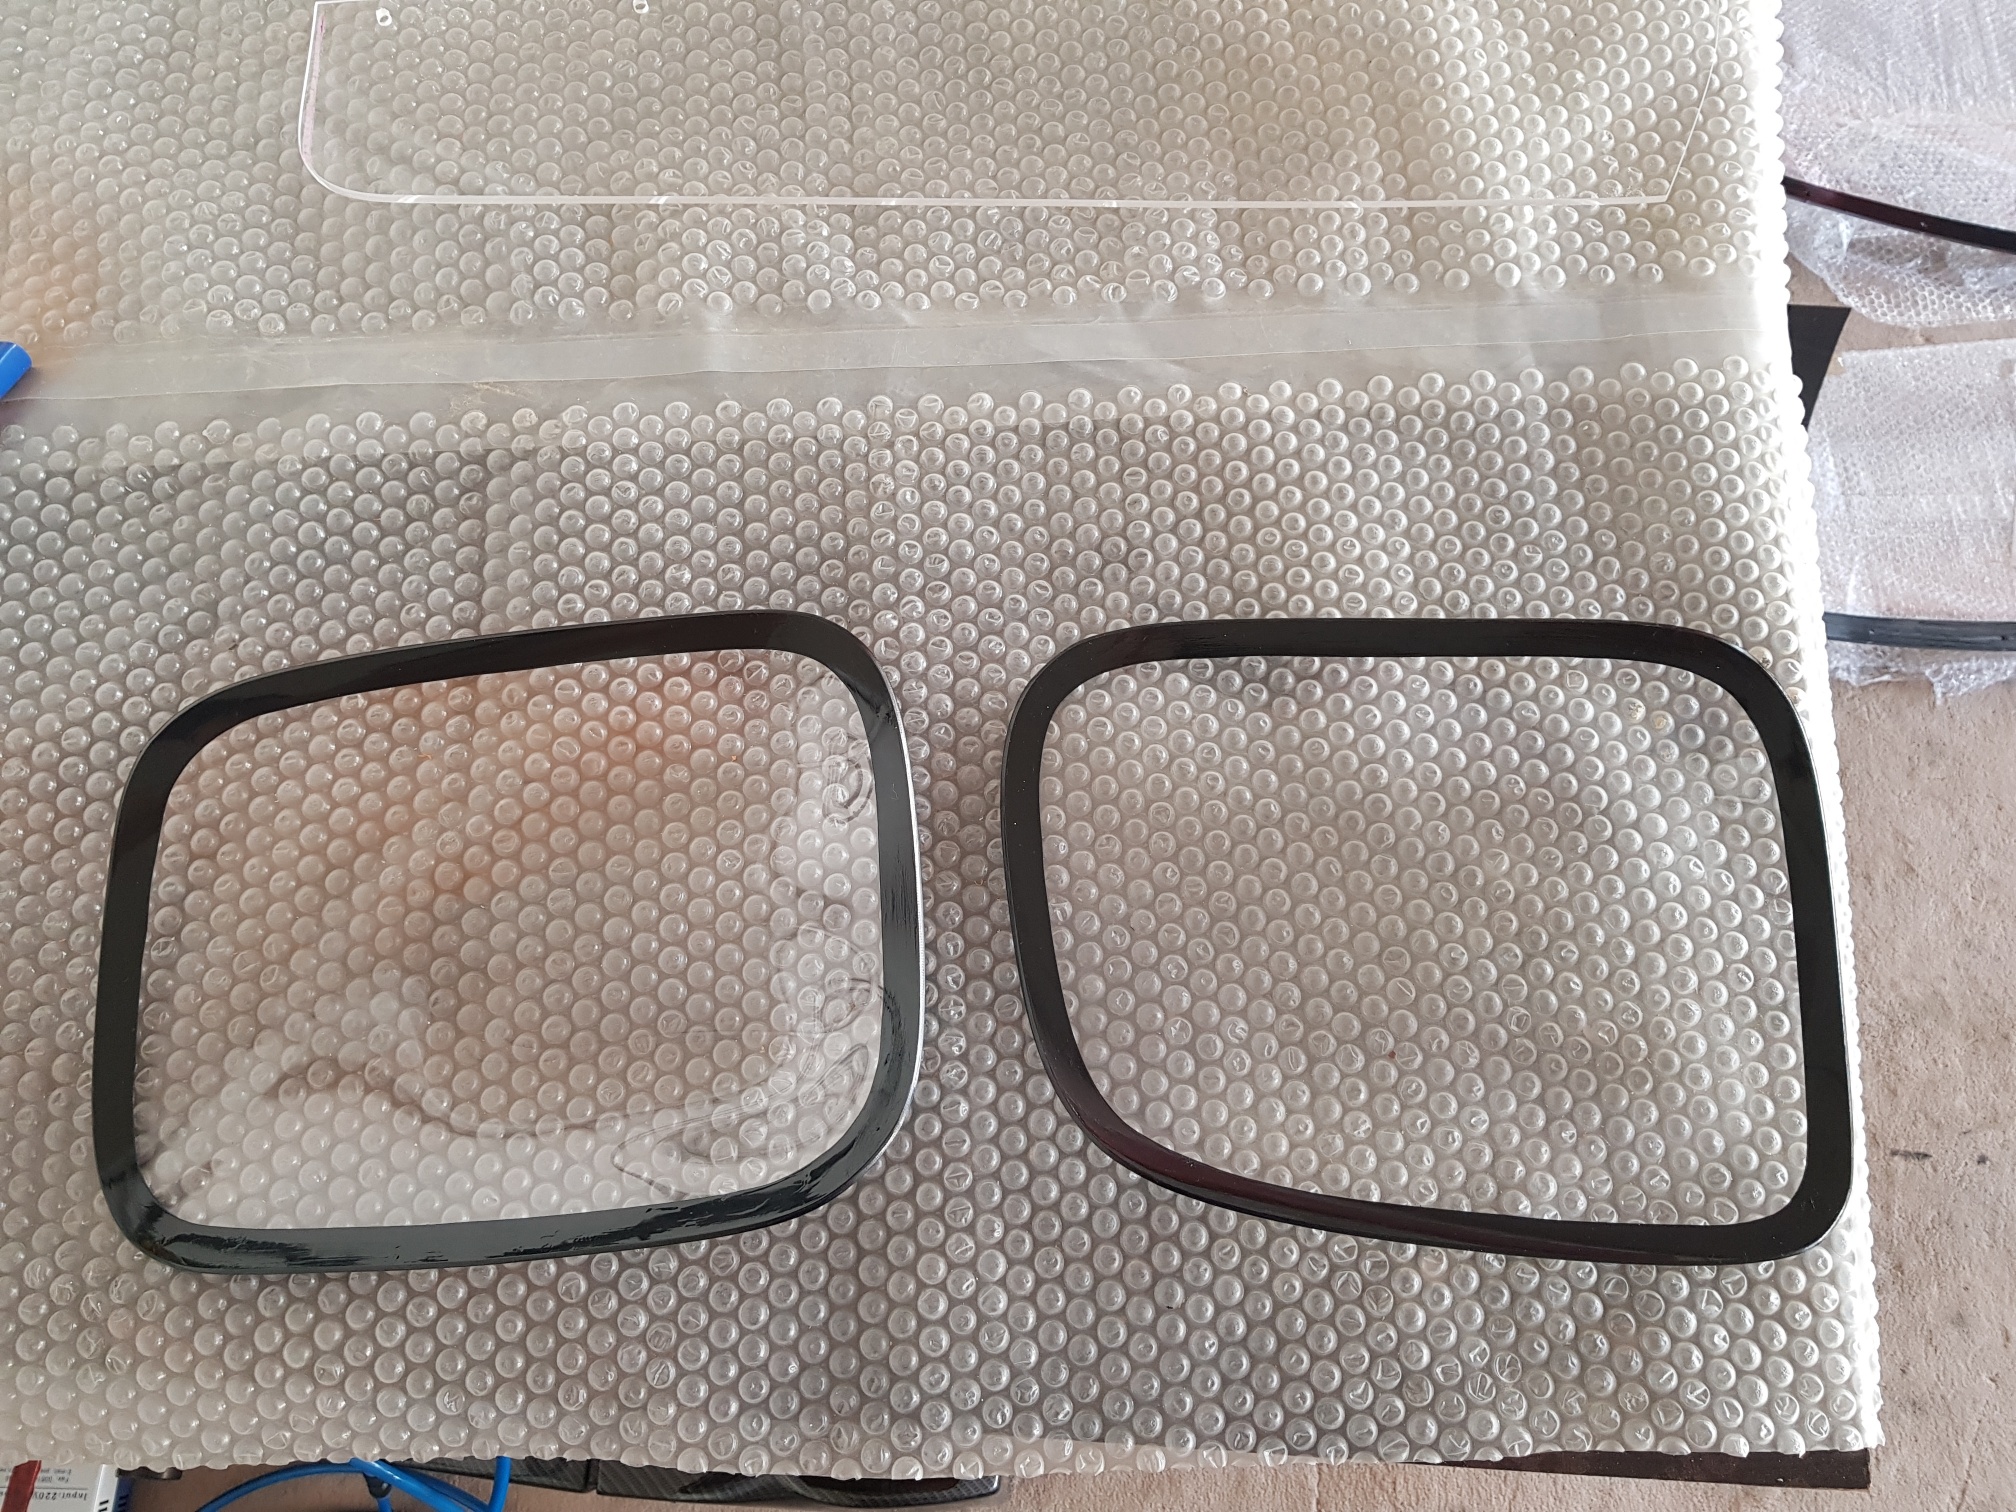
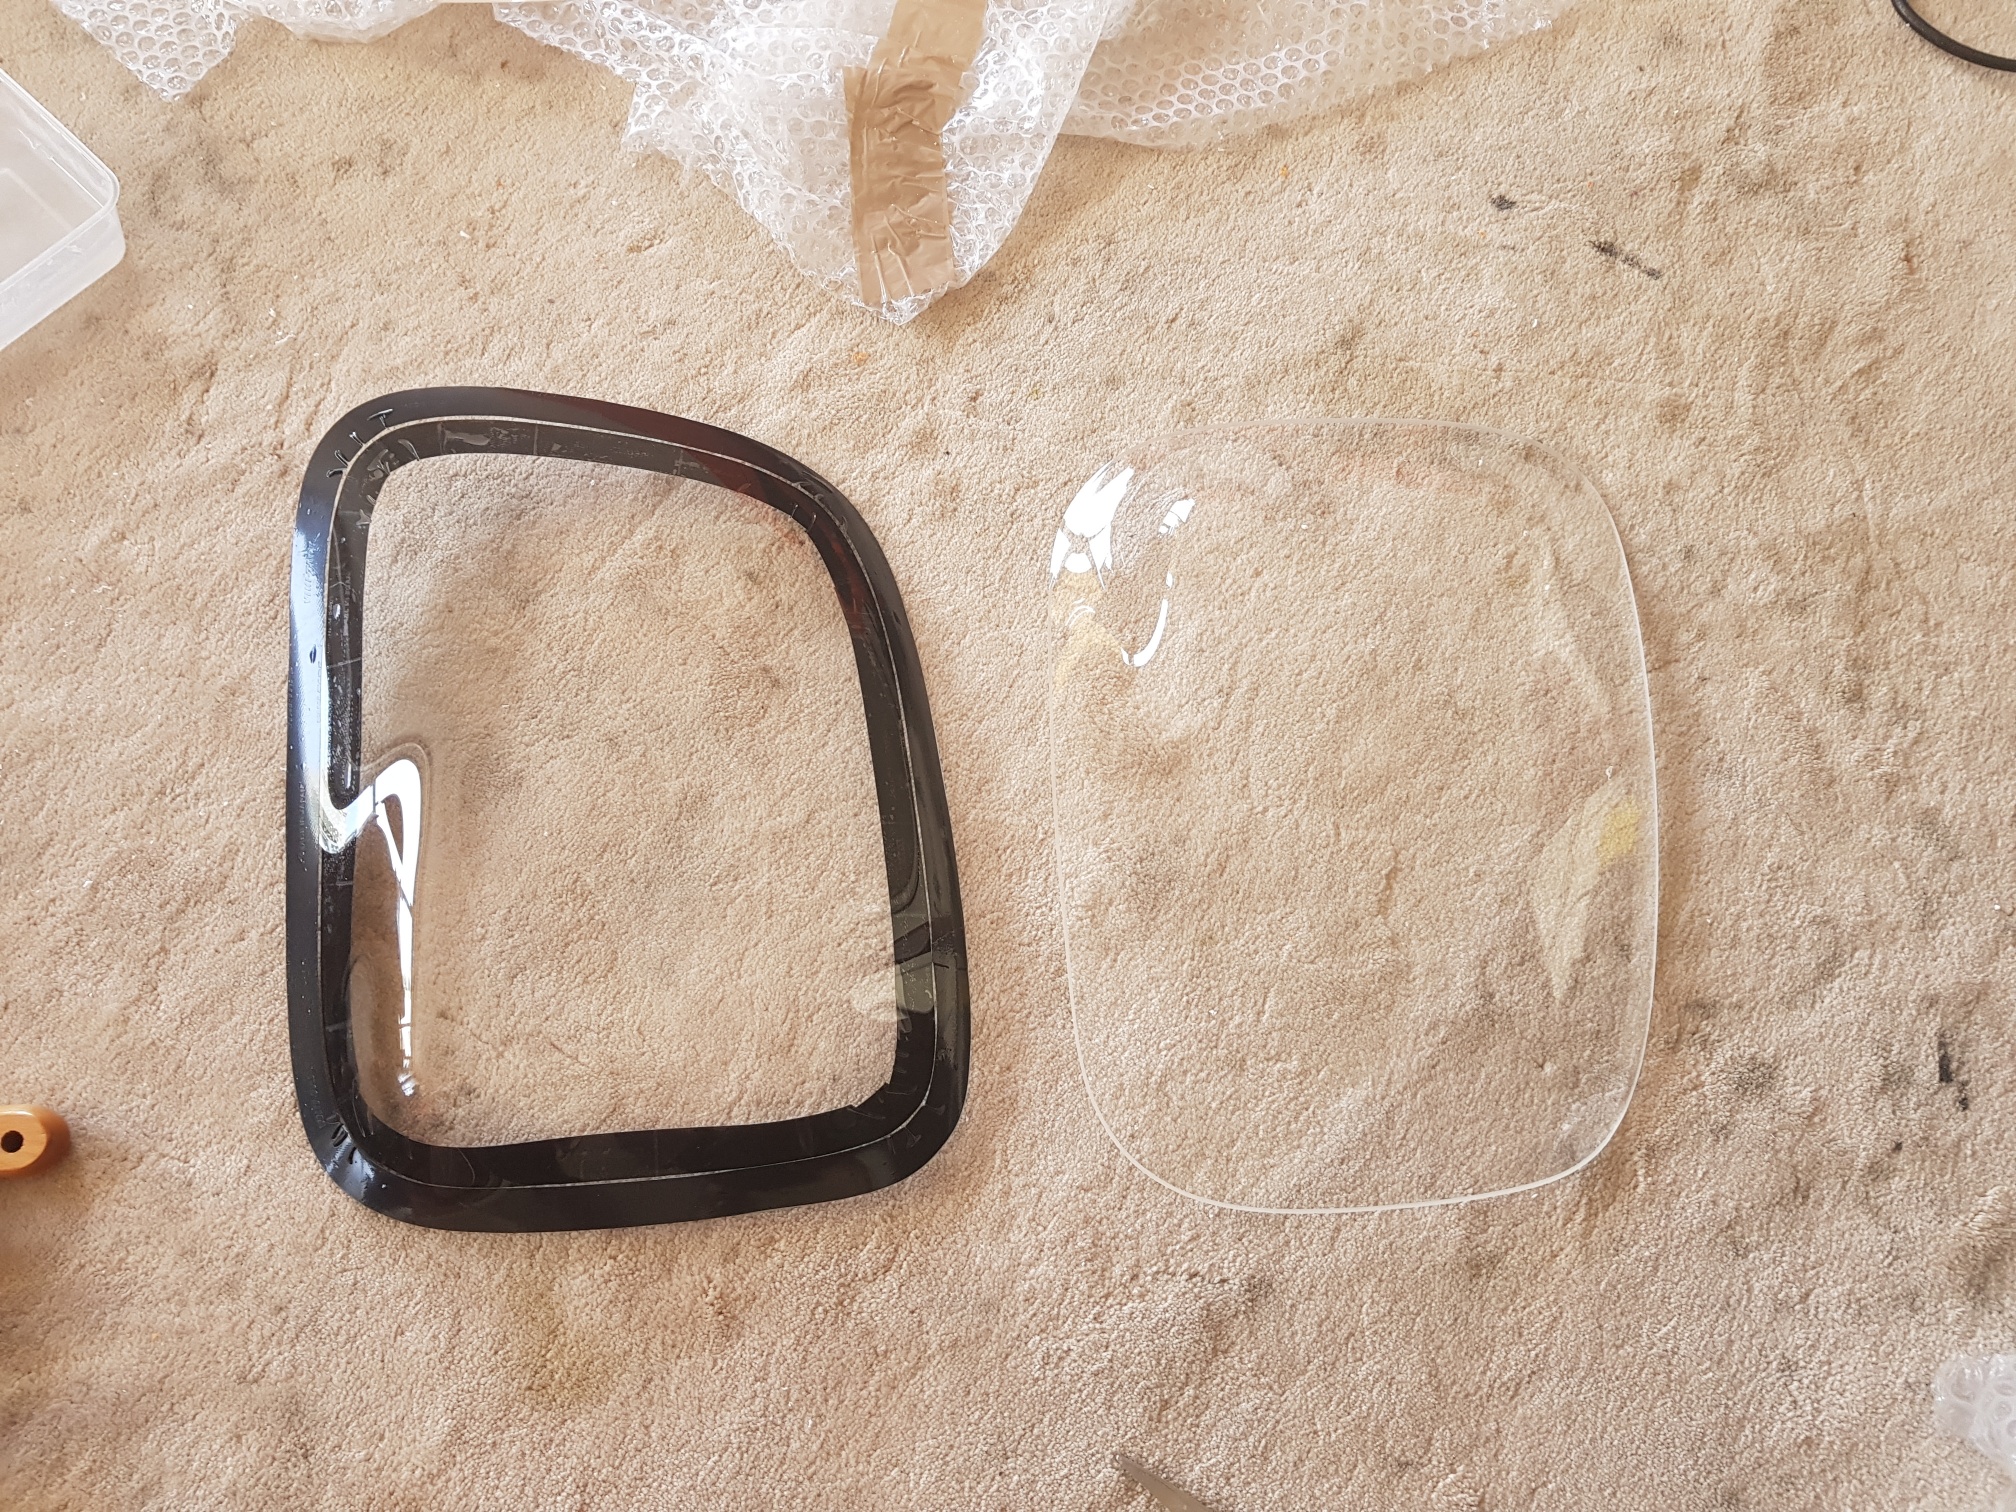
The headlight covers were also marked and taped for the primer, since I will apply all the primer together...
The primer was applied to the side windows and headlight covers, and a second coat was applied the next day... Primer was applied to the support, and then the window was installed after applying sealant to the support... the window was bolted on and the sealant left to cure for 2 days...